- Table of Contents
-
- H3C Campus Fixed-Port Switches Web-Based Quick Start Configuration Guide-6W100
- 01-Compatible Product Models
- 02-Configuring Web Login with the Default IP
- 03-Web Login to a Device Without a Default IP
- 04-Interface Settings
- 05-PoE
- 06-VLAN
- 07-DHCP Server
- 08-DHCP Relay Agent
- 09-Static Routing
- 10-Policy-Based Routing
- 11-Ethernet Link Aggregation
- 12-Port Mirroring
- 13-Packet Filtering
- 14-Interface Rate Limit
- 15-Traffic Constrain
- 16-Spanning Tree
- 17-Direct Portal Authentication
- 18-Port Security
- 19-Port Isolation
- 20-ARP Attack Protection
- 21-Configuring a Static ARP Entry
- 22-IGMP Snooping
- 23-Enabling IPSG on an Interface
- 24-Software Upgrade
- 25-Adding Administrator Accounts
- 26-Ping and Tracert
- 27-Password Change
- 28-System Time
- 29-System Log
- 30-Configuration Backup, Export, Restoration to Factory Default
- 31-Device Reboot
- 32-Small-Sized Campus Network Configuration Guide
- Related Documents
-
27-Password Change
| Title | Size | Download |
|---|---|---|
| 27-Password Change | 170.80 KB |
Password Change Quick Start Configuration Guide
Restrictions and guidelines
Password control is enabled on some devices by default. The configured password must meet the following requirements:
· A string of a minimum of 10 characters.
· A minimum of two character types.
· A minimum of one character for each character type.
If the configured password does not meet the requirements, the system will promot you to modifiy the password.
Procedures
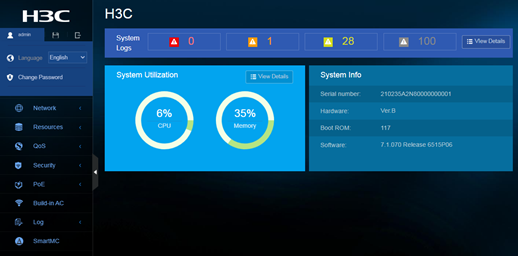
1. From the left navigation pane, select the username and then select Change Password.
Figure 1 Changing the password
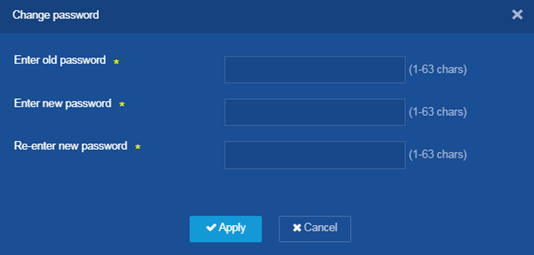
2. Enter the old password, enter the new password twice, and then click OK.
Figure 2 Setting the new password
Verify the configuration
Use the new password to access the device to verify whether the password is changed successfully.