- Table of Contents
- Related Documents
-
| Title | Size | Download |
|---|---|---|
| 04-H3C iFIST Secure Data Clearing Configuration Examples | 620.21 KB |
iFIST
Secure Data Clearing Configuration Examples
Copyright © 2023 New H3C Technologies Co., Ltd. All rights reserved.
No part of this manual may be reproduced or transmitted in any form or by any means without prior written consent of New H3C Technologies Co., Ltd.
Except for the trademarks of New H3C Technologies Co., Ltd., any trademarks that may be mentioned in this document are the property of their respective owners.
The information in this document is subject to change without notice.
Introduction
This document provides examples for configuring secure data clearing through iFIST. iFIST can clear the user information saved in the server with an intuitive interface and simple operations. The cleared data cannot be recovered or is difficult to recover.
Prerequisites
Procedures and information in the examples might be slightly different depending on the software or hardware version of the products.
The configuration was created and verified in a lab environment, and all the servers and software were started with the factory default configuration. If the device has been configured, ensure that the existing configuration does not conflict with the configuration in the following example.
This document assumes that you have basic knowledge of the iFIST secure data clearing feature.
Example: Configuring secure data clearing
Network requirement
As shown in Figure 1, interconnect the HDM management IP address of the target server with the IP address of the PC client. This document uses the H3C UniServer R4900 G5 server as an example. The requirement is to access the server's HDM through the PC client, and then access iFIST through the HDM's KVM to clear the data on the server.
· HDM management software:
¡ HDM management IP addresses: 192.168.50.137/16
¡ Default username: admin
¡ Default password: Password@_
· User
¡ IP address: 192.168.11.10
¡ OS: Windows 10

Software versions used
This configuration example was created and verified on HDM 2.98, BIOS 5.48 and iFIST 1.42.
Key steps
Access iFIST through the HDM's KVM remote console to clear data on the server.
Restrictions and guidelines
When you use iFIST to perform secure data clearing, follow these restrictions and guidelines:
· Make sure the data to be cleared is useless and can be cleared. If the data to be cleared is useful, first back up it to avoid loss of important data.
· Make sure all external storage devices (including but not limited to portable storage devices) of the server have been removed to avoid clearing data by mistake.
· During the data clearing process, do not reboot the server, reboot HDM, or modify the operating system configuration.
Configuration procedure
Logging in to iFIST
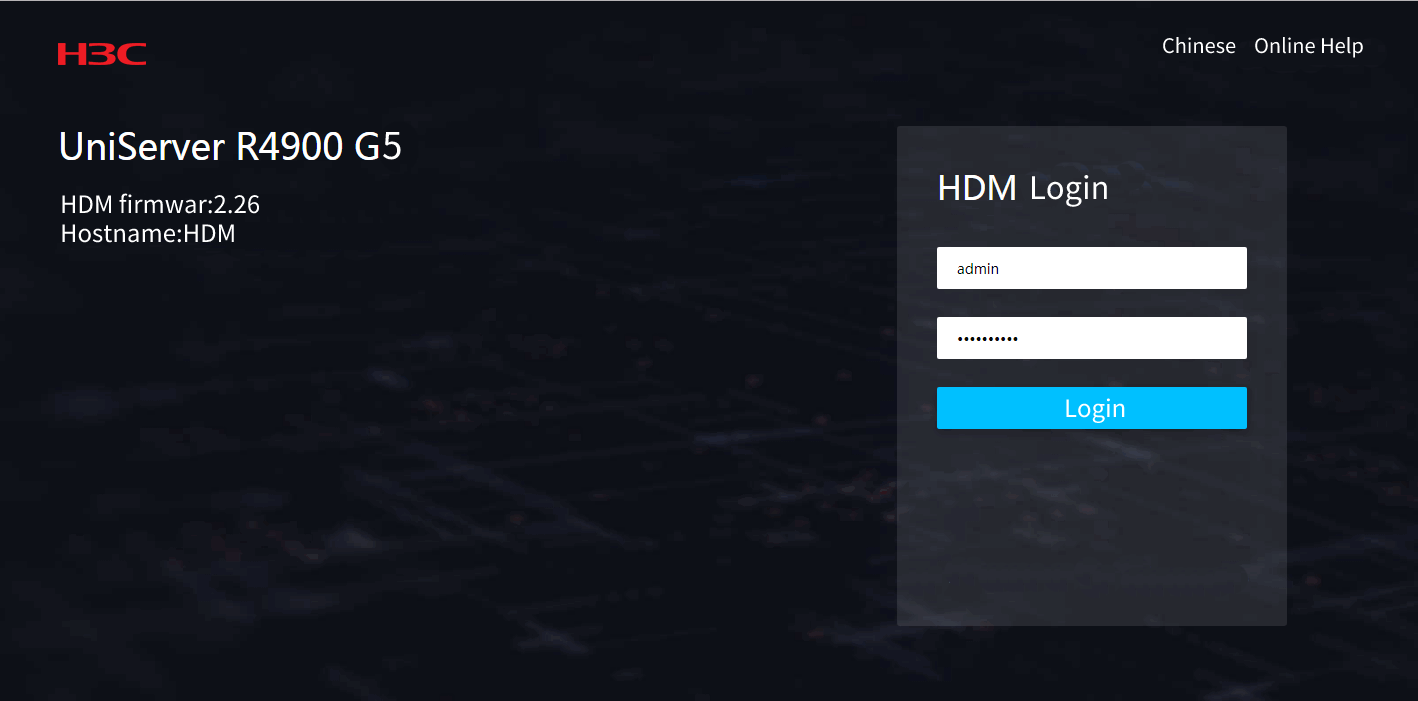
1. Open a browser on a client PC, and then enter the HDM management IP address 192.168.50.137 to access the HDM login page, as shown in Figure 2. On the HDM login page, enter the default username admin and the default password Password@_, and then click Log In.
2. After login, you are placed on the HDM home page, as shown in Figure 3.
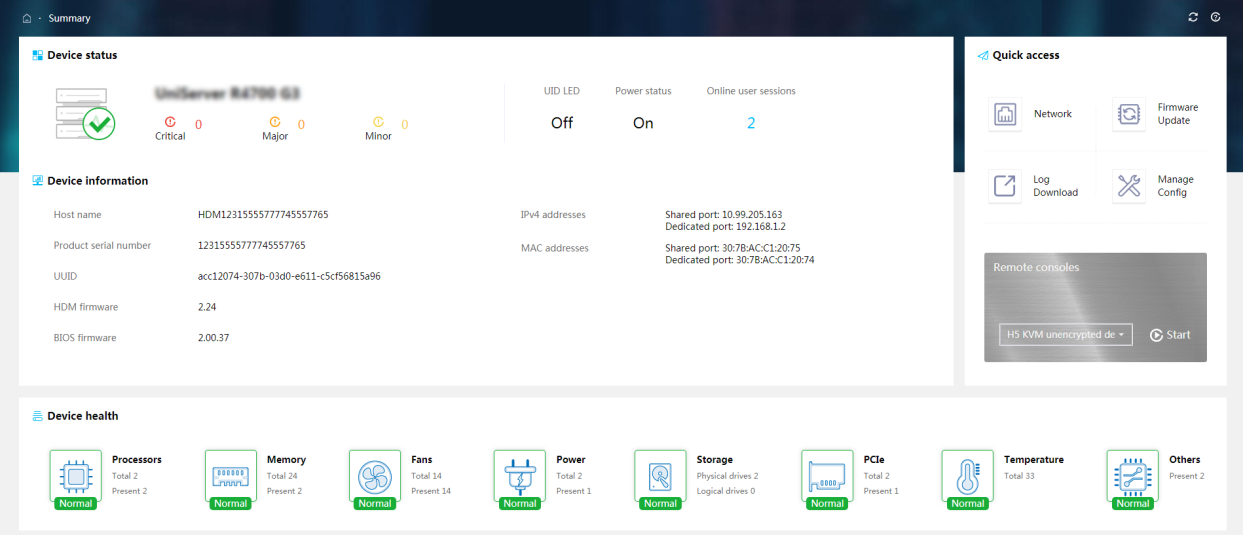
3. Click Start in the Quick access column (as shown in Figure 3) to start the KVM remote console and enter the page. For more information on KVM remote console, see H3C Servers HDM User Guide.
4. On the KVM page, click Power > Restart.
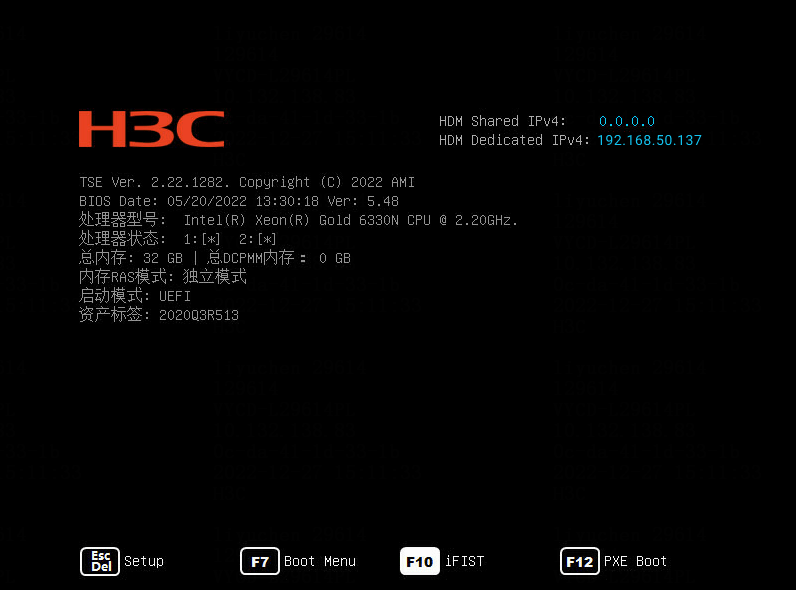
5. After the server is initialized, the boot screen is displayed. Press F10 to access iFIST, as shown in Figure 4.
6. The iFIST home page shown in Figure 5 opens.
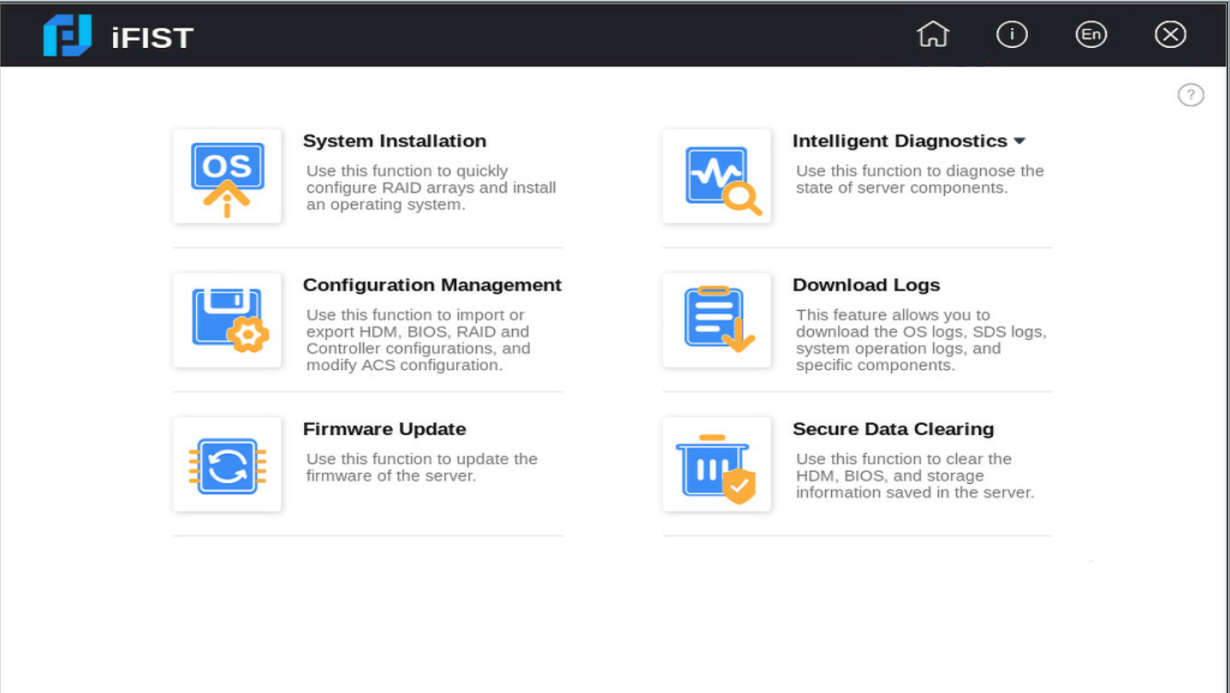
Using the secure data clearing function
1. On the iFIST home page, click Secure Data Clearing. Then, iFIST will automatically scan the components whose data can be cleared.
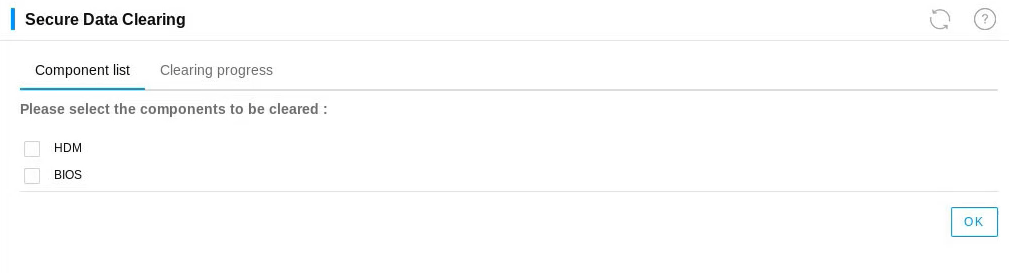
2. On the Component list tab, select the components for which you want to clear data, and then click OK. In this example, HDM is selected, as shown in Figure 6.
Figure 6 Selecting the component for data clearing
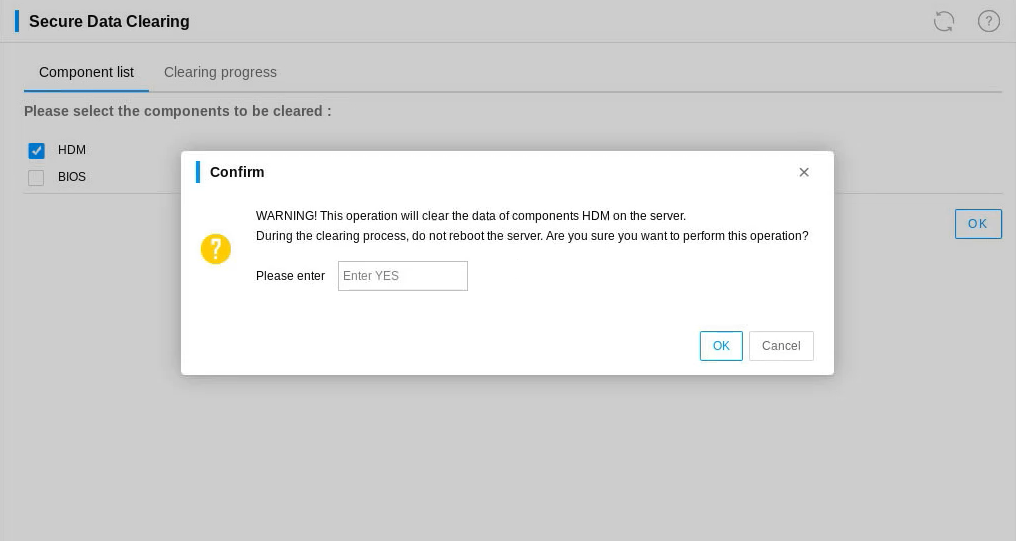
3. On the confirmation dialog box that opens, enter the case-insensitive string YES, as shown in the figure below.
Figure 7 Confirming the operation
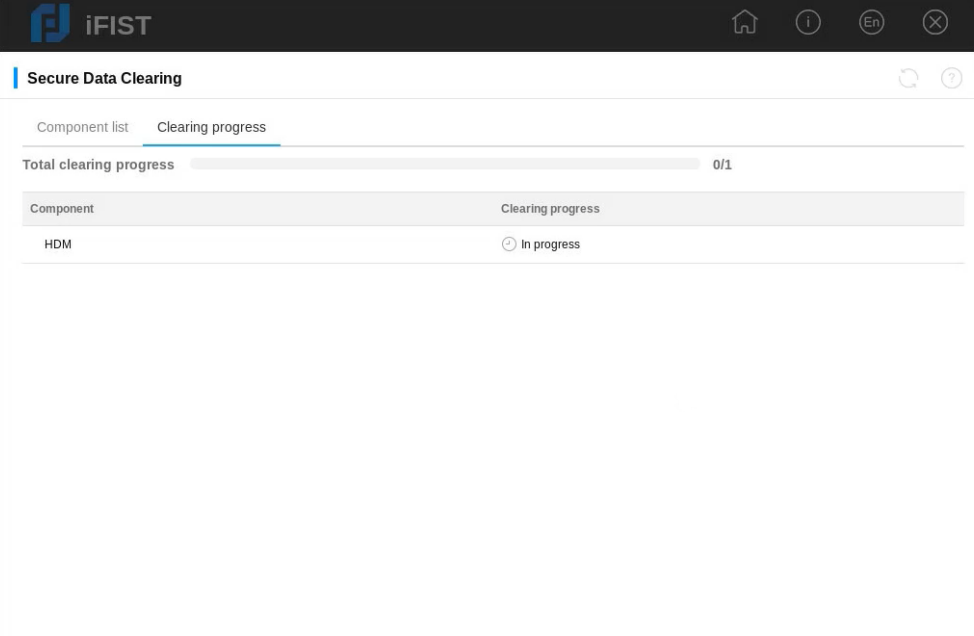
4. Click OK, and then the system switches to the Clearing progress tab automatically, as shown in Figure 8. Data clearing is time-consuming and usually takes about one day. If more components are selected for clearing data, it might take a longer time.
Figure 8 Viewing the clearing progress
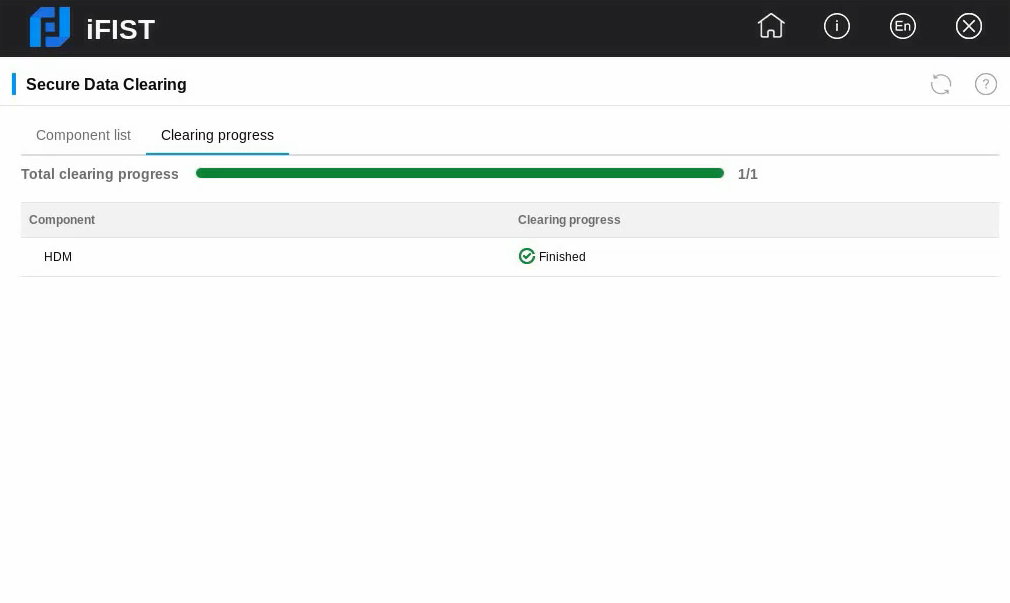
5. After data clearing is finished, view the clearing result in the Clearing progress column. If it displays Completed as shown in Figure 9, iFIST fully cleared the data.
Figure 9 Data clearing completed
Verifying the configuration
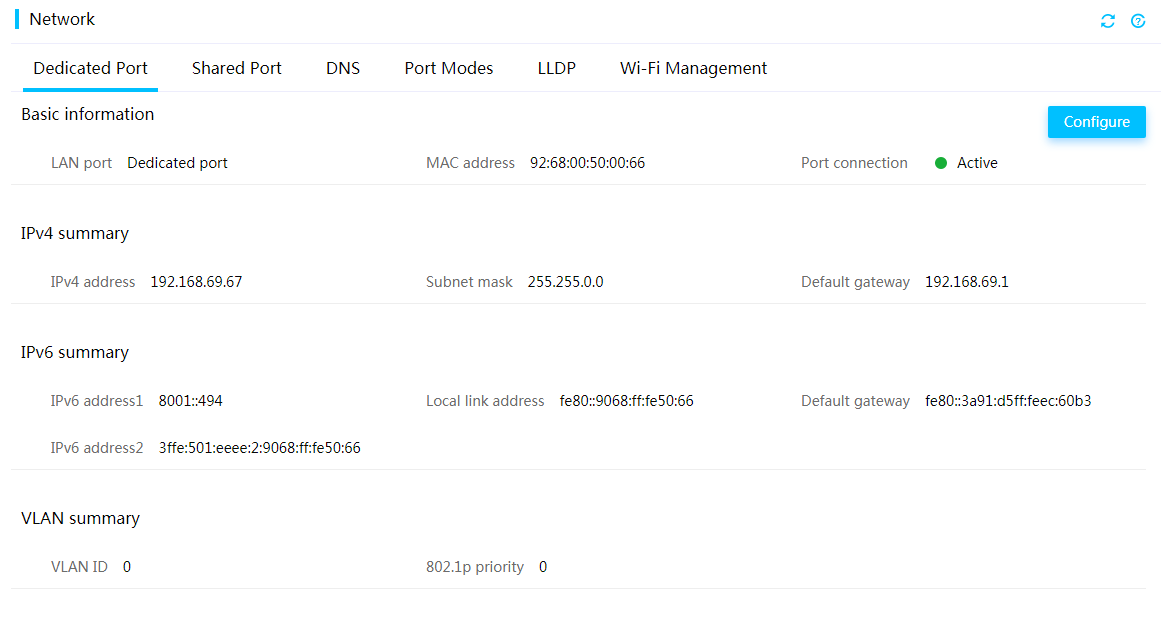
This document uses HDM as an example to describe how to clear data by using the secure data clearing function. After the data of HDM is cleared, HDM restores to the default factory configuration. Log in to the HDM system management page to view the restored configuration, as shown in Figure 10.
Figure 10 HDM configurations (partial)
Related documentation
· H3C Servers iFIST User Guide
· H3C Server HDM User Guide
