| Title | Size | Downloads |
|---|---|---|
| 08-H3C IMC UAM Certificate Installation Guide-book.pdf | 434.34 KB |
- Table of Contents
- Related Documents
-
| Title | Size | Download |
|---|---|---|
| book | 434.34 KB |
|
H3C IMC UAM |
|
Certificate Installation Guide |
|
|
|
Copyright © 2016 Hangzhou H3C Technologies Co., Ltd. All rights reserved. No part of this manual may be reproduced or transmitted in any form or by any means without prior written consent of Hangzhou H3C Technologies Co., Ltd. The information in this document is subject to change without notice. |
|
Contents
Installing certificates on UAM
Downloading a root certificate
Requesting and installing a server certificate
Exporting a server certificate from Windows
Importing root and server certificates to UAM
Importing root and server certificates to UAM 7.0 (E0103) or earlier
Importing root and server certificates to UAM 7.0 (E0201) or later
Introduction
This document provides the following certificate installation processes:
· Installing a root certificate and a server certificate in UAM.
· Installing a root certificate and a client certificate on a client.
UAM supports certificate-based authentication on clients attempting to access the network. For a client to pass certificate-based authentication on UAM, you must first install the appropriate certificates on the client and UAM.
The certificates required on the client and in UAM vary with the authentication scenario and authentication method, as shown in Table 1.
Table 1 Certificates required on a client and UAM
|
Authentication scenario |
Authentication method |
Certificates required on the client |
Certificates required in UAM |
|
User certificate authentication |
EAP-TLS |
Root certificate User certificate |
Root certificate Server certificate |
|
EAP-TTLS |
Root certificate |
||
|
EAP-PEAP |
|||
|
Machine certificate authentication |
EAP-TLS |
Root certificate Machine certificate |
|
|
NOTE: Both the user certificate and machine certificate are client-side certificates that can be used to authenticate a client to UAM. User and machine certificates include the following differences: · A user certificate uses the account name of an access user in UAM as the certificate name. · A machine certificate uses the full name of a computer as the certificate name. |
Installing certificates on UAM
In order for UAM to perform certificate-based authentication on users, perform the following tasks on the host where UAM is deployed:
1. Download a root certificate from the CA server and save it locally.
2. Request a server certificate and install the server certificate on the operating system of the host, and then export the certificate to a file.
This example uses Windows.
3. Import the root certificate and server certificate to UAM.
Downloading a root certificate
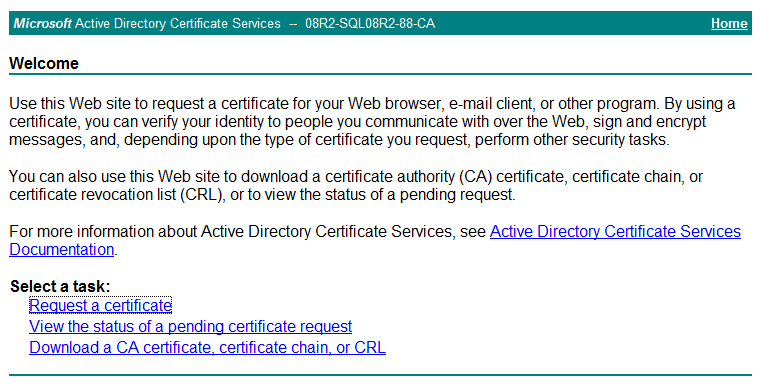
1. In Microsoft Internet Explorer, enter http://192.168.1.103/certsrv in the address bar.
The Microsoft Active Directory Certificate Services page opens, as shown in Figure 1. In this example, 192.168.1.103 is the IP address of the CA server.
Figure 1 Microsoft Active Directory Certificate Services
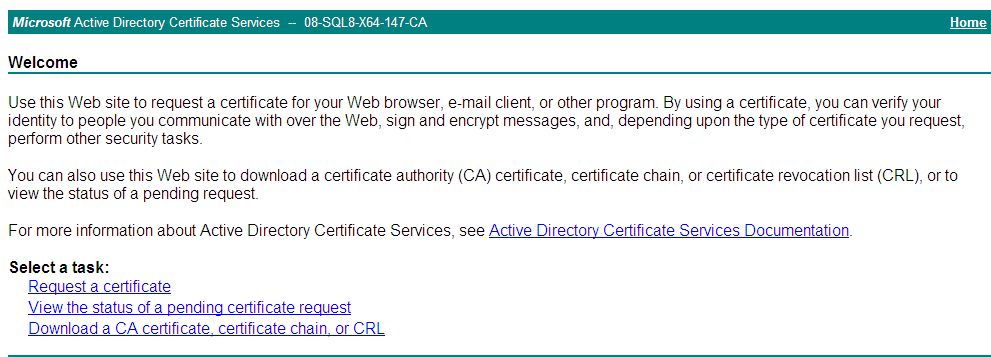
2. Click Download a CA certificate, certificate chain, or CRL, as shown in Figure 2.
Figure 2 Downloading a CA certificate

3. Click Download CA certificate to save the root certificate locally.
Requesting and installing a server certificate
1. In Microsoft Internet Explorer, enter http://192.168.1.103/certsrv in the address bar.
The Microsoft Active Directory Certificate Services page opens, as shown in Figure 3. In this example, 192.168.1.103 is the IP address of the CA server.
Figure 3 Microsoft Active Directory Certificate Services

2. Click Request a certificate.
3. Click Advanced certificate request.
4. Click Create and submit a request to this CA.
The Advanced Certificate Request page opens.
5. Configure the advanced certificate request, as shown in Figure 4:
a. Enter a server name in the Name field. This example uses Server.
b. Select Server Authentication Certificate from the Type of Certificate Needed list.
c. Select Microsoft Enhanced RSA and AES Cryptographic Provider(Prototype) from the CSP list.
d. Select Mark keys as exportable to make sure the certificate can be exported.
e. Use the default values for other parameters.
Figure 4 Advanced Certificate Request

6. Click Submit to submit the certificate request to the CA.
7. (Optional.) On the Microsoft Active Directory Certificate Services page, click View the status of a pending certificate request, as shown in Figure 5.
Figure 5 Microsoft Active Directory Certificate Services

Figure 6 indicates that the certificate has been issued.
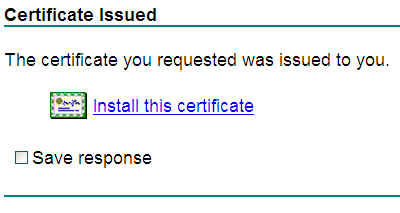
8. On the Certificate Issued page, click Install this certificate.
If the prompt Your new certificate has been successfully installed opens, the server certificate has been installed on the operating system, as shown in Figure 7.
Figure 7 Certificate Installed

Exporting a server certificate from Windows
1. On the host where UAM is deployed, select Start > Control Panel > Internet Options.
The Internet Options dialog box opens, as shown in Figure 8.
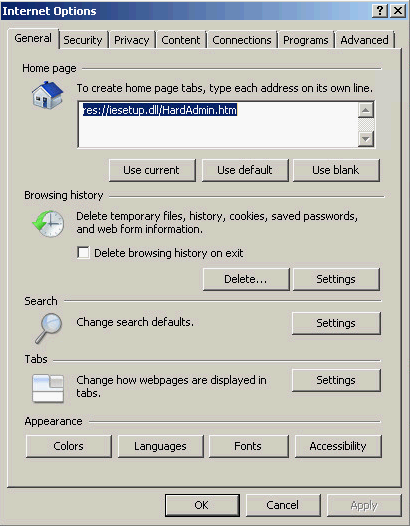
2. Click the Content tab and click Certificates.
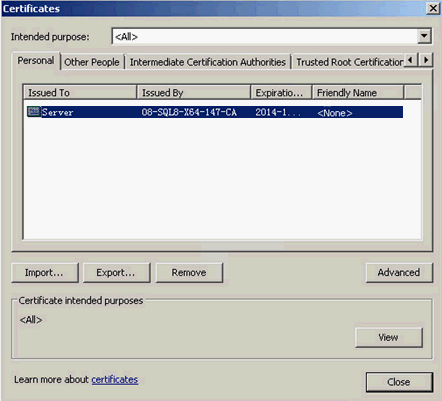
3. On the Personal tab, select the server certificate and click Export, as shown in Figure 9.
Figure 9 Selecting the server certificate
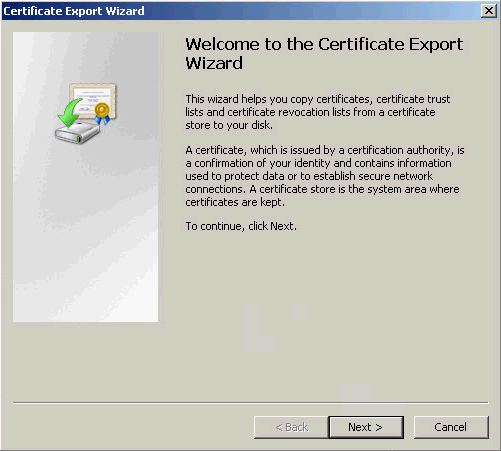
4. On the Certificate Export Wizard page, click Next, as shown in Figure 10.
Figure 10 Certificate Export Wizard
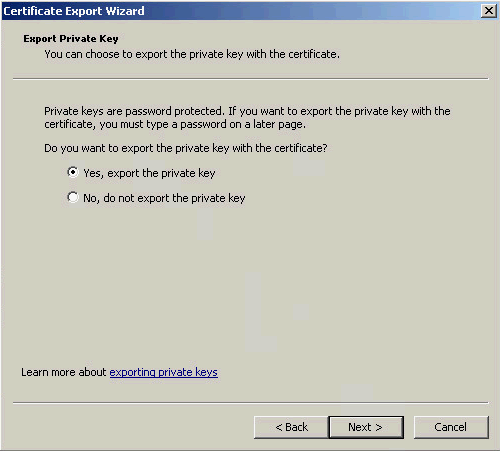
5. On the Export Private Key page, select Yes, export the private key and click Next, as shown in Figure 11.
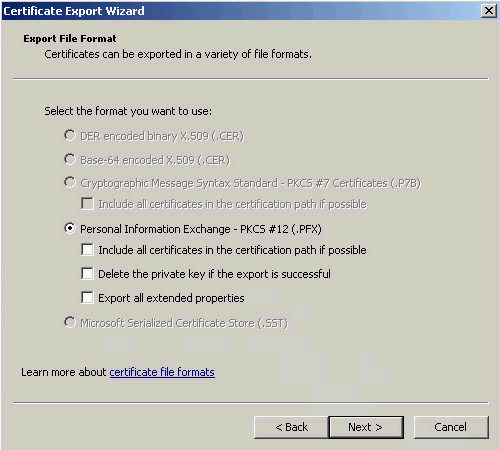
6. On the Export File Format page, use the default setting and click Next, as shown in Figure 12.
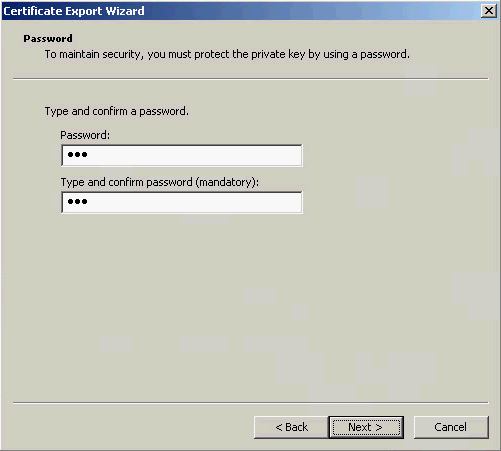
7. On the Password page, set a password for the certificate and click Next, as shown in Figure 13.
Figure 13 Setting a password for the certificate
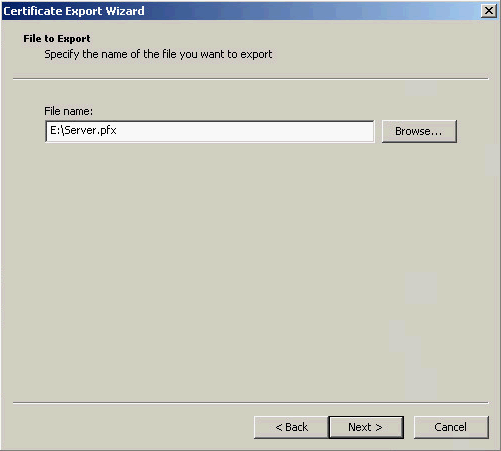
8. On the File to Export page, click Browse to select a path for storing the certificate and click Next, as shown in Figure 14.
Figure 14 Selecting a local path for storing the certificate
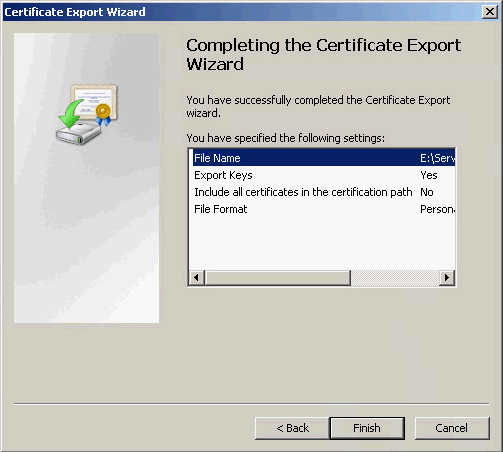
9. On the Completing the Certificate Export Wizard page, click Finish, as shown in Figure 15.
Figure 15 Certificate Export Wizard
Importing root and server certificates to UAM
Importing root and server certificates to UAM 7.0 (E0103) or earlier
1. Log in to IMC.
2. Click the User tab.
3. From the navigation tree, select User Access Policy > Service Parameters > Certificate.
The Certificate page opens, as shown in Figure 16.

4. In the Certificate Verification area, click
the Action icon ![]() for EAP Certificate.
for EAP Certificate.
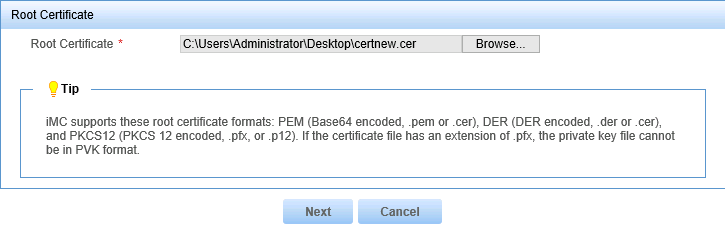
5. Click Browse and select the local root certificate, as shown in Figure 17.
Figure 17 Selecting the root certificate
6. Click Next.
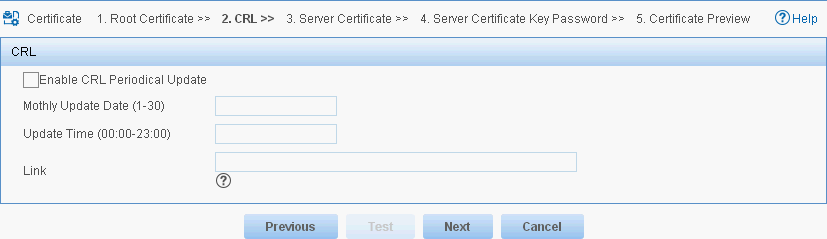
The CRL configuration page opens, as shown in Figure 18. In this example, the CRL configuration is skipped.
Figure 18 CRL configuration
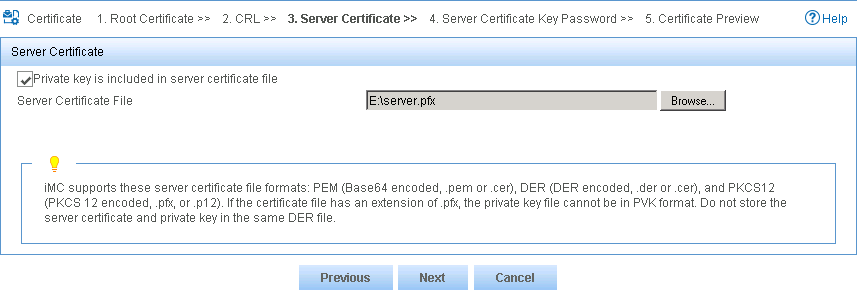
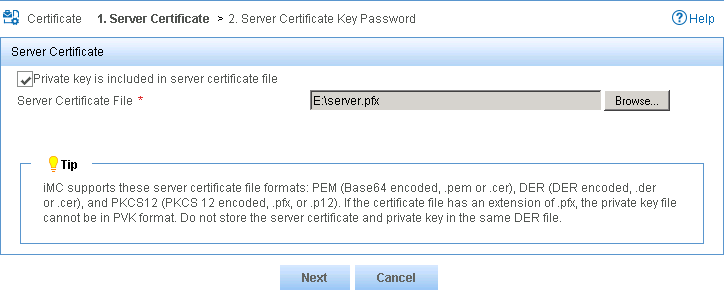
8. On the Server Certificate page, configure the following parameters, as shown in Figure 19:
a. Select the Private key is included in server certificate file option.
b. Click Browse for the Server Certificate File field, and select the local server certificate.
Figure 19 Selecting the server certificate
9. Click Next.
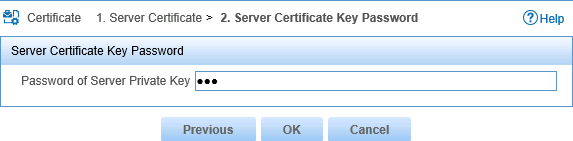
10. Enter the password in the Password of Server Private Key field, as shown in Figure 20.
Figure 20 Entering the server certificate key password

11. Click Next.
The Certificate Preview page opens, as shown in Figure 21.
Figure 21 Previewing the certificates

12. Click OK.
Importing root and server certificates to UAM 7.0 (E0201) or later
1. Log in to IMC.
2. Click the User tab.
3. From the navigation tree, select User Access Policy > Service Parameters > Certificate.
The Certificate page opens, as shown in Figure 22.
Figure 22 Accessing the Certificate page
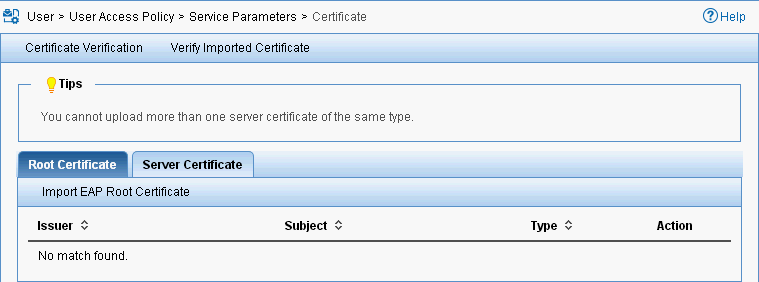
4. On the Root Certificate tab, click Import EAP Root Certificate.
5. Click Browse and select the local root certificate, as shown in Figure 23.
Figure 23 Selecting the root certificate
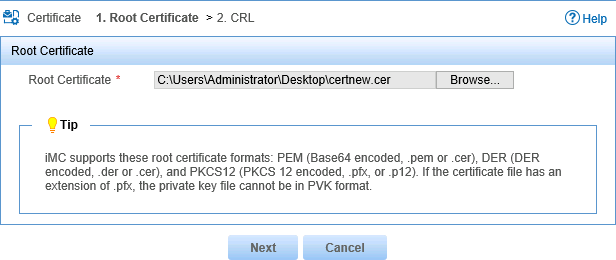
6. Click Next.
The CRL configuration page opens, as shown in Figure 24. This example skips the CRL configuration.

7. Click OK.
8. Click the Server Certificate tab, click Import EAP Server Certificate.
The Server Certificate Key Password page opens, as shown in Figure 25.
Figure 25 Server Certificate Key Password page
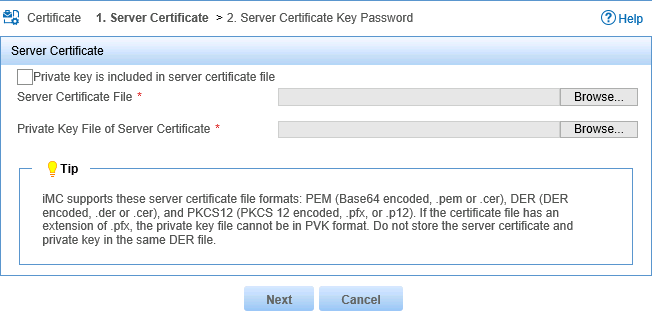
9. Configure the following parameters, as shown in Figure 26:
a. Select the Private key is included in server certificate file option.
b. Click Browse for the Server Certificate File field, and select the local server certificate.
Figure 26 Selecting the server certificate
10. Click Next.
11. Enter the server certificate key password in the Password of Server Private Key field, as shown in Figure 27.
Figure 27 Entering the server certificate key password
12. Click OK.
Installing certificates on a client
To enable a client to pass certificate-based authentication on UAM, you must download and install a root CA certificate on the client.
When the EAP-TLS authentication method is used, you must also request and install a client certificate for the client.
Installing a root certificate
1. In Microsoft Internet Explorer, enter http://192.168.1.103/certsrv in the address bar.
The Microsoft Active Directory Certificate Services page opens, as shown in Figure 28. In this example, 192.168.1.103 is the IP address of the CA server.
Figure 28 Microsoft Active Directory Certificate Services

2. Click Download a CA certificate, certificate chain, or CRL, as shown in Figure 29.
Figure 29 Downloading a CA certificate
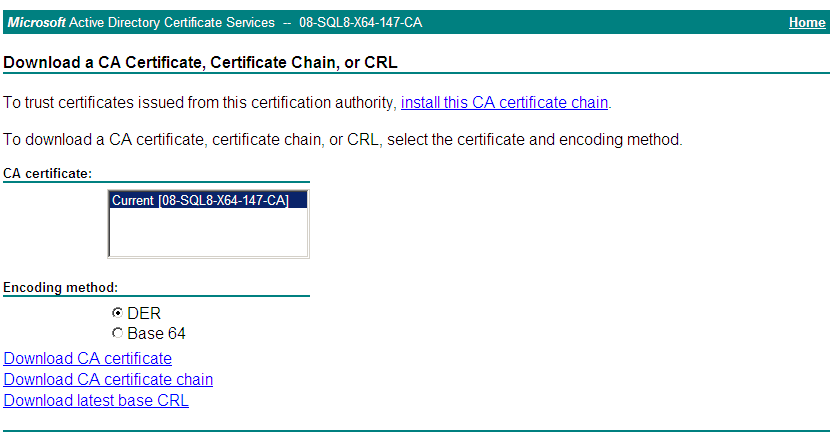
3. Click install this CA certificate chain.
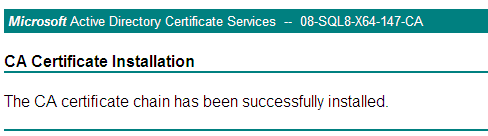
If the prompt The CA certificate chain has been successfully installed opens, as shown in Figure 30, the root certificate has been installed.
Figure 30 CA Certificate Installed
Requesting and installing a client certificate
1. In Microsoft Internet Explorer, enter http://192.168.1.103/certsrv in the address bar.
The Microsoft Active Directory Certificate Services page opens, as shown in Figure 31. In this example, 192.168.1.103 is the IP address of the CA server.
Figure 31 Microsoft Active Directory Certificate Services
2. Click Request a certificate.
3. Click Advanced certificate request.
4. Click Create and submit a request to this CA.
The Advanced Certificate Request dialog box opens.
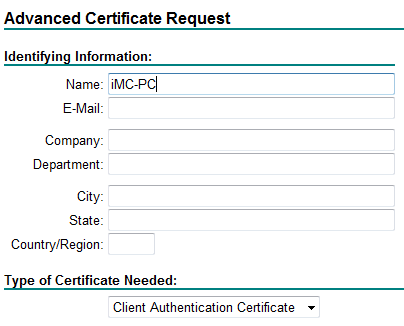
5. Configure the advanced certificate request, as shown in Figure 32:
a. Configure the name for the certificate:
- To request a user certificate, enter the account name of an access user in the Name field. If the access user is a domain user, the certificate name includes the domain name.
- To request a machine certificate, enter the full computer name in the Name field.
b. Select Client Authentication Certificate from the Type of Certificate Needed list.
c. Use the default values for other parameters.
Figure 32 Configuring the advanced certificate request
6. Click Submit.
The certificate request is submitted to the CA.
7. (Optional.) On the Microsoft Active Directory Certificate Services page, click View the status of a pending certificate request, as shown in Figure 33.
Figure 33 Microsoft Active Directory Certificate Services

Figure 34 indicates that the certificate has not been issued.

Figure 35 indicates that the certificate has been issued.

8. On the Certificate Issued page, click Install this certificate.
If the prompt Your new certificate has been successfully installed is displayed, the client certificate has been installed.
Figure 36 Certificate Installed

