- Table of Contents
- Related Documents
-
| Title | Size | Download |
|---|---|---|
| 01-Text | 1.77 MB |
Contents
Supported Mac operating systems
Installing the macOS iNode through the GUI
Using the macOS iNode for authentication
Opening the macOS iNode configuration page
Configuring the 802.1X authentication connection
Performing an access authentication
Overview
The macOS iNode intelligent client (MacOS iNode) is client access software for Mac users. It works with IMC EIA and EAD Security Policy to authenticate and check the security of access users. The macOS iNode supports 802.1X and portal for authenticating users.
This document describes how to install, operate, and uninstall the macOS iNode.
· EAD: Endpoint Admission Defense (EAD) is a multi-service security access management solution that integrates pre-authentication, in-process monitoring, post-audit, and service management. It ensures that users and their endpoint devices are secure and free from vulnerabilities, so as to prevent or minimize potential threats to the accessed network.
· 802.1X: The 802.1X protocol is widely used in Ethernet as a common access control mechanism for LAN ports. It addresses authentication and security issues within Ethernet networks. 802.1X is a port-based network access control protocol that controls access to network resources by authenticating user devices connected to the LAN access device ports.
· Portal protocol: The portal protocol controls portal access and portal authentication.
¡ The portal access protocol describes the interactions between the portal client and portal server, including the following:
- The portal client submits authentication information to the portal server through HTTP.
- The portal server pushes authentication success or failure page to the portal client through HTTP.
- The portal server and portal client detect whether users are online through handshake messages.
¡ The portal authentication protocol describes the interactions between the portal server and the BAS, including the following:
- The portal authentication protocol uses a loose client/server model and uses Request/Response to exchange most messages. It also defines a Notify packet as a channel for message exchange between the portal server and the BAS.
- The portal authentication protocol is carried over UDP packets.
- The portal server listens to non-response type packets sent by the BAS device on a specific local UDP port and sends all packets to a specific port on the BAS device. The BAS listens to all packets sent by the portal server on a specific local UDP port and sends non-response type packets to a specific port on the portal server. The destination port number of response type packets uses the source port number of the corresponding request packet.
Installing the macOS iNode
If the iNode client of an earlier version has been installed on the PC, uninstall it before installing the new version.
Supported Mac operating systems
The following Mac operating systems support the macOS iNode:
· macOS 10.9
· macOS 10.10
· macOS 10.11
· macOS 10.12
· macOS 10.13
· macOS 10.14
· macOS 10.15.11
· macOS 11.4
· macOS 11.5
· macOS 11.6
· macOS 12.0
· macOS 12.1
· macOS 13
Installing the macOS iNode through the GUI
The following example uses macOS 13 to describe how to install the macOS iNode.
|
|
NOTE: You must have the administrator privilege to install the macOS iNode. |
To install the macOS iNode through the GUI:
1. Log in to macOS as administrator.
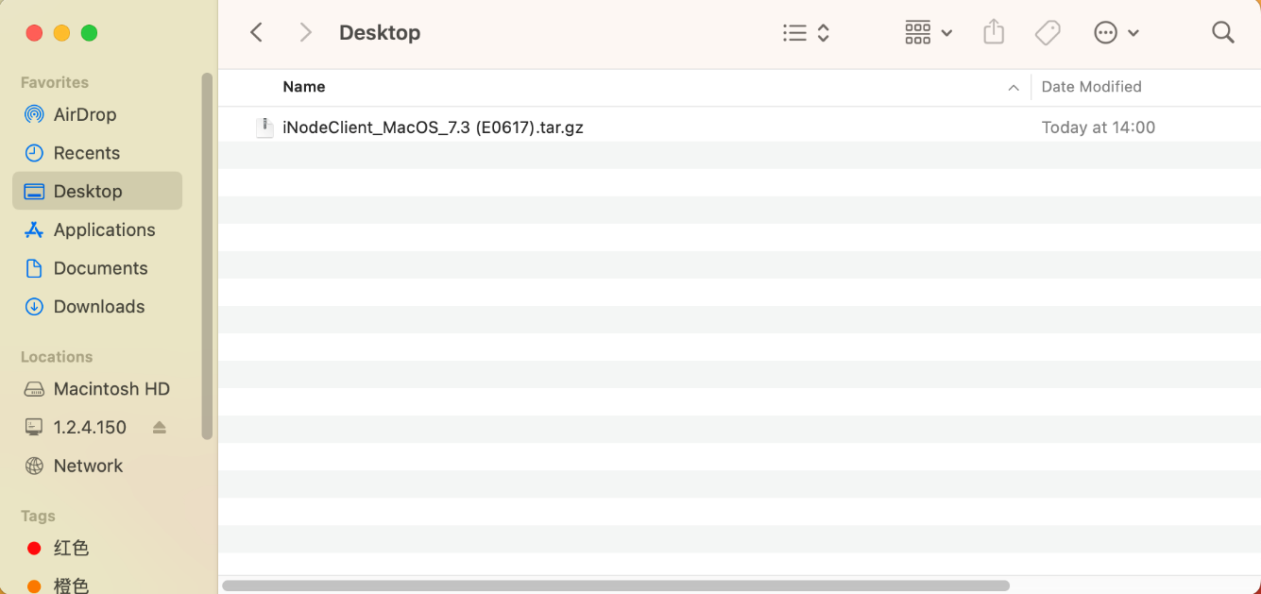
2. Replicate the installation file to the installation directory.
H3C recommends that you replicate the configuration file iNodeClient_MacOS.tar.gz to the custom directory of the login user.
Figure 1 Replicating the installation file to the installation directory
3. Double-click the configuration file to decompress it. Figure 2 shows the decompressed files. iNodeClient is the installation program.
Figure 2 Decompressing the installation file
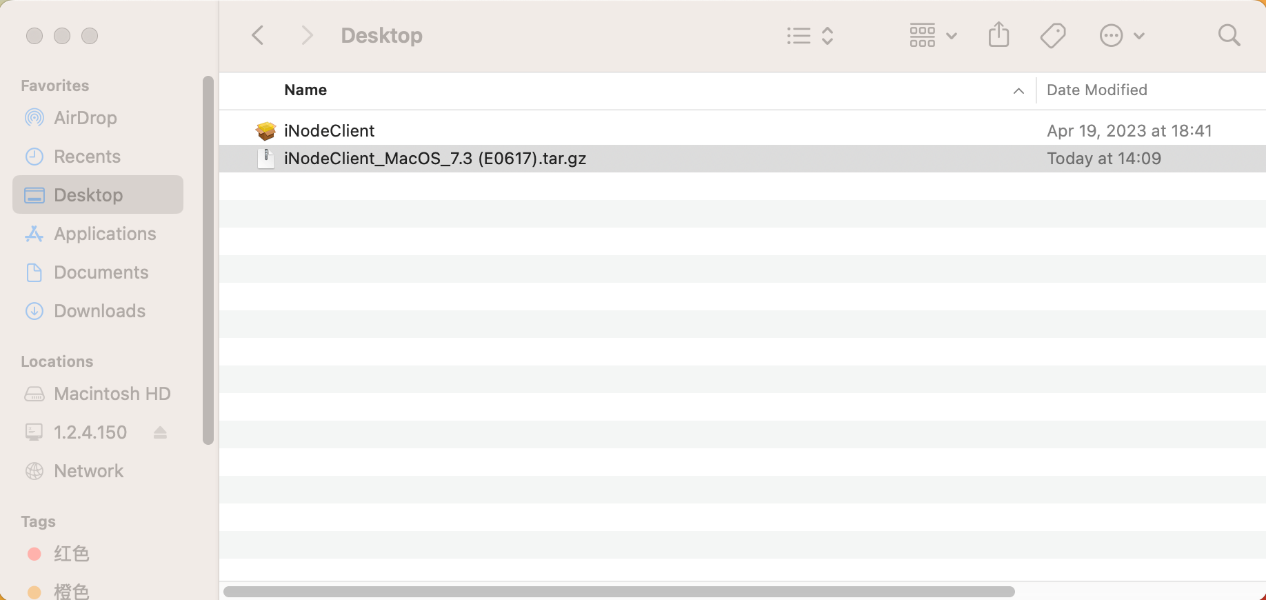
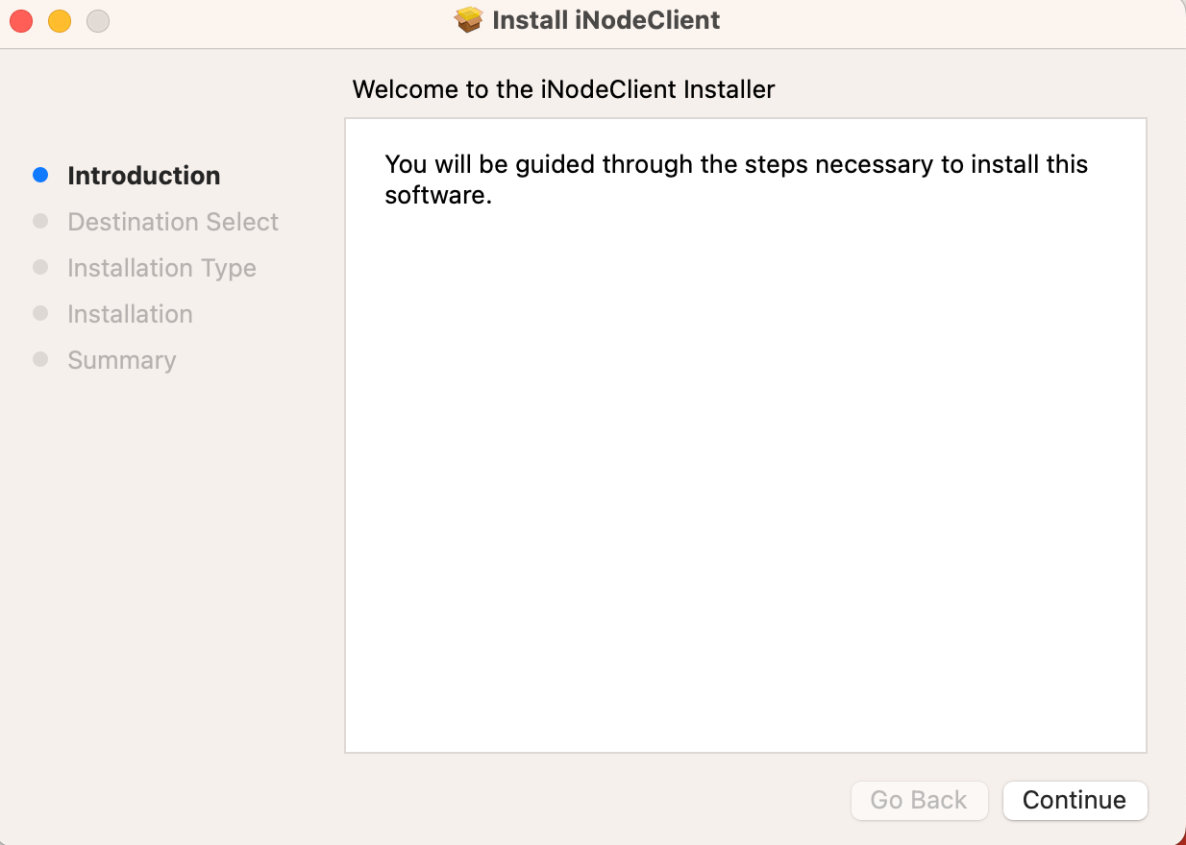
4. Double-click iNodeClient.
The installation wizard opens, as shown in Figure 3.
Figure 3 macOS iNode installation guide
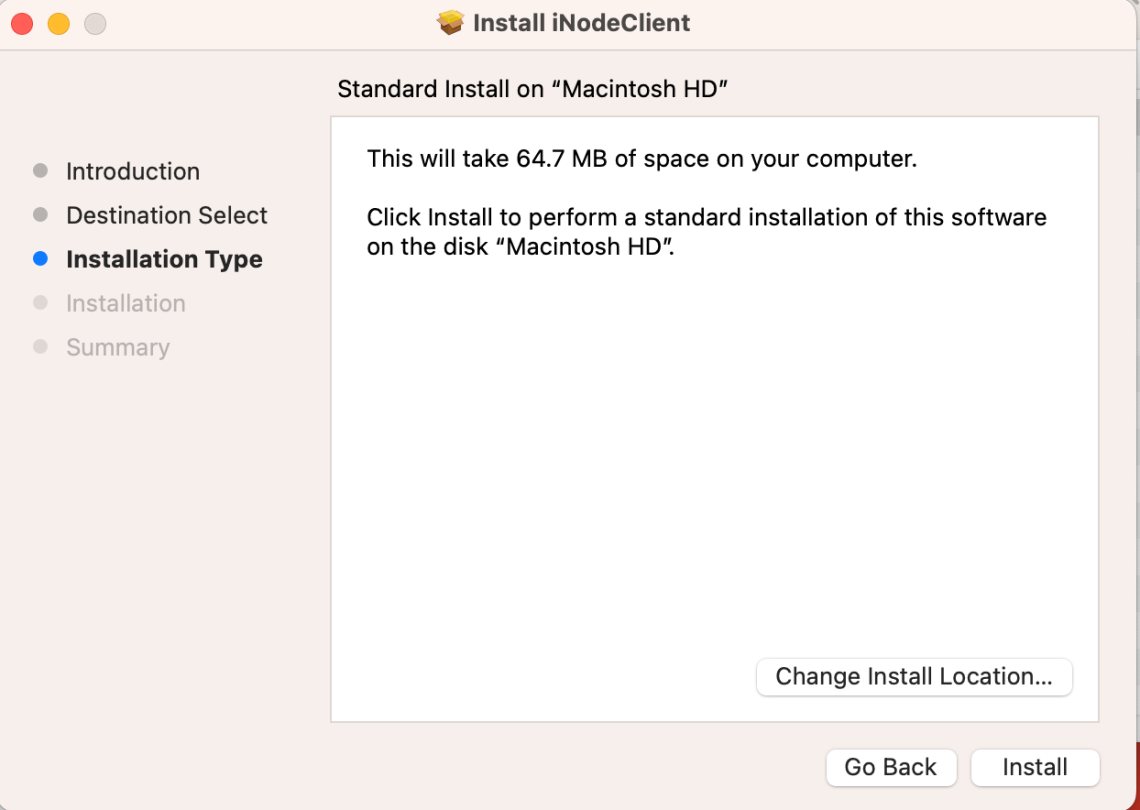
The Standard Install on "Macintosh HD" page opens, as shown in Figure 4.
Figure 4 Standard Install on "Macintosh HD" page
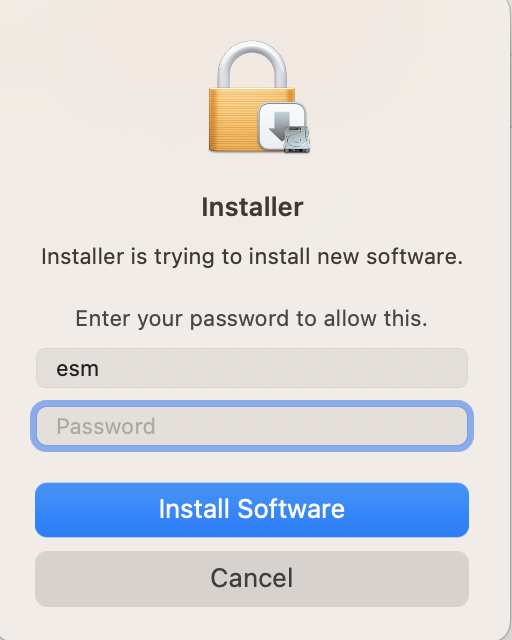
7. Type the username and password, and then click Install Software, as shown in Figure 5.
Figure 5 Typing your username and password
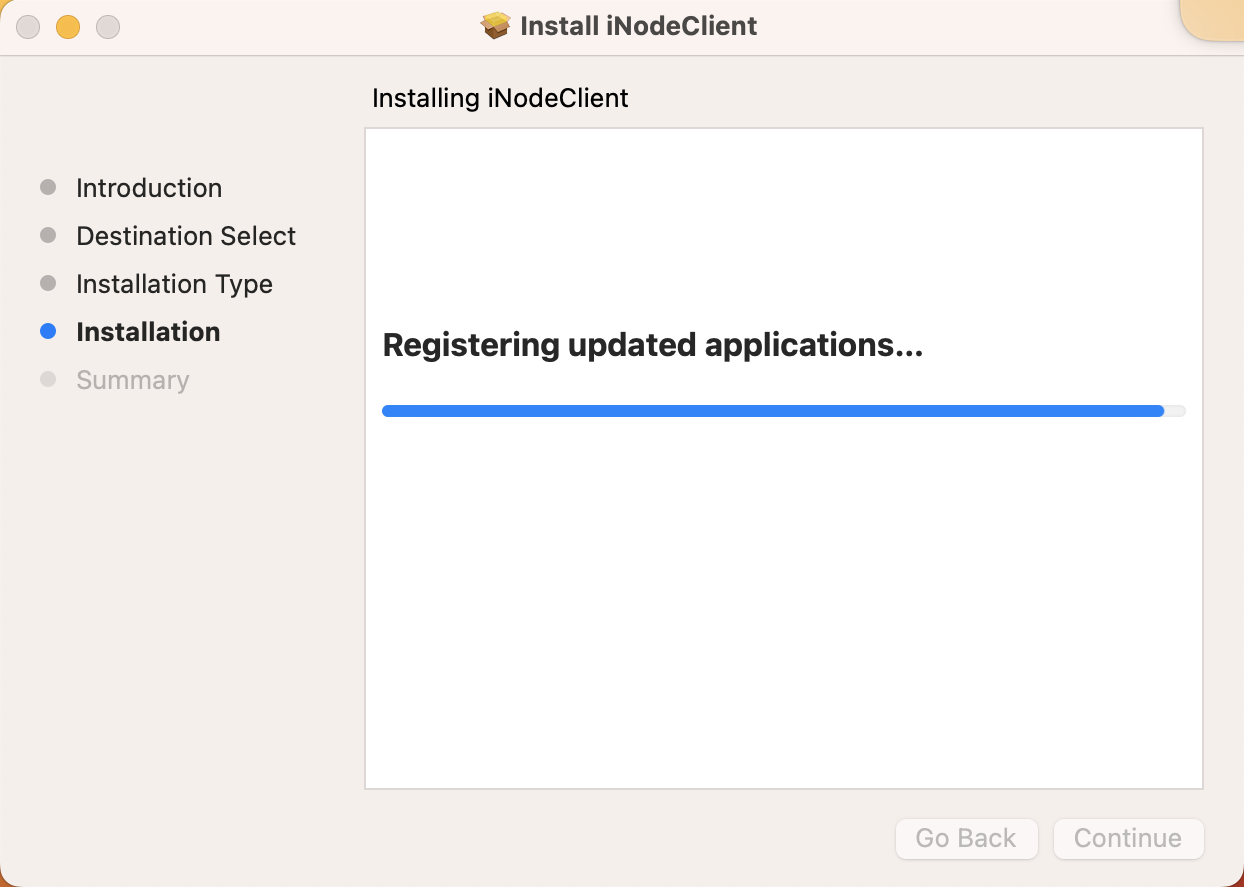
8. In the message dialog box that opens, click Continue Installation.
The system starts to install iNode, as shown in Figure 6.
Figure 6 Installing the iNode client
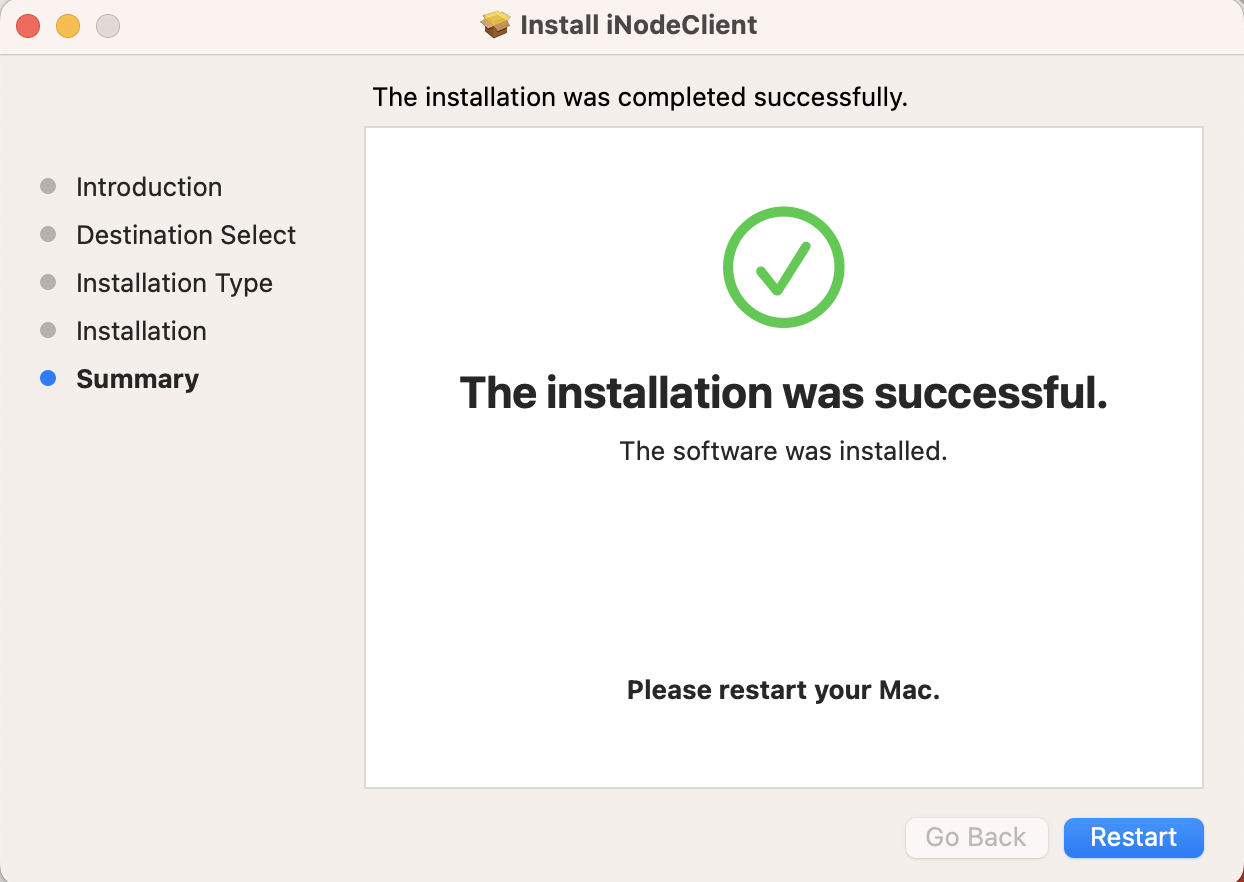
9. On the installation success page, click Restart, as shown in Figure 7.
The operating system restarts to make iNode settings take effect.
Figure 7 Completing the installation
Verifying the installation
After installing the macOS iNode, you can check the status of AuthenMngService. If this service is enabled, you have successfully installed iNode on the Mac operating system.
To check the service status:
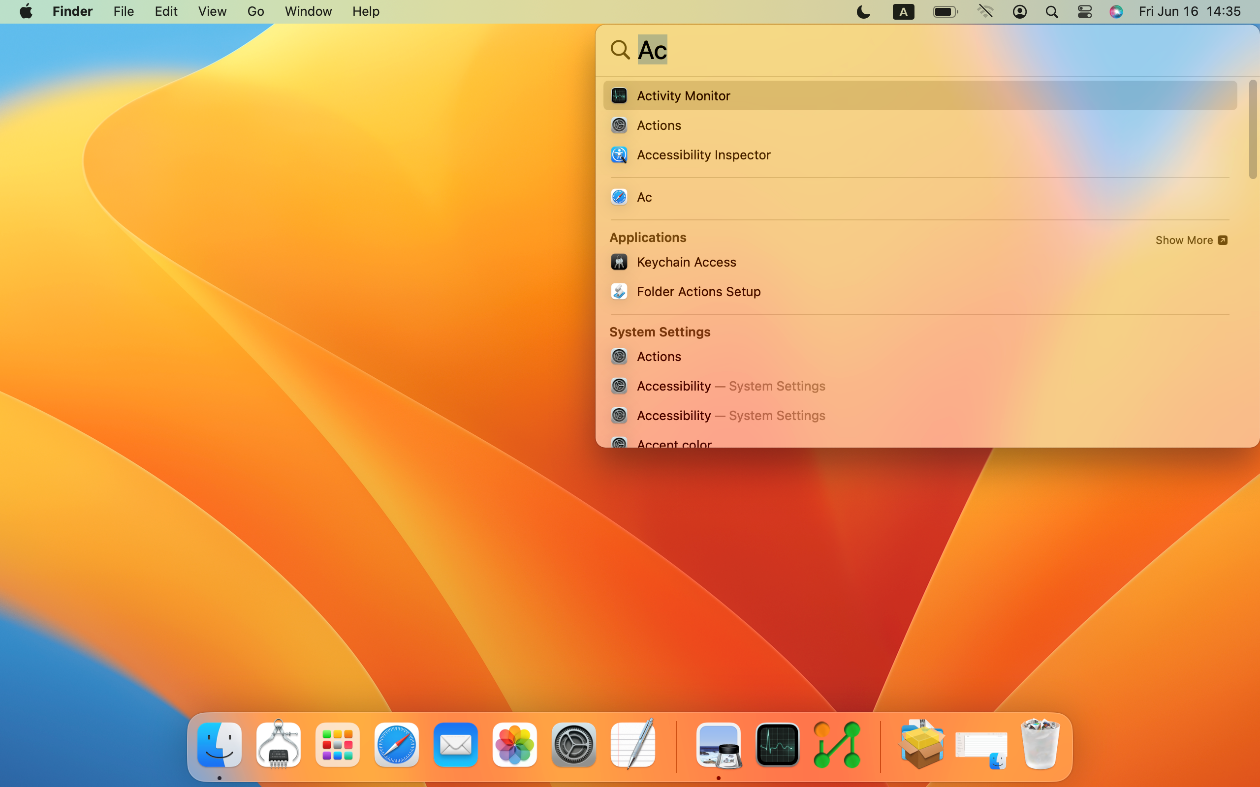
1. Click the Spotlight icon ![]() in the upper
right corner of the desktop, and then search for and open
the activity monitor, as shown in Figure 8.
in the upper
right corner of the desktop, and then search for and open
the activity monitor, as shown in Figure 8.
Figure 8 Searching for the activity monitor
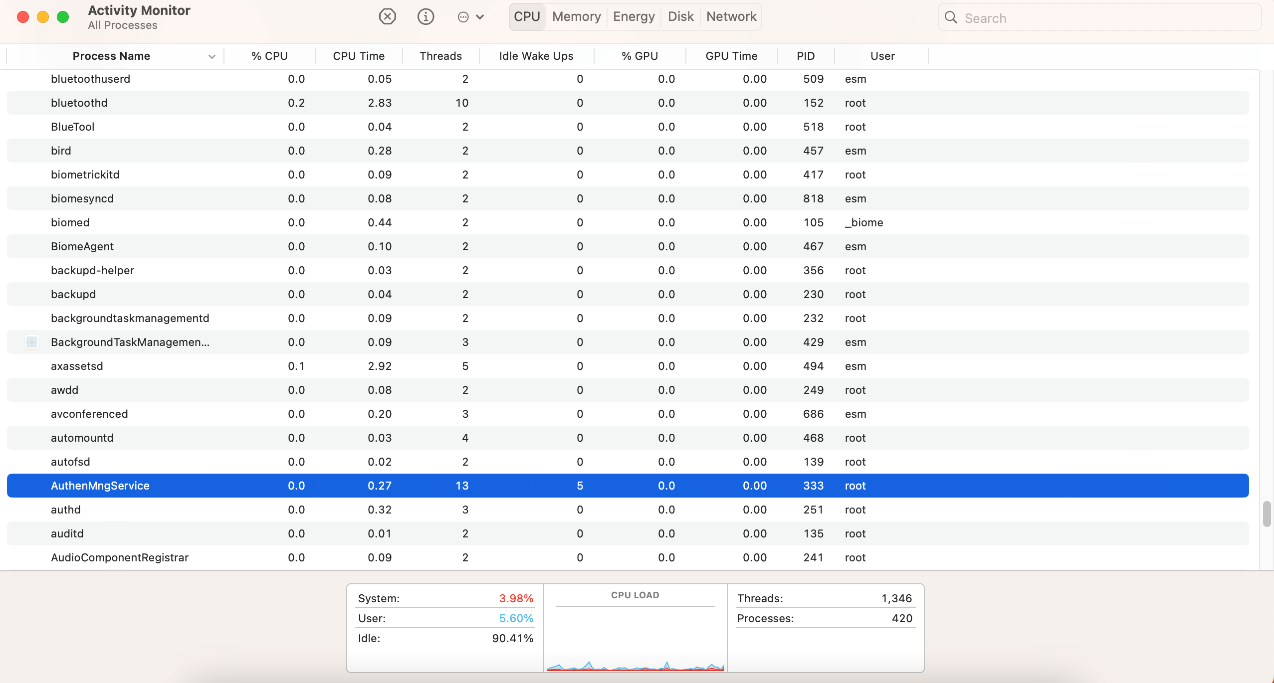
2. O the Activity Monitor page, search for AuthenMngService.
If AuthenMngService exists in the Process Name column, you have installed the macOS iNode successfully, as shown in Figure 9.
Figure 9 Searching for AuthenMngService
Using the macOS iNode for authentication
Opening the macOS iNode configuration page
1. Search for the macOS iNode application, as shown in Figure 10.
Figure 10 macOS iNode application

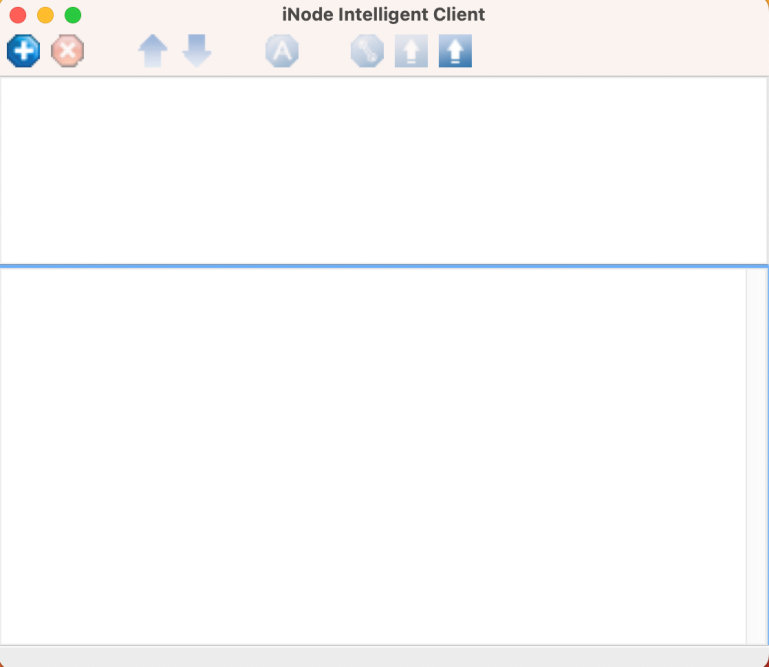
2. Double-click iNodeClient.
The iNode configuration page opens, as shown in Figure 11.
Figure 11 macOS iNode configuration page
3. Click the Add icon ![]() on the
configuration page.
on the
configuration page.
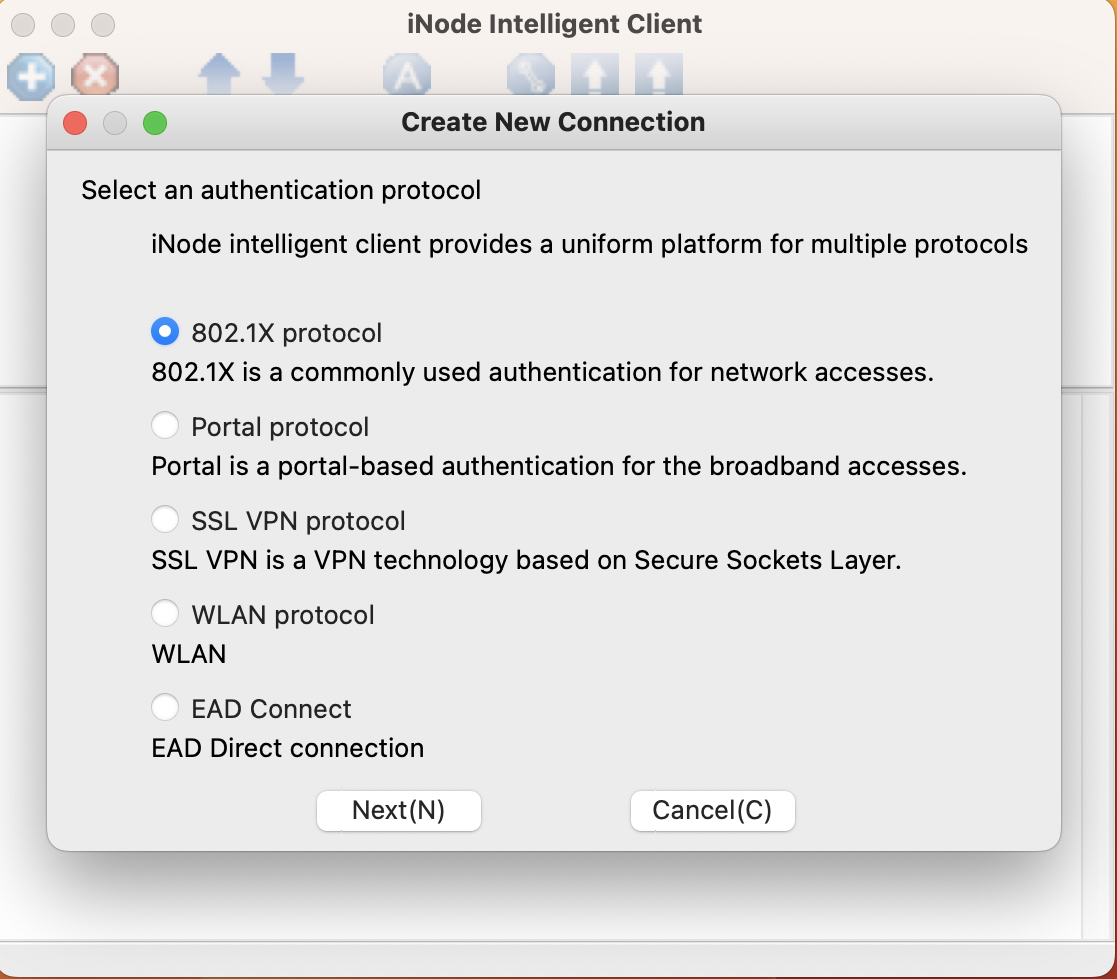
The Create New Connection page opens, as shown in Figure 12.
Figure 12 Creating a new connection
Configuring the 802.1X authentication connection
1. In the dialog box as shown in Figure 12, select a protocol and click Next. This example uses the 802.1X protocol.
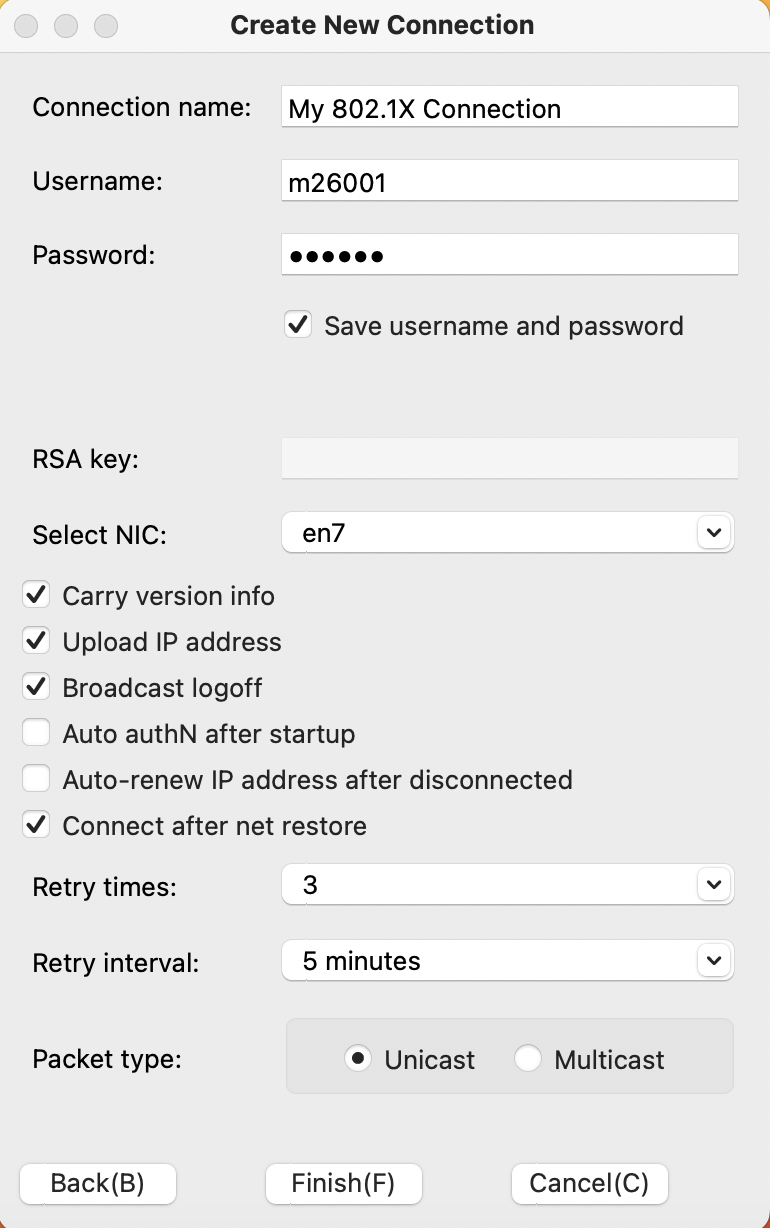
2. Configure parameters for the connection, as shown in Figure 13.
¡ Select a NIC from the Select NIC list. Make sure the NIC used for access authentication is selected if the PC on which the macOS iNode is installed has multiple NICs or virtual NICs.
¡ Configure other parameters based on the network requirement.
3. Click Finish.
Figure 13 Configuring a connection for authentication
Performing an access authentication
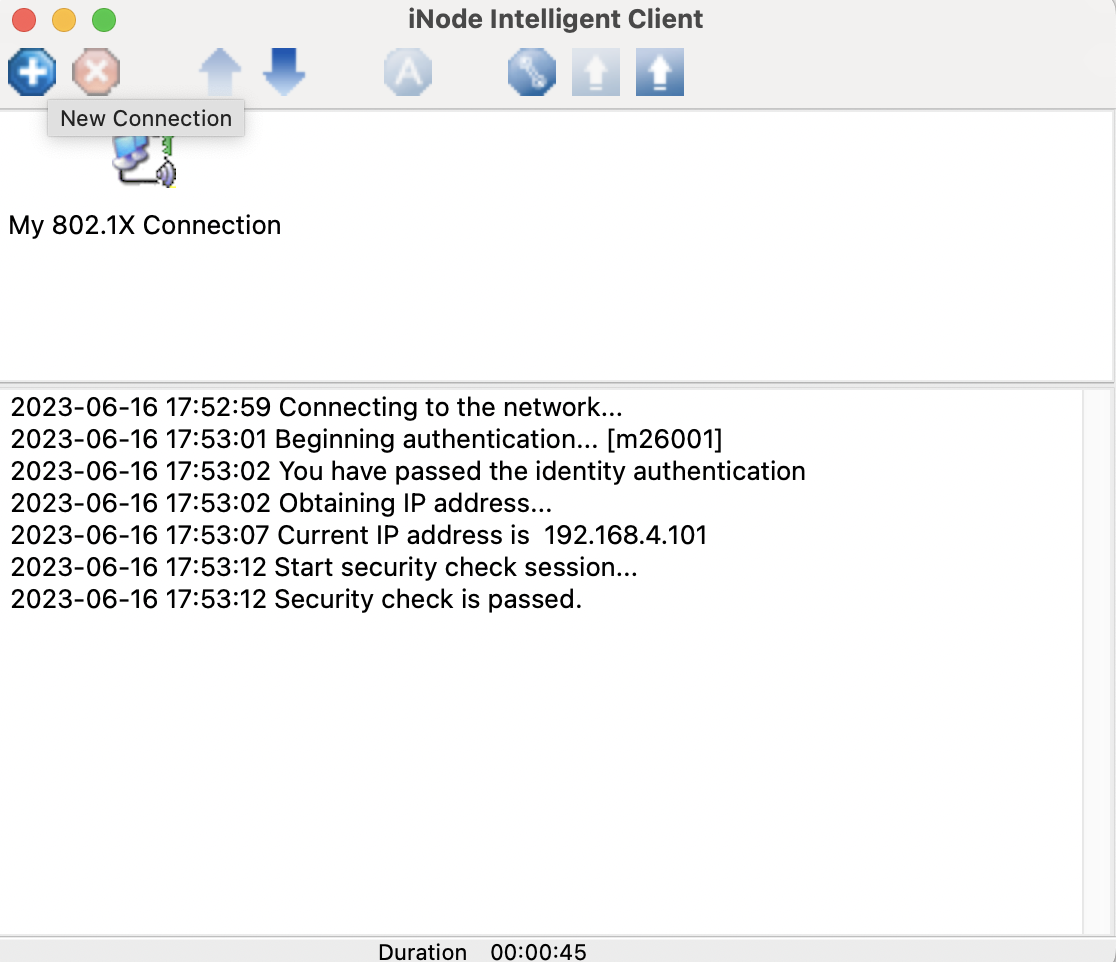
On the iNode configuration page, click the Logon icon ![]() to trigger
an authentication.
to trigger
an authentication.
You can access the network after passing authentication, as shown in Figure 14.
Figure 14 Authentication passed
Uninstalling the macOS iNode
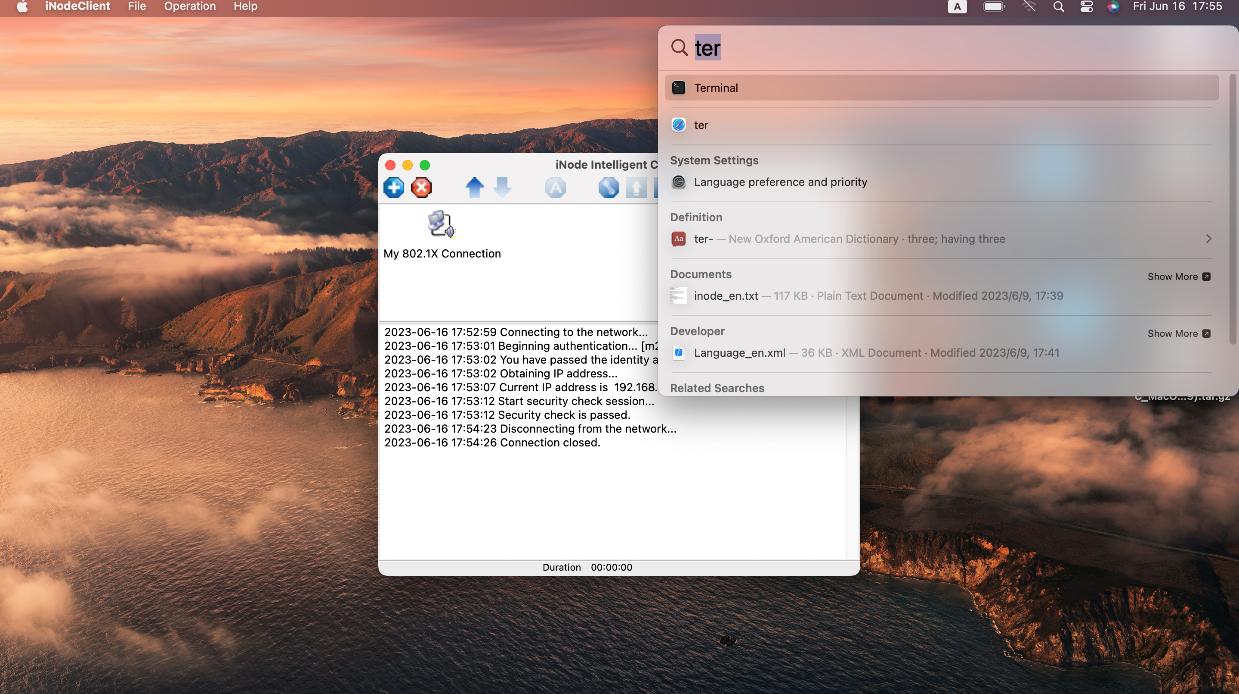
1. Click the Spotlight icon ![]() in the upper right corner of the desktop,
and then search for the terminal, as shown in Figure 15.
in the upper right corner of the desktop,
and then search for the terminal, as shown in Figure 15.
Figure 15 Searching for the terminal
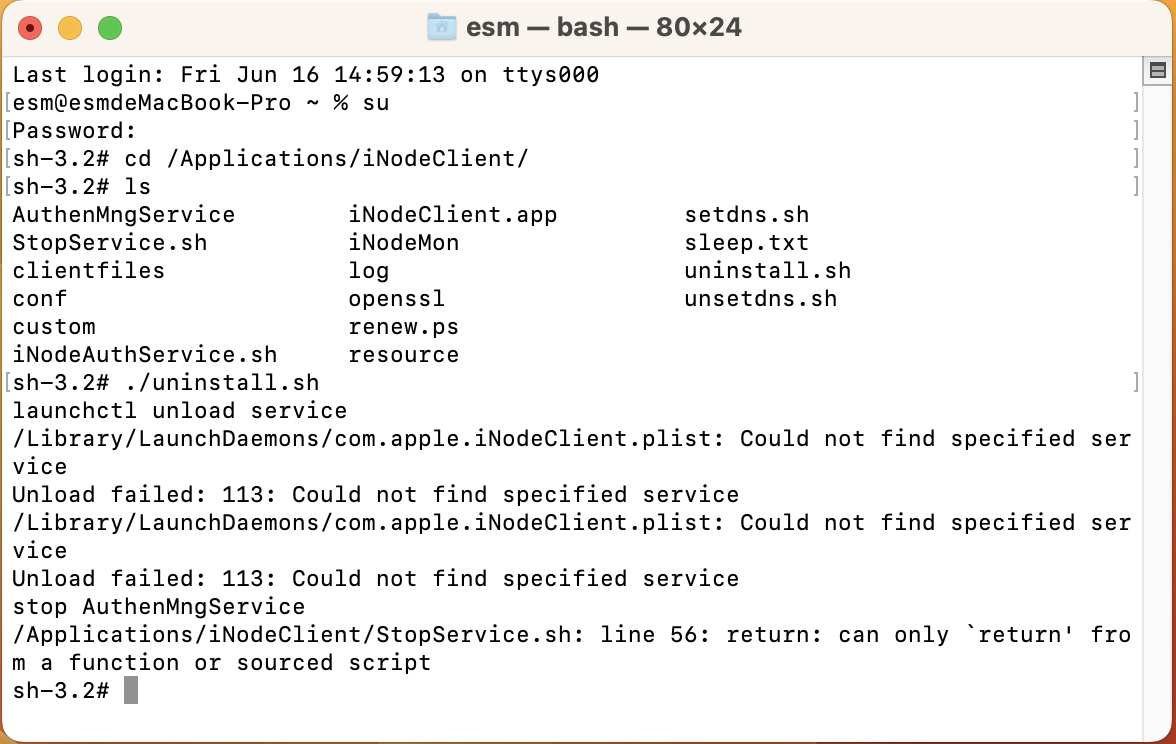
2. Enter the macOS iNode installation directory.
cd /Applications/iNodeClient/
3. Uninstall the macOS iNode.
./uninstall.sh
|
|
NOTE: The administrator password used to log in to the operating system is required during the uninstall process. |
Figure 16 Uninstalling the macOS iNode