- Table of Contents
- Related Documents
-
| Title | Size | Download |
|---|---|---|
| 01-Text | 696.85 KB |
Contents
Supported Windows operating systems
Using the iNode client for authentication
Using the iNode client for portal authentication
Using the predefined portal connection for authentication
Creating a portal connection for authentication
Overview
The iNode intelligent client (iNode client) is client access software for Windows users. It works with IMC EIA and EAD Security Policy to authenticate and check the security of access users.
· IMC: Intelligent Management Center (IMC) is a comprehensive network management product launched by H3C based on B/S architecture. IMC focuses on network management, with emphasis on network resources, users, and services, providing a unified solution for administrators to manage networks end-to-end.
· EIA: Endpoint Intelligent Access (EIA) provides unified network access policies for managing wired, wireless, and VPN networks for enterprises. It offers precision network access control for employees, visitors, and device administrators based on user role, device type, access time and location. This ensures seamless execution of endpoint security policies across the network, meeting the needs of unified operation and management for multiple network access types, endpoint types, and user roles in an enterprise.
· EAD: Endpoint Admission Defense (EAD) controls user endpoint security access to the network, integrating network access control and endpoint security products. Through the collaboration of security clients, security policy servers, network devices, and third-party software, EAD enforces enterprise security policies on user endpoints accessing the network, strictly controlling endpoint user network behaviors and effectively enhancing proactive defense capabilities. It provides network administrators with effective and easy-to-use management tools and solutions.
The iNode client supports the following protocols for user authentication:
· 802.1X
· Portal
· SSL VPN
· Wireless Protocol
· L2TP/IPsec VPN
This document describes how to install, operate, and uninstall the iNode client.
Installing the iNode client
Supported Windows operating systems
The following Windows operating systems support the iNode client:
· Windows XP
· Windows Server 2003
· Windows Vista
· Windows 7
· Windows 8
· Windows 10
Installing the iNode client
The iNode client installation supports the .exe and .msi installation programs.
The .msi installation program applies to the following scenarios:
· Centrally distribute the installation program of the iNode client to PCs through a domain controller. Make sure the Silent installation option is selected for the .msi installation program. H3C recommends that you select the Enable automatic reboot function option in the basic functions when customizing the installation program in the iNode management center.
· Users with administrator privileges execute the msiexec command to install or uninstall the iNode client.
This example describes how to install the iNode client on Windows 7. The iNode client can be installed on other Windows operating systems in a similar way.
To install the iNode client:
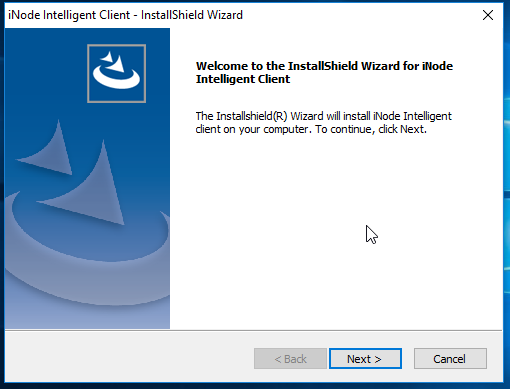
1. Launch the installation wizard.
a. Consult with the administrator to obtain the iNode client installation program.
b. Log in to the Windows operating system as administrator.
c. Double-click the setup program to launch the installation wizard, as shown in Figure 1.
d. Click Next.
Figure 1 Launching the installation wizard
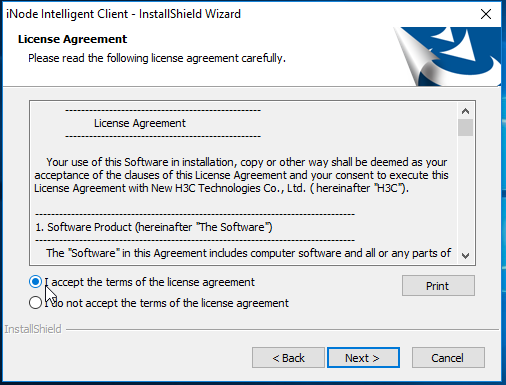
2. Select I accept the terms of the license agreement and then click Next, as shown in Figure 2.
Figure 2 Accepting the license agreement
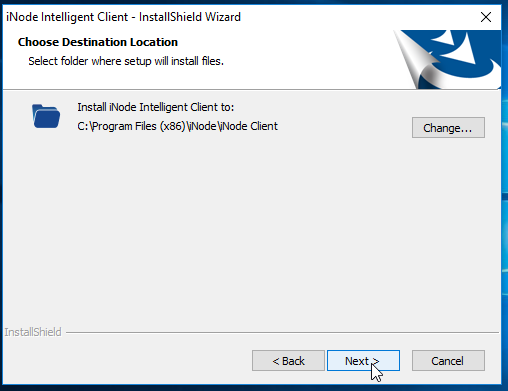
3. Select the installation path, and then click Next.
By default, the iNode client is installed in the directory C:\Program Files\iNode\iNode Client, as shown in Figure 3.
|
|
NOTE: The iNode client installation path can contain letters, numbers, and special characters except the slash (/), backslash (\), colon (:), asterisk (*), question mark (?), quotation marks ("), left angle bracket (<), right angle bracket (>), and vertical bar (|). |
Figure 3 Using the default destination location
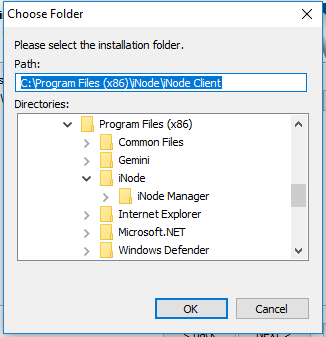
Or, click Change to select another installation path, as shown in Figure 4.
Figure 4 Changing the installation path
4. Click Install to start installing the iNode client, as shown in Figure 5.
Figure 5 Starting installation

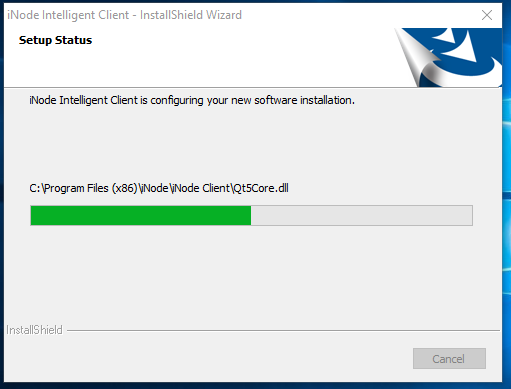
The Setup Status page shows the installation progress, as shown in Figure 6.
Figure 6 Setup Status page
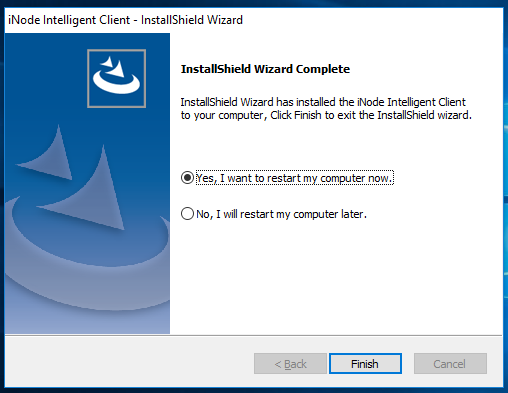
5. Select an option as needed and click Finish. This example uses the Yes, I want to restart my computer now option, as shown in Figure 7.
Figure 7 InstallShield Wizard Complete page
Using the iNode client for authentication
Starting the iNode client
Use one of the following methods to start the iNode client:
· Double-click the iNode client shortcut icon ![]() on your desktop.
on your desktop.
· From the Start menu, select All Programs > iNode > iNode Intelligent Client > iNode Intelligent Client. The path varies based on the operating system version and style settings.
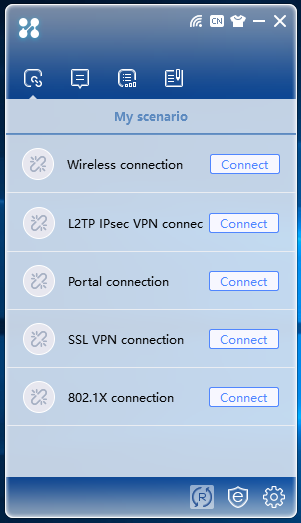
Figure 8 shows the main window of the iNode client that contains the following connections customized by the iNode management center:
· Portal connection
· 802.1X connection
· SSL VPN connection
· Wireless connection
· L2TP/IPsec VPN connection
Figure 8 iNode Intelligent Client

Using the iNode client for portal authentication
Using the predefined portal connection for authentication
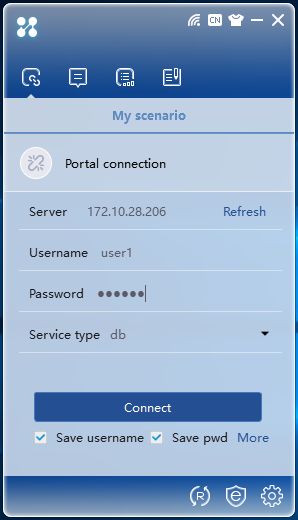
1. In the iNode intelligent client, click Portal connection to expand the Portal connection area, as shown in Figure 9.
Figure 9 Portal authentication
2. Click Refresh next to the Server field, as shown in Figure 10.
Figure 10 Expanded portal connection area
The iNode client automatically searches for the portal server.
When the portal server is found, the portal authentication settings window appears.
3. Configure the following parameters:
a. Enter a user name in the Username field.
b. Enter the password in the Password field
c. Select a service type from the Service type list.
4. Click Connect.
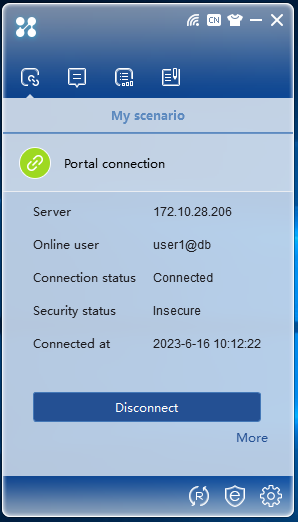
When the user passes portal authentication, the authentication result window appears, as shown in Figure 11.
Figure 11 Portal authentication result
Creating a portal connection for authentication
If the iNode client does not have a predefined portal connection, create a portal connection for authentication.
To create a portal connection:
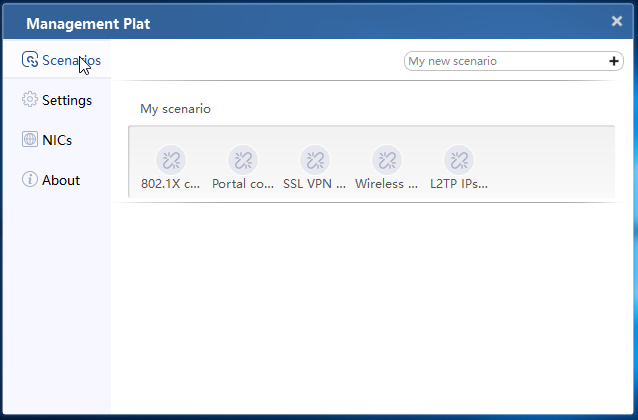
1. In the iNode client, click the Management Plat icon ![]() , as shown in Figure 12. The Management Plat
window opens, as shown in Figure 13.
, as shown in Figure 12. The Management Plat
window opens, as shown in Figure 13.
Figure 12 iNode Intelligent Client
Figure 13 Management Plat window
2. Click the ![]() icon
at the right side to add a scenario, as shown in Figure 14.
icon
at the right side to add a scenario, as shown in Figure 14.
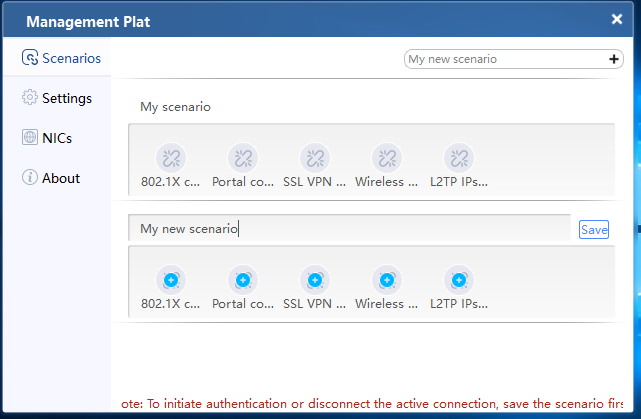
3. Enter a scenario name. The default name is My new scenario.
|
|
NOTE: The scenario name must be unique. |
4. Double click Portal connection ![]() to open the new portal connection wizard.
to open the new portal connection wizard.
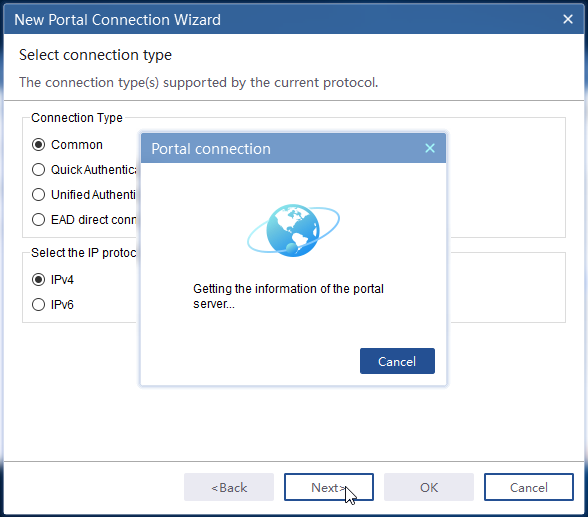
5. On the Select connection type page of the wizard, select Common for Connection Type and IPv4 for Select the IP protocol version, as shown in Figure 15.
Figure 15 Selecting a connection type

6. Click Next.
The iNode client automatically obtains the portal server information.
Figure 16 Obtaining portal server information
7. On the Account Information window that opens, configure the following parameters, as shown in Figure 17.
¡ Use the IP address that is automatically populated in the Server field.
¡ Enter a username in the Username field.
¡ Enter the password in the Password field.
¡ Select a service type from the Service type list.
¡ Use the default values for other parameters.
Figure 17 Account Information page
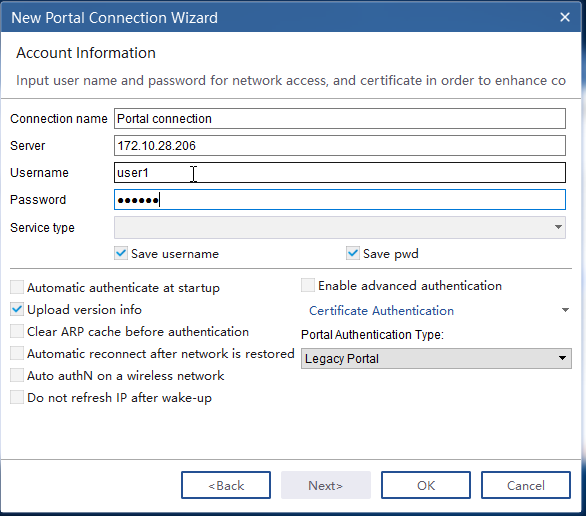
8. Click OK.
A portal connection is created and
identified by ![]() on the Management Plat page, as shown in Figure 18.
on the Management Plat page, as shown in Figure 18.
Figure 18 Management Plat page

9. Click Save.
The My New Scenario area appears on the Scenarios tab.
10. Use one of the following methods to trigger portal authentication:
¡ Double-click the portal connection icon in My New Scenario.
¡ Click the Network
Access icon ![]() on top of the page. On the authentication page, click Refresh next to the Server field to obtain the address of the portal server, configure the
username, password, and service type, and click Connect.
on top of the page. On the authentication page, click Refresh next to the Server field to obtain the address of the portal server, configure the
username, password, and service type, and click Connect.
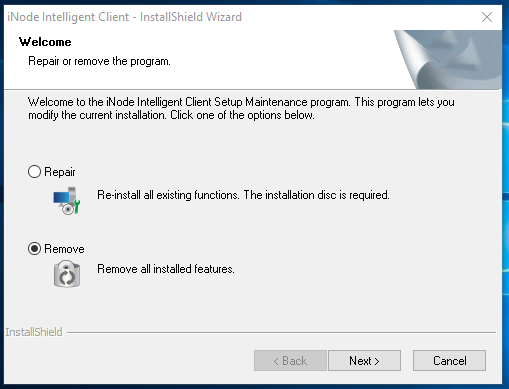
Uninstalling the iNode client
2. Select Remove, and then click Next, as shown in Figure 19.
A confirmation dialog box appears.
Figure 19 Uninstalling the iNode client
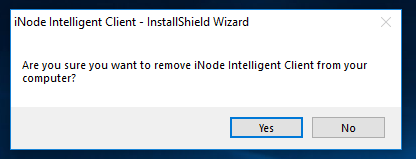
3. Click Yes, as shown in Figure 20.
Figure 20 Confirming the uninstall
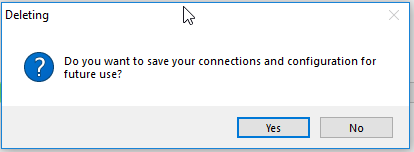
4. In the message dialog box shown in Figure 21, click Yes.
H3C recommends that you save the connections and configuration if you plan to reinstall the iNode client in the future.
Figure 21 Saving connections and configuration
5. Select an option as needed and click Finish. This example uses the Yes, I want to restart my computer now option, as shown in Figure 22.
Figure 22 Completing the removal

FAQ
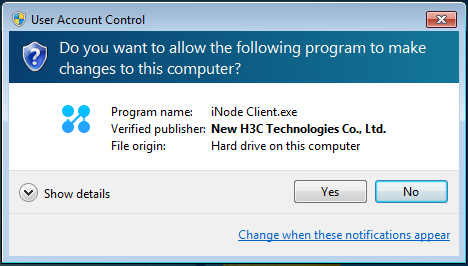
What is the difference between installing an iNode client in Windows Vista or Windows 7 or Windows 8 and installing in Windows XP?
When you install the iNode client in Windows Vista or Windows 7 or Windows 8 with User Account Control enabled, the User Account Control dialog box might appear. Click Yes to continue with the installation process.
Figure 23 User Account Control dialog box