- Table of Contents
- Related Documents
-
| Title | Size | Download |
|---|---|---|
| 02-Web interface | 284.46 KB |
Using the Web interface
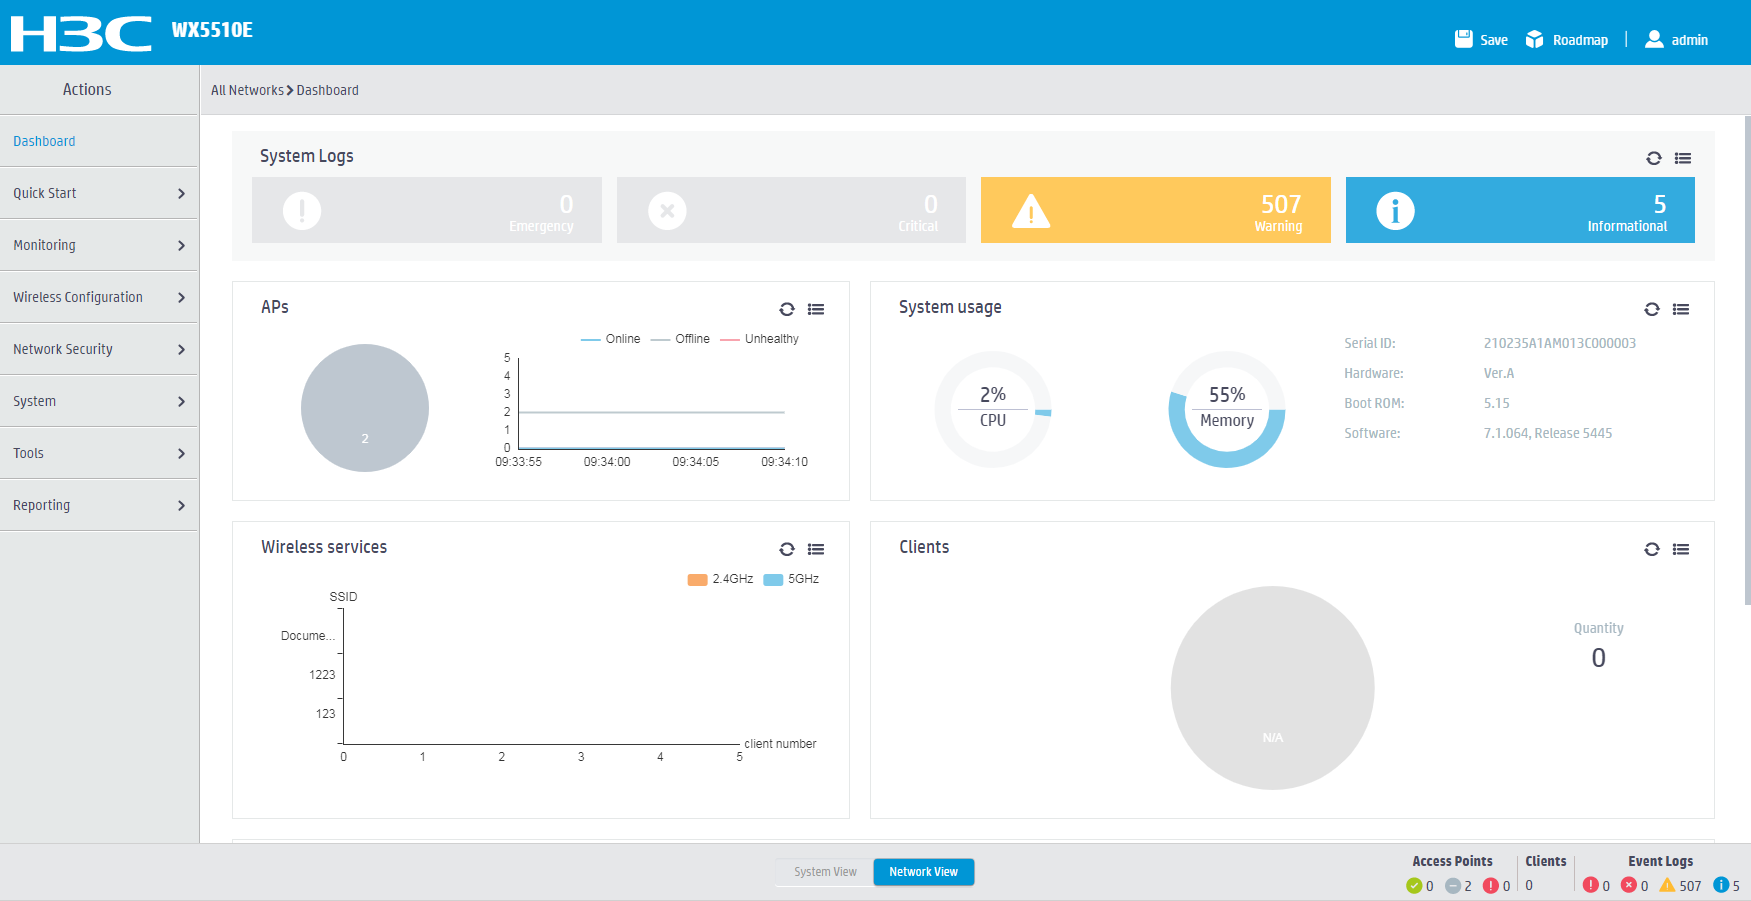
As shown in Figure 1, the Web interface contains the following areas:
|
Area |
Description |
|
(1) Banner and auxiliary area |
Contains the following items: · The H3C logo. · Device model. · Icon for saving the current settings. · Icon for displaying the roadmap. · Admin icon |
|
(2) Navigation tree |
Organizes feature menus in a tree in system view or in network view. |
|
(3) Content pane |
Displays information and provides an area for you to configure features. Depending on the content in this pane, the webpages include the following types: · Feature page—Contains functions or features that a feature module can provide (see "Using a feature page"). · Table page—Displays entries in a table (see "Using a table page"). · Configuration page—Contains parameters for you to configure a feature or function (see "Using a configuration page"). |
|
(4) Status area |
Displays device status and statistics. |
|
(2) Navigation tree (in system view or network view) |
|
|
(3) Content pane |
(4) Status area |
Types of webpages
Webpages include feature, table, and configuration pages. This section provides basic information about these pages. For more information about using the icons and buttons on the pages, see "Icons and buttons."
Using a feature page
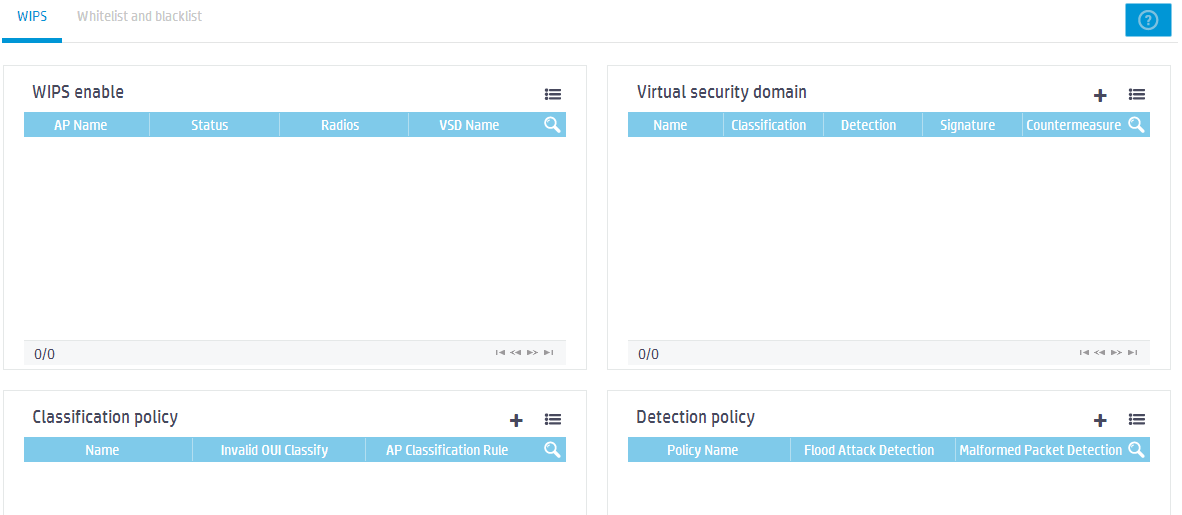
As shown in Figure 2, a feature page contains information about a feature module, including its table entry statistics, features, and functions. From a feature page, you can configure features provided by a feature module.
Using a table page
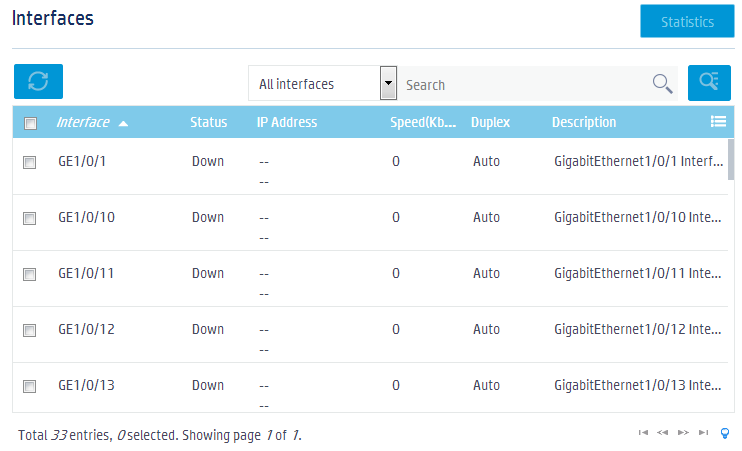
As shown in Figure 3, a table page displays entries in a table. To sort entries by a field in ascending or descending order, click the field. For example, click Interface to sort entries by interfaces.
Using a configuration page
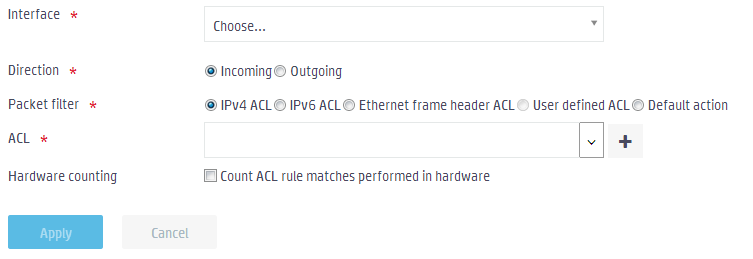
As shown in Figure 4, one configuration page contains all parameters for a configuration task. If a parameter must be configured on another page, the configuration page typically provides a link. You do not need to navigate to the destination page.
For example, you must use an ACL when you configure
a packet filter. If no ACLs are available when you perform the task, you can
click the Add icon ![]() to create an ACL. In this
situation, you do not need to navigate to the ACL management page.
to create an ACL. In this
situation, you do not need to navigate to the ACL management page.
Figure 4 Sample configuration page
Icons and buttons
Table 1 describes icons and buttons you can use to configure and manage the device.
|
Icon/button |
Icon/button name |
Task |
|
General icons |
|
|
|
|
Refresh |
Refresh statistics or information manually. |
|
|
More |
Display more contents. |
|
|
Add |
Add a new configuration entry. |
|
|
Filter |
Filter statistics or information by a specific field. |
|
Help icons |
|
|
|
|
Hint |
Obtain help information for a function or parameter. |
|
|
Note |
Display notes for a function or service. |
|
Counter icon |
|
|
|
|
Counter |
Identify the total number of table entries. |
|
Navigation icon |
|
|
|
|
Next |
Access the lower-level page to display information or configure settings. |
|
Status control icon |
|
|
|
|
Status control |
Control the enable status of the feature. · If ON is displayed, the feature is enabled. To disable the feature, click the button. · If OFF is displayed, the feature is disabled. To enable the feature, click the button. |
|
Search icons |
|
|
|
|
Search |
Enter a search expression in the search box, and then click this icon to perform a basic search. |
|
|
Advanced search |
Click this icon, and then enter a combination of criteria to perform an advanced search. |
|
Entry management icons |
|
|
|
|
Refresh |
Refresh table entries manually. |
|
|
Add |
· Add a new entry. · Confirm the addition of an entry and continue to add an additional entry. |
|
|
Export |
Export an entry. |
|
|
Delete |
Delete an entry. This icon appears at the end of an entry when you hover your mouse cursor over the entry. |
|
|
Modify |
Modify an entry. This icon appears at the end of an entry when you hover your mouse cursor over the entry. |
|
|
Bulk-delete |
Delete all entries. |
|
|
Details |
Display detailed information for an entry. This icon appears at the end of an entry when you hover your mouse cursor over the entry. |
|
|
Field selector |
Select fields to be displayed. |
|
Advanced settings icon |
|
|
|
|
Advanced settings |
Access the advanced setting page. |
|
Quick configuration icon |
|
|
|
|
Quick configuration |
Guide you through the quick configuration of a service. |
Performing basic tasks
This section describes the basic tasks that must be frequently performed when you configure or manage the device.
Saving the configuration
To prevent settings from being lost, the system automatically saves the configuration when a user logs out of the system or when a login operation times out. Support for the auto configuration saving feature depends on the device model. For more information, see Table 2 and Table 3. You can also manually save the configuration. To manually save the configuration, use either of the following methods:
· Click Save in the upper right corner.
· Perform the following tasks to access the configuration management page:
a. Click the system view tab at the bottom of the page.
b. From the navigation tree, select System > Management.
c. Click the Configuration tab.
d. Click Save Running Configuration.
Table 2 Support of hardware platforms for auto configuration saving
|
Hardware series |
Model |
Product code |
Auto configuration saving compatibility |
|
WX1800H series |
WX1804H-PWR |
EWP-WX1804H-PWR-CN |
Yes |
|
WX2500H series |
WX2508H-PWR-LTE WX2510H-PWR WX2510H-F-PWR WX2540H WX2540H-F WX2560H |
EWP-WX2508H-PWR-LTE EWP-WX2510H-PWR EWP-WX2510H-F-PWR EWP-WX2540H EWP-WX2540H-F EWP-WX2560H |
Yes |
|
MAK series |
MAK204 MAK206 |
EWP-MAK204 EWP-MAK206 |
Yes |
|
WX3000H series |
WX3010H WX3010H-X-PWR WX3010H-L-PWR WX3024H WX3024H-L-PWR WX3024H-F |
EWP-WX3010H EWP-WX3010H-X-PWR EWP-WX3010H-L-PWR EWP-WX3024H EWP-WX3024H-L-PWR EWP-WX3024H-F |
No |
|
WX3500H series |
WX3508H WX3508H WX3510H WX3510H WX3520H WX3520H-F WX3540H WX3540H |
EWP-WX3508H EWP-WX3508H-F EWP-WX3510H EWP-WX3510H-F EWP-WX3520H EWP-WX3520H-F EWP-WX3540H EWP-WX3540H-F |
No |
|
WX5500E series |
WX5510E WX5540E |
EWP-WX5510E EWP-WX5540E |
No |
|
WX5500H series |
WX5540H WX5560H WX5580H |
EWP-WX5540H EWP-WX5560H EWP-WX5580H |
No |
|
Access controller modules |
LSUM1WCME0 EWPXM1WCME0 LSQM1WCMX20 LSUM1WCMX20RT LSQM1WCMX40 LSUM1WCMX40RT EWPXM2WCMD0F EWPXM1MAC0 |
LSUM1WCME0 EWPXM1WCME0 LSQM1WCMX20 LSUM1WCMX20RT LSQM1WCMX40 LSUM1WCMX40RT EWPXM2WCMD0F EWPXM1MAC0F |
No |
Table 3 Support of hardware platforms for auto configuration saving
|
Hardware series |
Model |
Product code |
Auto configuration saving compatibility |
|
WX1800H series |
WX1804H-PWR WX1810H-PWR WX1820H WX1840H |
EWP-WX1804H-PWR EWP-WX1810H-PWR EWP-WX1820H EWP-WX1840H-GL |
Yes |
|
WX3800H series |
WX3820H WX3840H |
EWP-WX3820H-GL EWP-WX3840H-GL |
No |
|
WX5800H series |
WX5860H |
EWP-WX5860H-GL |
No |
Displaying settings of a table entry
1. Hover your mouse cursor over the entry.
2. Click the Detail
icon ![]() at the end of the entry.
at the end of the entry.
Rebooting the device
Reboot is required for some settings to take effect.
To reboot the device:
1. Save the configuration.
2. Click the system view tab at the bottom of the page.
3. From the navigation tree, select System > Management.
4. Click the Reboot tab.
5. On the reboot page, click the reboot button.