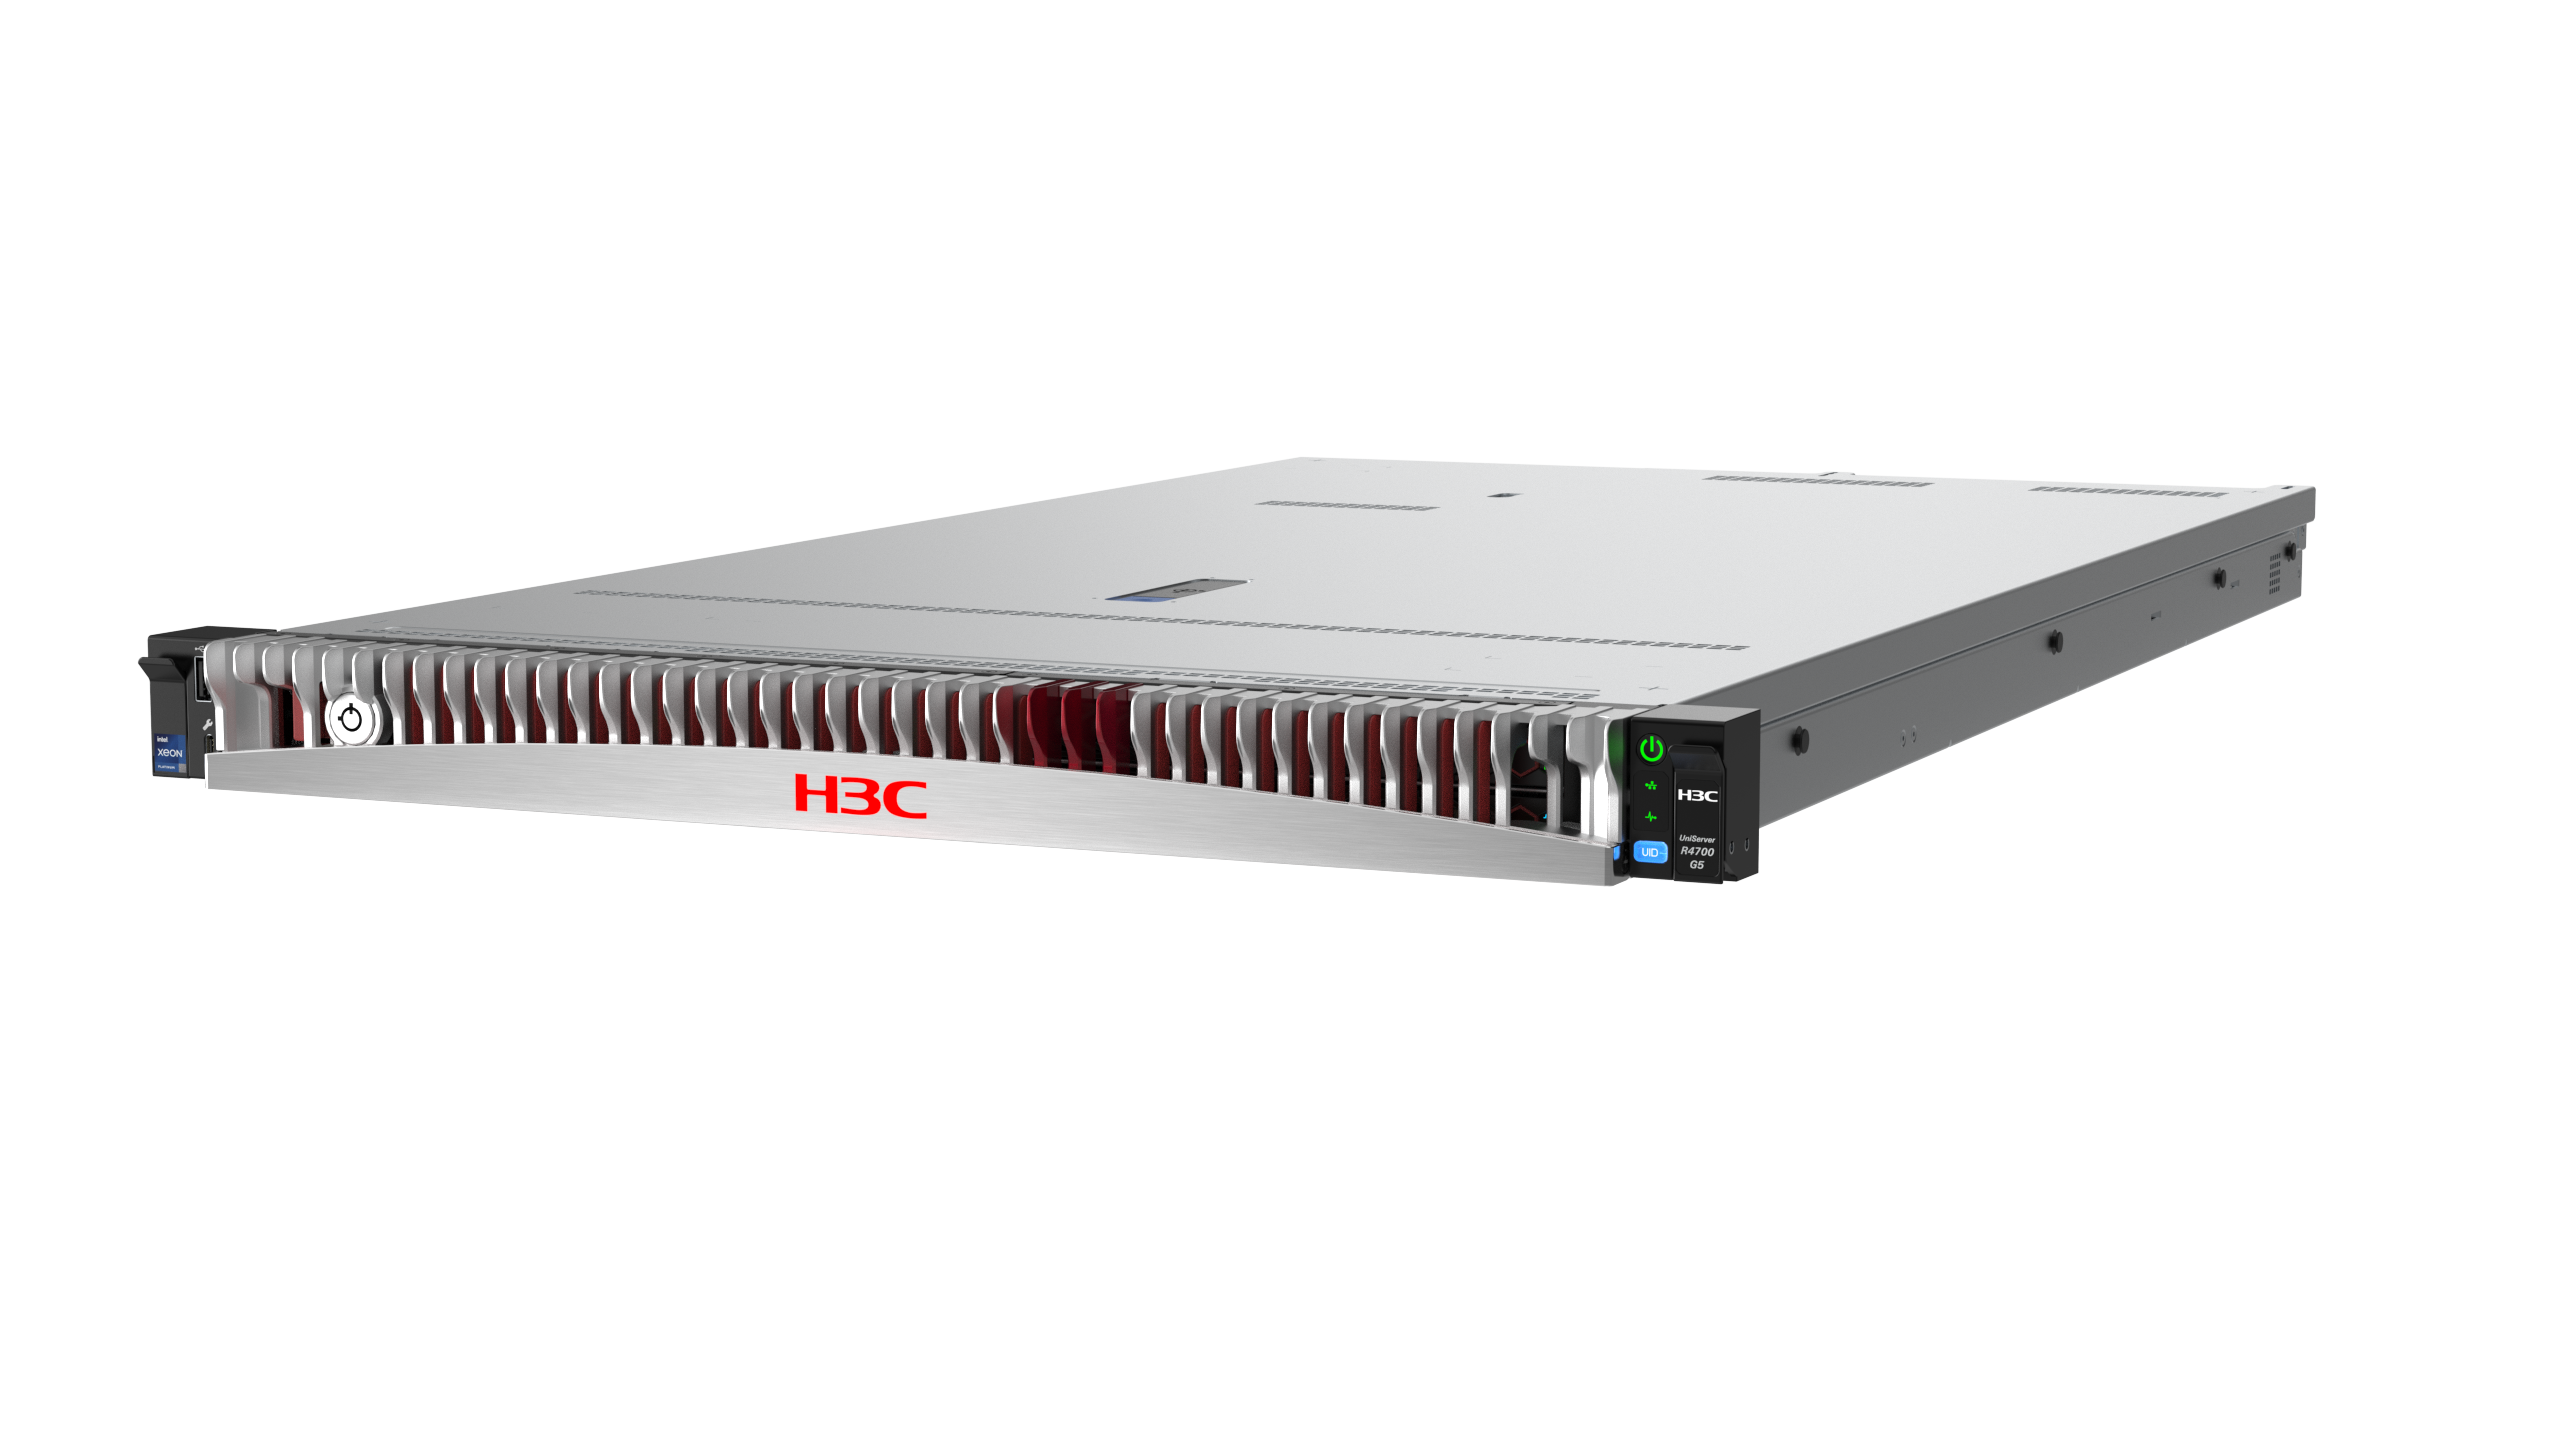
- Table of Contents
-
- H3C UniServer R4700 G5 Hardware Options Installation and Replacement Videos-6W100
- 01-Install standard, ball-bearing, or short-distance slide rails
- 02-Install the server to a rack
- 03-Remove the server from a rack
- 04-Install and remove a cable management arm (CMA)
- 05-Replace a DIMM
- 06-Install a processor
- 07-Replace a processor
- 08-Replace a drive
- 09-Replace the intelligent security bezel
- 10-Replace the system board
- 11-Install a riser card on PCIe riser connector 3
- 12-Install a riser card on PCIe riser connector 4
- 13-Replace a front drive backplane
- 14-Replace a riser card
- 15-Replace a standard storage controller and the power fail safeguard module
- 16-Replace a standard PCIe
- 17-Replace an OCP network adapter
- 18-Replace an NVMe SSD expander module
- 19-Replace a GPU
- 20-Replace a SATA M.2 SSD
- 21-Replace a SATA M.2 expander module
- 22-Replace SD card
- 23-Replace the dual SD card extended
- 24-Install a rear 2SFF drive cage
- 25-Install an LCD smart management module
- 26-Replace the LCD smart management module
- 27-Use the LCD smart management module
- 28-Install a TPM or TCM
- 29-Replace the NVMe VROC module
- 30-Replace the system battery
- 31-Replace a fan module
- 32-Replace a power supply
- 33-Connect power cords
- 34-Replace a chassis ear
- 35-Install or remove blanks
- 36-Install a front 2SFF drive cage
- 37-Replace a front 2SFF drive backplane
- 38-Replace an NVMe M.2 SSD expander module
- 39-Replace an NVMe M. 2 SSD
- 40-Replace the riser card on PCIe riser connector 4
- 41-Replace a GPU on the riser card over PCIe riser connector 4
- Related Documents
-


