Configuring a DHCP address pool
On the top navigation bar, click
Network . From the left navigation pane, selectDHCP >Services . Enable the DHCP service.Figure-1 Enabling the DHCP service

From the left navigation pane, select
DHCP >DHCP Address Pools . ClickCreate address pool to create a DHCP server address pool namedpoolforap as follows:Configure the subnet for dynamic allocation as 172.10.1.0/24.
Click the
Address Pool Options tab, and then clickCreate to create a gateway. Configure the gateway address as 172.10.1.254, and then clickOK . IP address 172.10.1.254 does not participate in automatic allocation.Click
OK .
Figure-2 Creating a DHCP server address pool named poolforsta
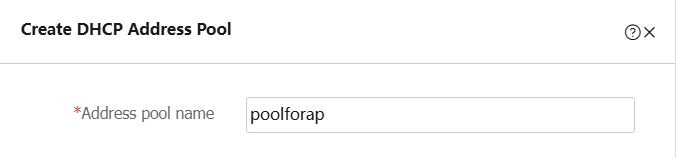
Figure-3 Configuring the address pool subnet

Figure-4 Configuring the gateway

Click
Create address pool to create a DHCP server address pool namedpoolforsta as follows:Configure the subnet for dynamic allocation as 172.20.1.0/24.
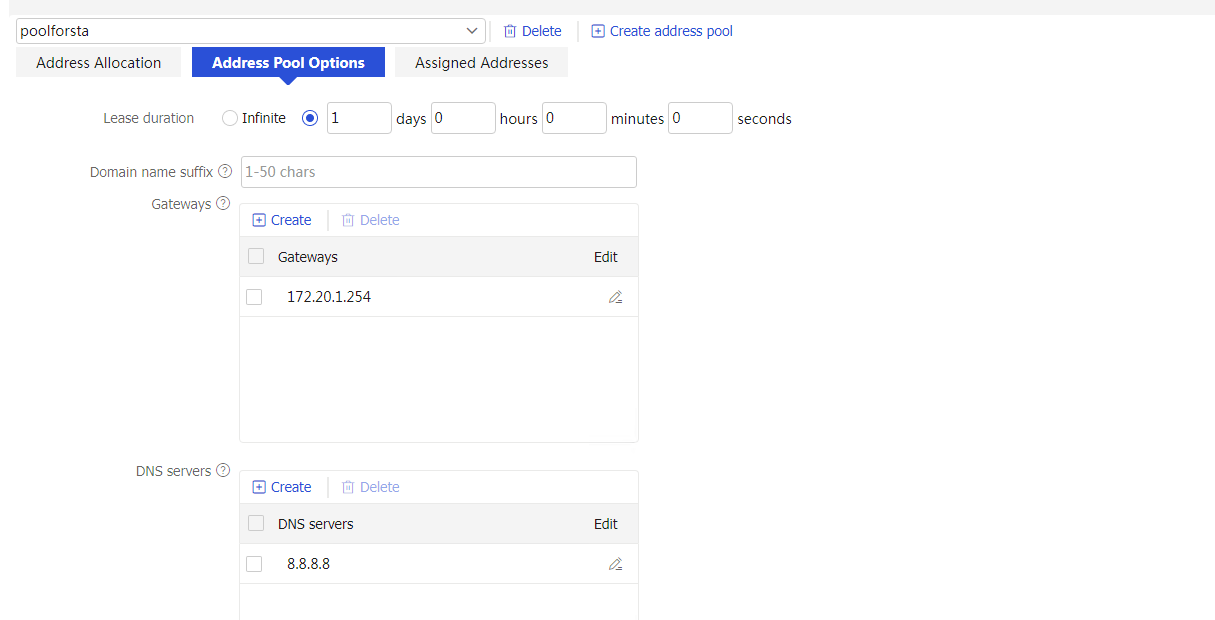
Click the
Address Pool Options tab, and then clickCreate to create a gateway. Configure the gateway address as 172.20.1.254, and then clickOK . IP address 172.20.1.254 does not participate in automatic allocation.Specify the address of the DNS server as 8.8.8.8.
Click
OK .
Figure-5 Creating a DHCP server address pool named poolforsta

Figure-6 Configuring the address pool subnet
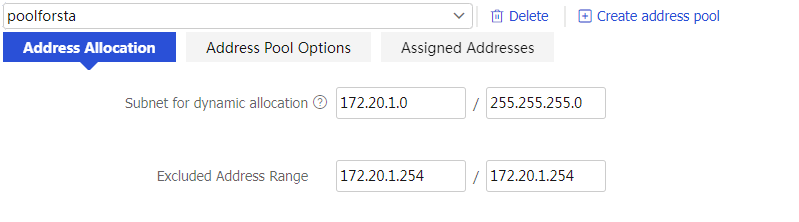
Figure-7 Configuring the gateway