iNode client installation and usage examples
The following describes how to install and use the iNode client in different environments. You can install and use the iNode client in Windows, Linux, Android, and iOS systems.
Example: Installing and using the iNode client on Windows
On Windows systems, you can use either the iNode client included with the SSL VPN gateway or the iNode client downloaded from the H3C official website.
Installing and using the iNode client that comes with the SSL VPN gateway
Access the SSL VPN login page.
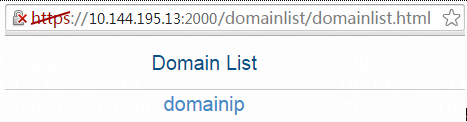
# Enter
https:// gateway address in the browser address bar, and then pressEnter to access the domain list page. This example uses SSL VPN gateway address 10.144.195.13:2000.Figure-1 Domain List page
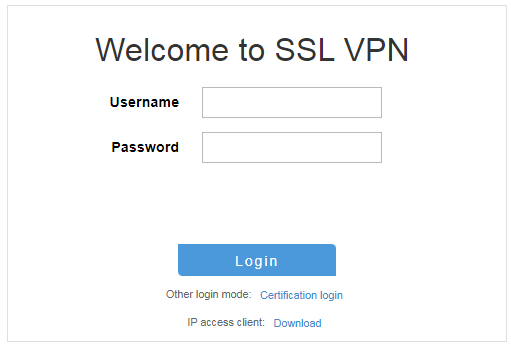
# Click
domainip to go to the SSL VPN login page. Enter your username and password, then clickLogin .Figure-2 SSL VPN login page
Start the IP client application.
# After you log in successfully, locate the area on the browser page shown in the following figure:
Figure-3 Starting the IP client

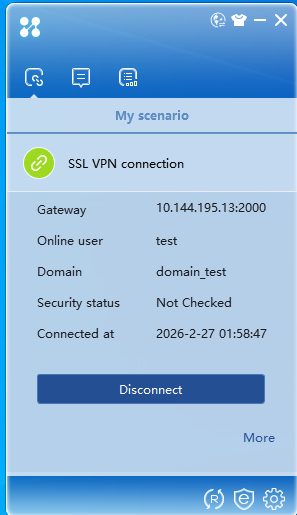
# Click
Start to start the IP client. The system will automatically download the iNode client if it is not installed on the host. After the download finishes, the iNode client will start automatically and log in to the SSL VPN gateway. The following figure shows a successful login:Figure-4 iNode client
Downloading the iNode client from the H3C official website and using the client
Download the iNode management center.
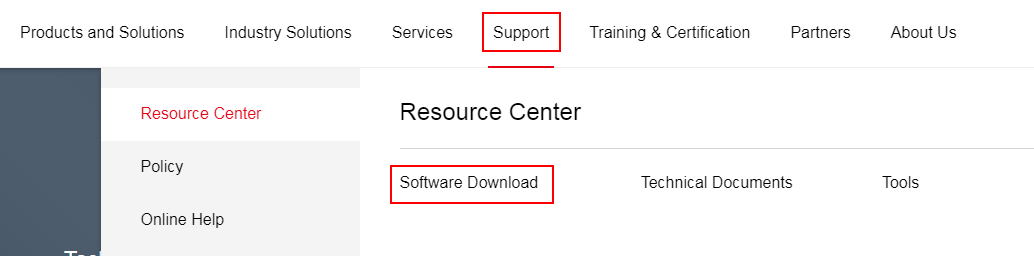
Enter
www.h3c.com in the browser address bar to access the H3C website. Then, selectSupport >Resource Center >Software Download .Figure-5 Accessing the H3C official website
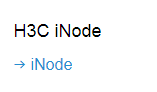
# Select
Network Management >H3C iNode >iNode .Figure-6 Selecting iNode
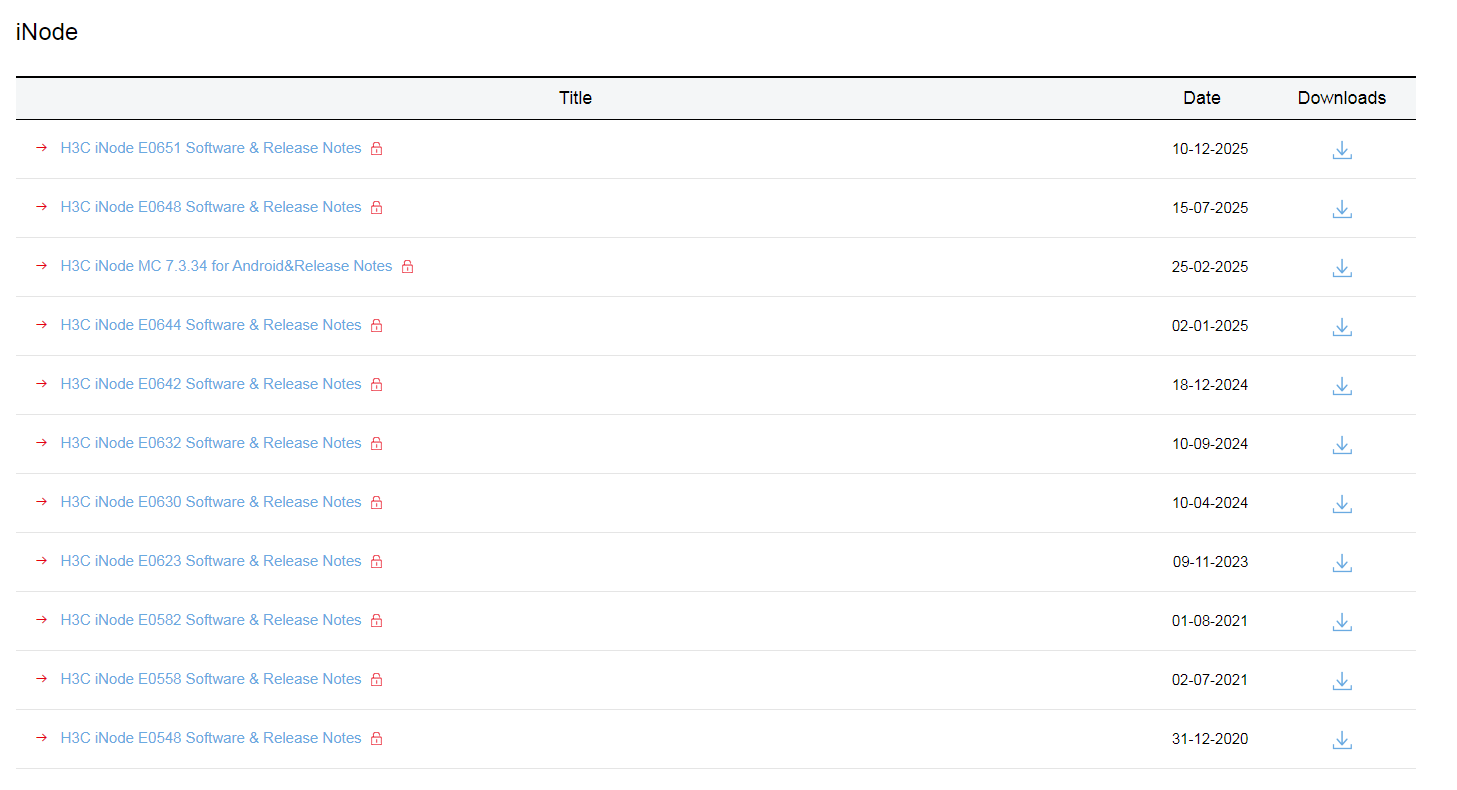
# Select the most recent the iNode PC software package.
Figure-7 Selecting the iNode PC software package
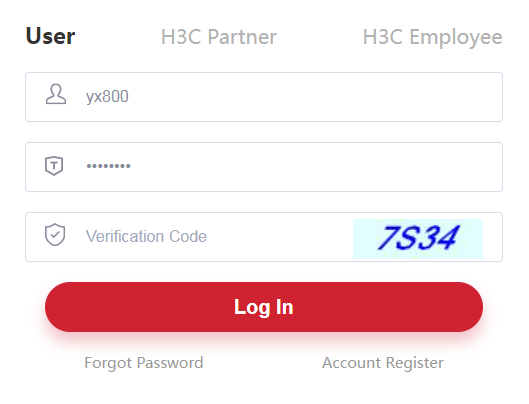
# On the login page, enter the username and password, for example,
yx800 and01230123 , and then clickLog In . You can enter your username and password as needed.Figure-8 Login page
# Access the
Download page and download the installation package. This installation package is an example only.Figure-9 Downloading the installation package

# Select the installation package that matches your operating system.
Figure-10 Selecting the installation package
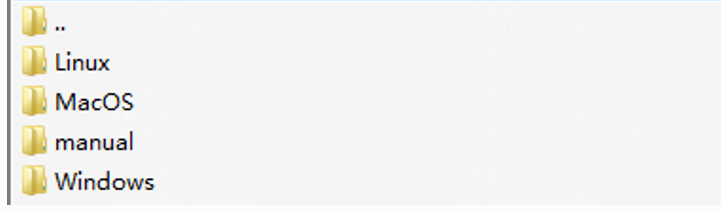
# Double-click the
Windows folder, and then installiNode Management Center for Windows 7.3 (E0583).exe .Install the iNode management center.
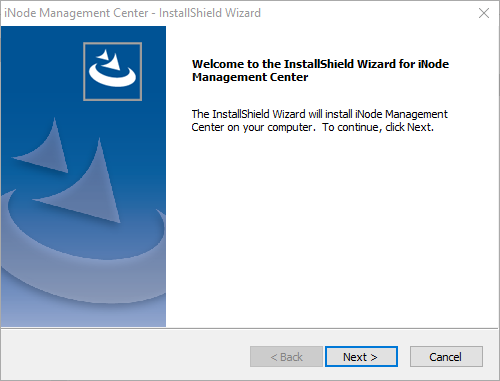
# Double-click
iNode Management Center for Windows 7.3 (E0583).exe to access the installation wizard.Figure-11 iNode management center installation wizard
# Click
Next .Figure-12 iNode management center installation wizard
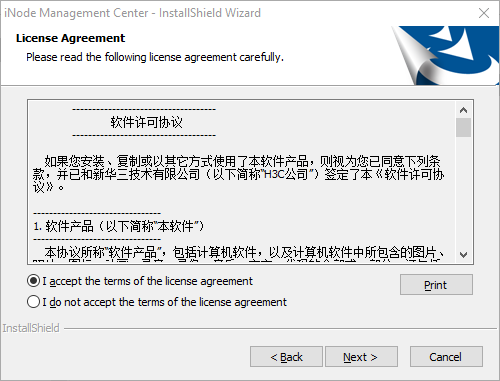
# Select
I accept the terms of the license agreement and clickNext .Figure-13 iNode management center installation wizard
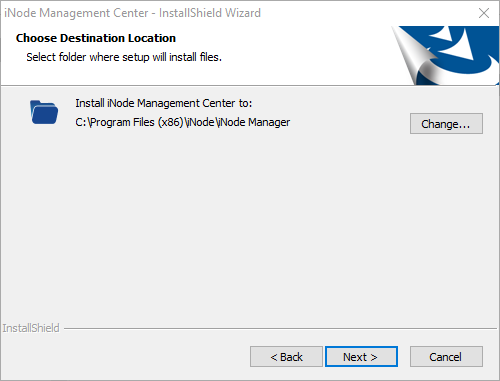
# Click
Next .Figure-14 iNode management center installation wizard
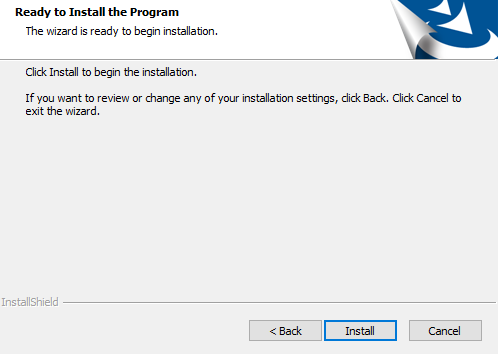
# Click
Install .Figure-15 iNode management center installation wizard
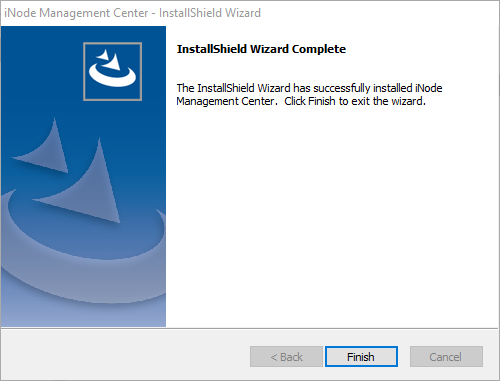
# Click
Finish . The icon for the iNode management center appears on the desktop.Figure-16 Installation completed

Customize the iNode client.
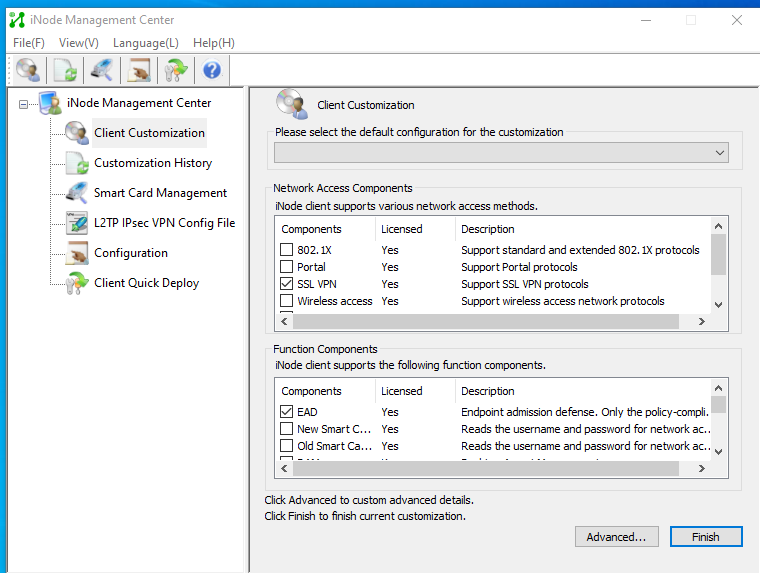
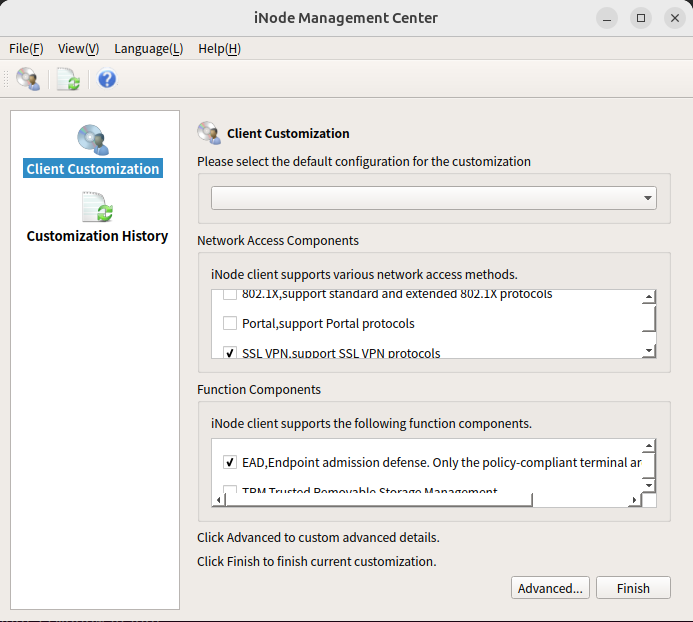
# Open the iNode management center software by double-clicking its icon. From the left navigation pane, select
Client Customization . In theNetwork Access Components area, selectSSL VPN .Figure-17 iNode management center
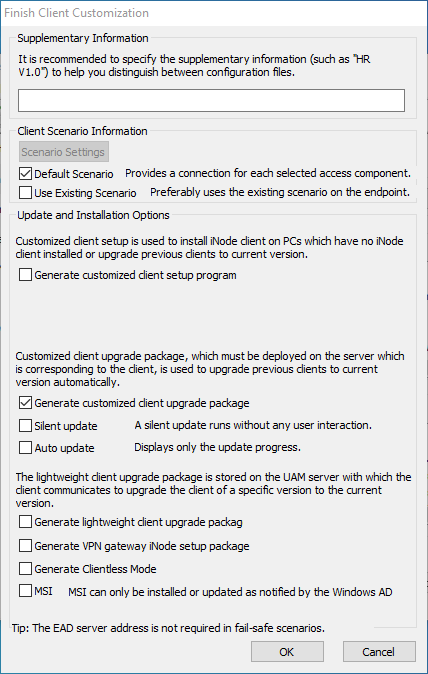
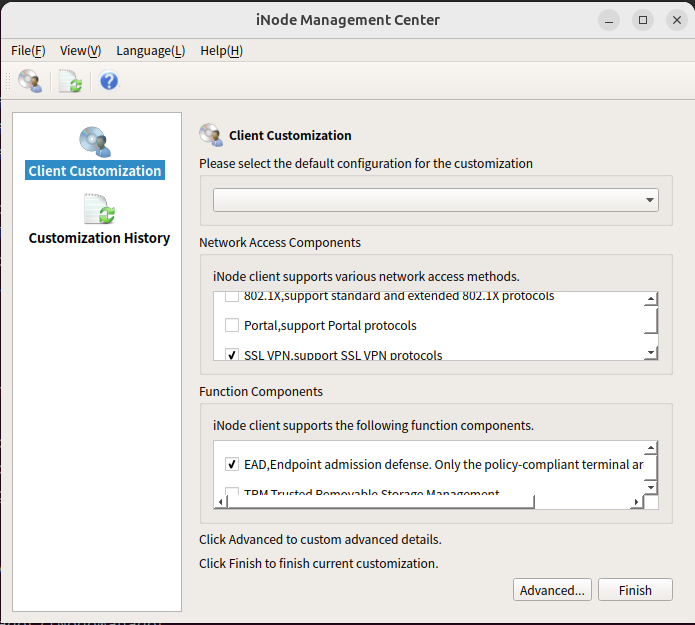
# Click
Finish . In the dialog box that opens, selectDefault Scenario andGenerate customized client upgrade package .Figure-18 iNode management center
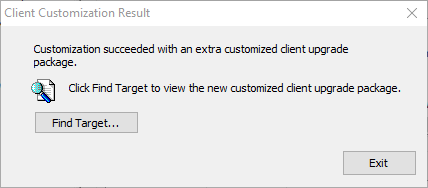
# After the installation package is generated, click
Find Target .Figure-19 Client customization result
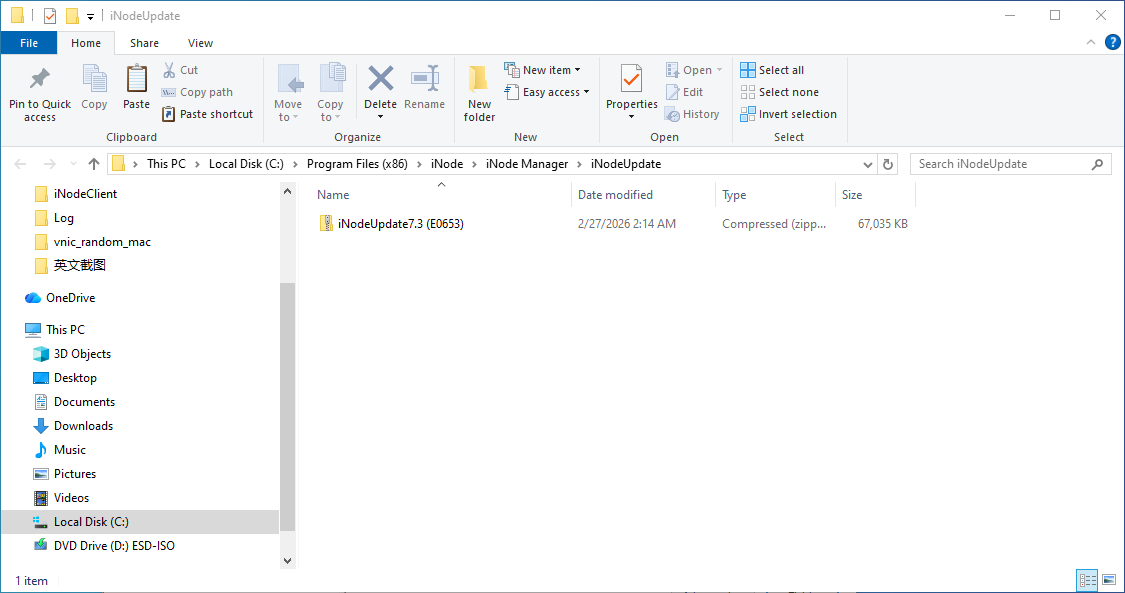
# Find the generated client package in the target folder and install it.
Figure-20 Client program
Log in to the iNode client using username and password authentication.
# After you install the iNode client, start it.
# Configure the gateway address, username, password, and domain. If the SSL VPN gateway uses a port other than 443, you must append the port number to the gateway IP address for login.
Figure-21 Logging in to the iNode client
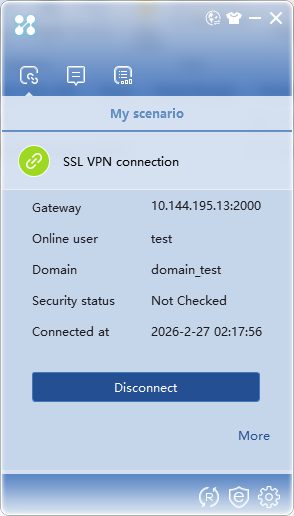
Click
Connect . The iNode client is logged in successfully, as shown in the following figure:Figure-22 Login succeeded

Log in to the iNode client using username/password authentication and certificate authentication for two-factor authentication.
# When you use username/password authentication and certificate authentication for two-factor authentication, you must first install the required certificates (including the private key) on Windows.
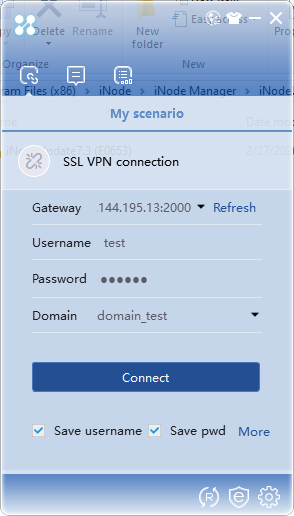
# After you install the iNode client, start it.
# Configure the gateway address, username, password, and domain. If the SSL VPN gateway uses a port other than 443, you must append the port number to the gateway IP address for login.
Figure-23 Logging in to the iNode client

# Click
More and selectProperties to access the general configuration page. SelectPassword and Certificate as the authentication mode.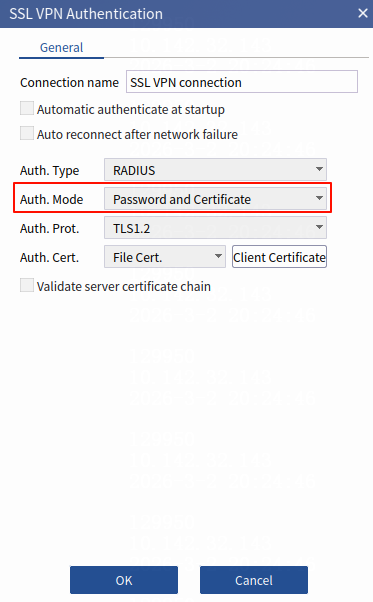
# Click
Client Certificate , and select the certificate file to be imported, and then clickOK .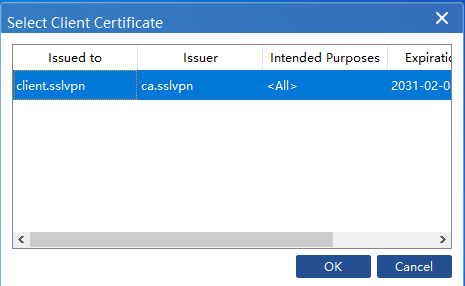
# Click
OK to return to the login page, and then clickConnect . The iNode client is logged in successfully as shown in the following figure:Figure-24 Login succeeded
Example: Installing and using the iNode client on Linux
Download the iNode management center. For more information, see "
Downloading the iNode client from the H3C offic i al website and using the client ."Install the iNode management center.
# Log in to CentOS 7 as the root user, and copy the installation package of the iNode management center to the
/ c r folder. Make sure the/home/iNodeManager/ folder is created in advance. This example uses CentOS 7.Figure-25 Linux
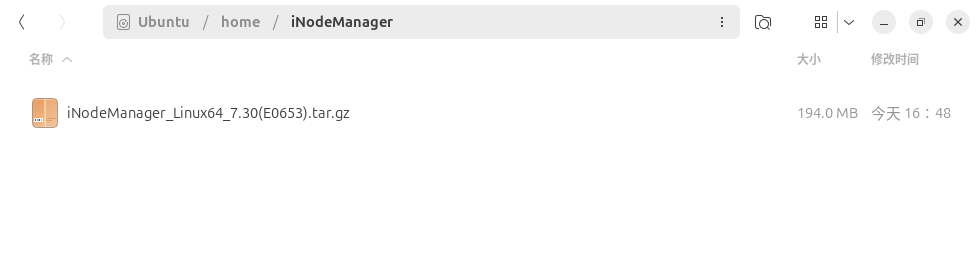
Figure-26 Linux

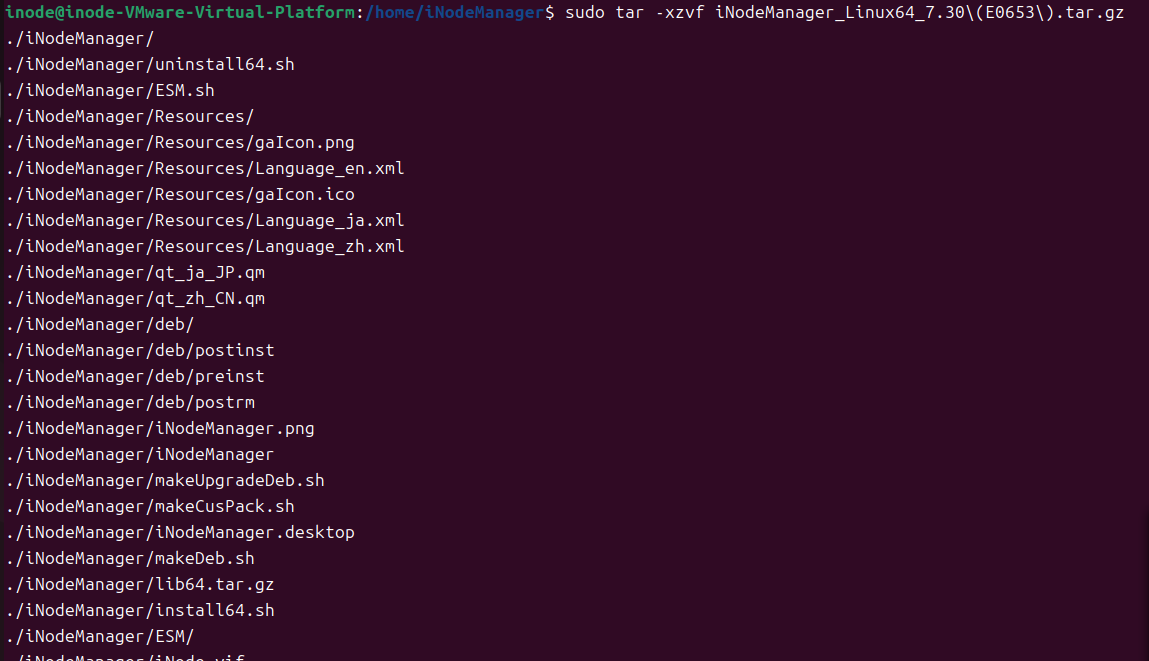
# Decompress the installation package:
tar –xvf iNodeManager_H3C.tar.gz .Figure-27 Decompressing the installation package
# Enter the
iNodeManager directory after decompression.Figure-28 iNodeManager directory
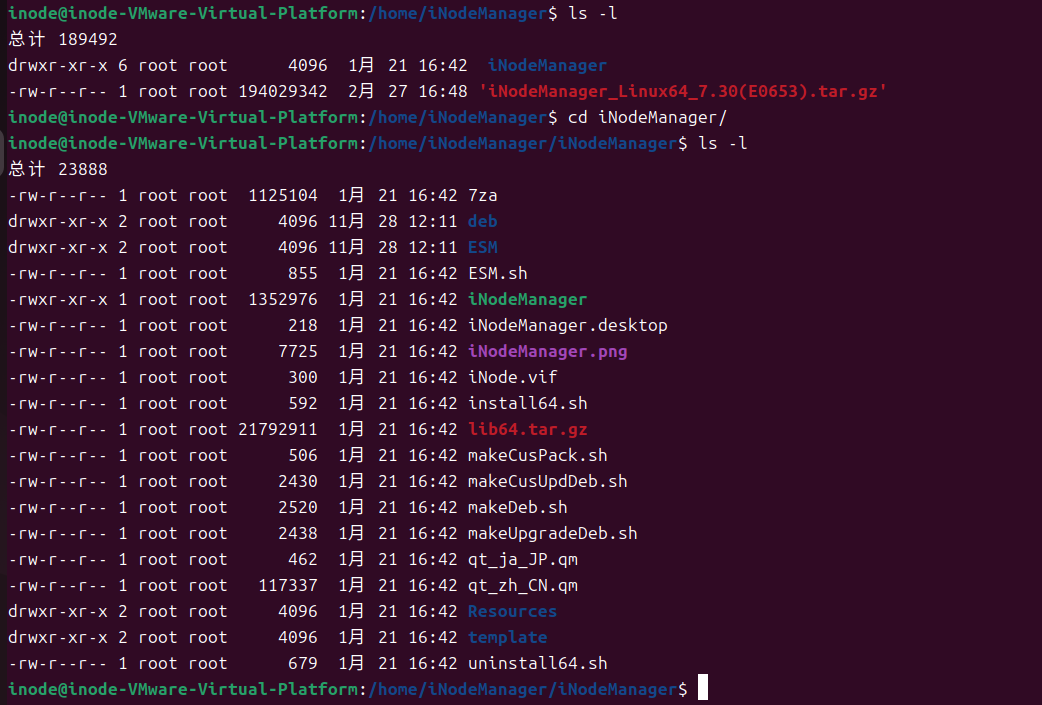
# Execute the
sh ./install.sh command to install the iNode management centerFigure-29 Installing iNodeManager
Customize the iNode client.
# After the installation, you can run the Linux iNode management center without restarting the Linux operating system or starting any services.
# Identify and double-click the icon for the iNode management center to start it.
Figure-30 iNode management center

# # Customize SSL VPN feature, and set the gateway address and port. After selecting the SSL VPN feature, click
Advanced .Figure-31 iNode management center
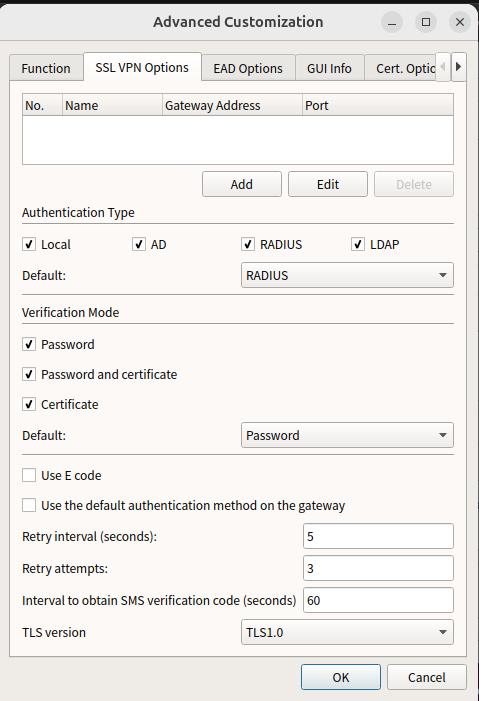
# On the
SSL VPN Options tab, add the gateway address and clickOK , as shown below:Figure-32 Advanced settings

# After configuring the gateway address, click
OK .Figure-33 Customization completed

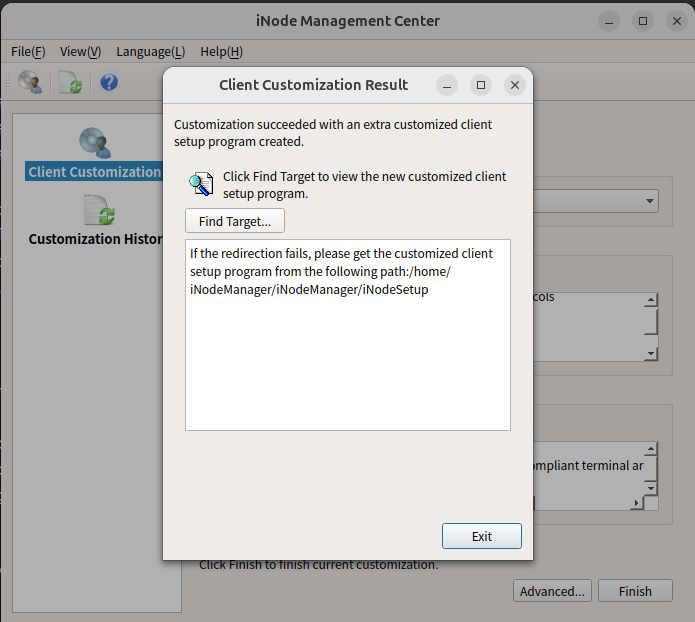
# Select
Generate customized client setup program and clickFind Target . Then, identify the customized iNode client software.Figure-34 Customization completed

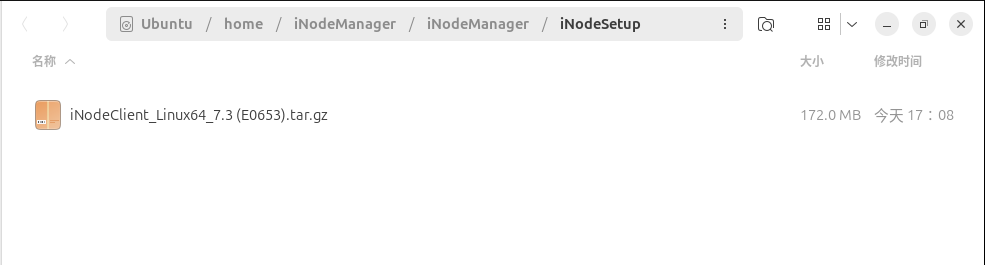
Install the iNode client.
# Select the generated client software based on the operating system of the host.
Figure-35 Installing the iNode client
# Execute the
cp iNodeClient_Linux.tar.gz /home/iNode/ command to copy the Linux iNode installation file to the/home/iNode/ directory. Make sure the/home/iNode/ directory is created in advance.Figure-36 Copying the installation package

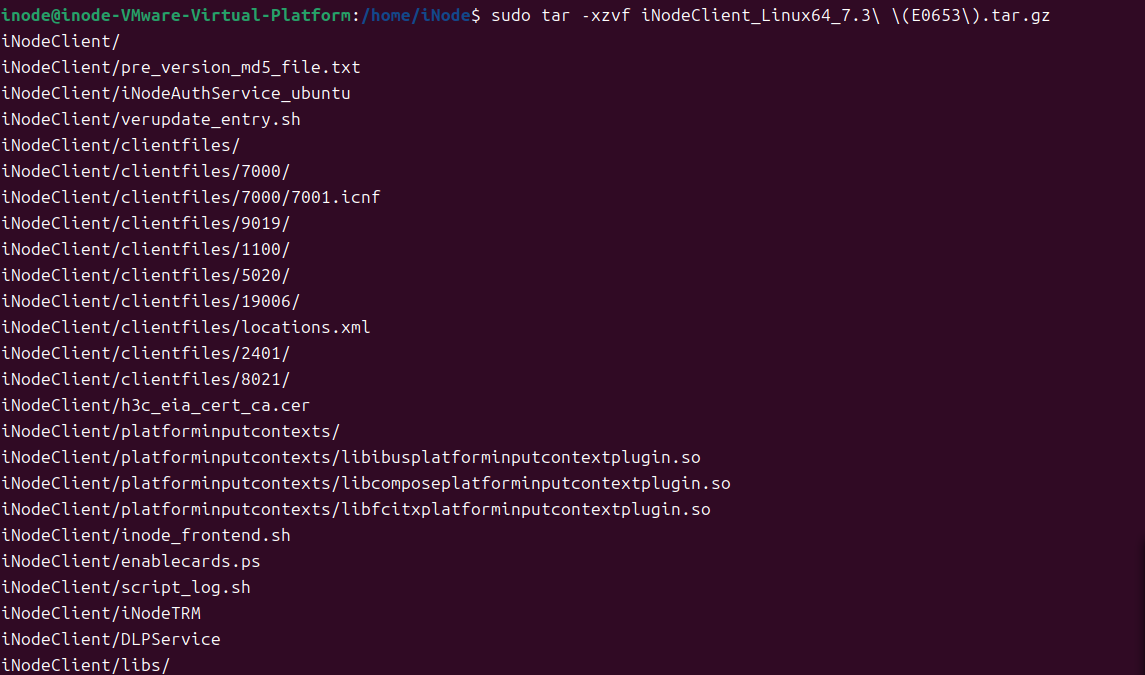
# Execute the
tar – xvf iNodeClient_Linux64_7.3\\ ( E0548\ ) .tar.gz command to decompress the installation package.Figure-37 Decompressing the installation package
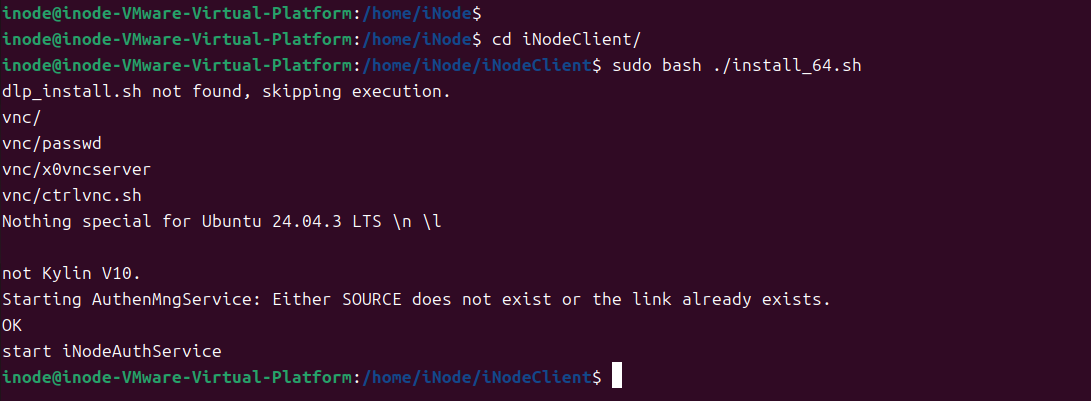
# Execute the
ll command to enter theinodeclient directory.Figure-38 Entering the inodeclient directory

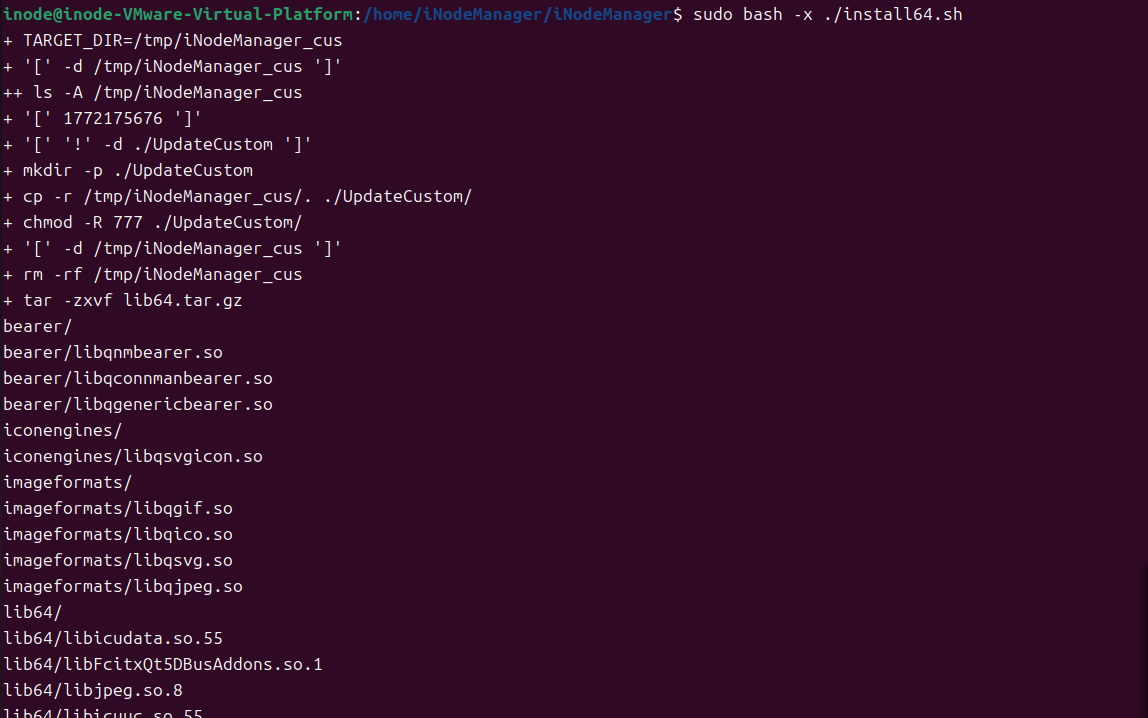
# Execute the
install_64.sh command to start the installation.Figure-39 Execute the command for installation
Log in to the iNode client using username and password authentication.
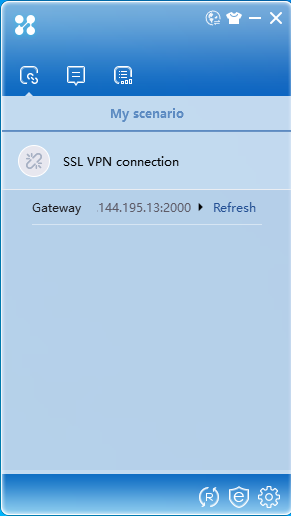
# After the installation, double-click the client to start it.
Figure-40 iNode client

# Enter the gateway address and click
Refresh .Figure-41 SSL VPN connection
# Enter the username and password, select a domain, and then click
Connect .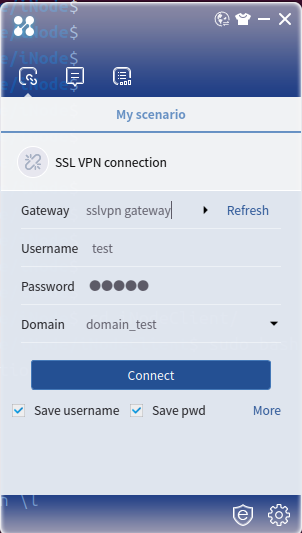
Log in to the iNode client using username/password authentication and certificate authentication for two-factor authentication.
# When you use username/password authentication and certificate authentication for two-factor authentication, you must first copy the required certificates (including the private key) and root certificate to the Linux operating system.
# After the installation, double-click the client to start it.
Figure-42 iNode client

# Enter the gateway address and click
Refresh .Figure-43 SSL VPN connection

# Configure the username and password, and select a domain.
Figure-44 Logging in to the iNode client

# Click
More and selectProperties to access the general configuration page. SelectPassword and Certificate as the authentication mode.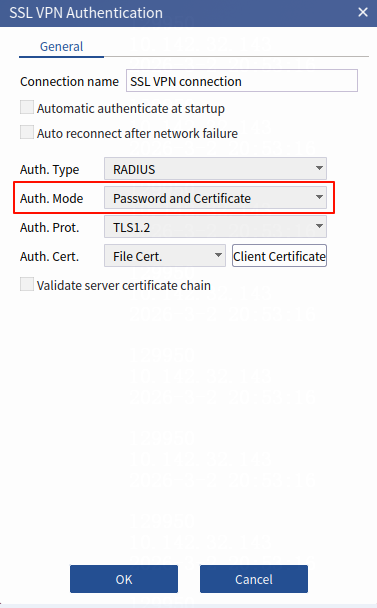
# Click
Client Certificate , select the certificate files and root certificate file to be imported, and then enter the password. ClickOK .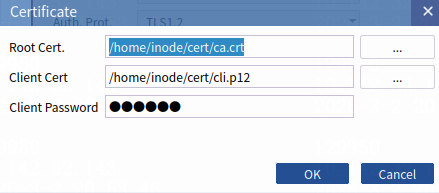
# Click
OK to return to the login page, and then clickConnect to perform SSL VPN authentication
Example: Installing and using the iNode client on Android mobile phones
Download the iNode client.
Enter
www.h3c.com in the browser address bar to access the H3C website. Then, selectSupport >Resource Center >Software Download .Figure-45 Accessing the H3C official website

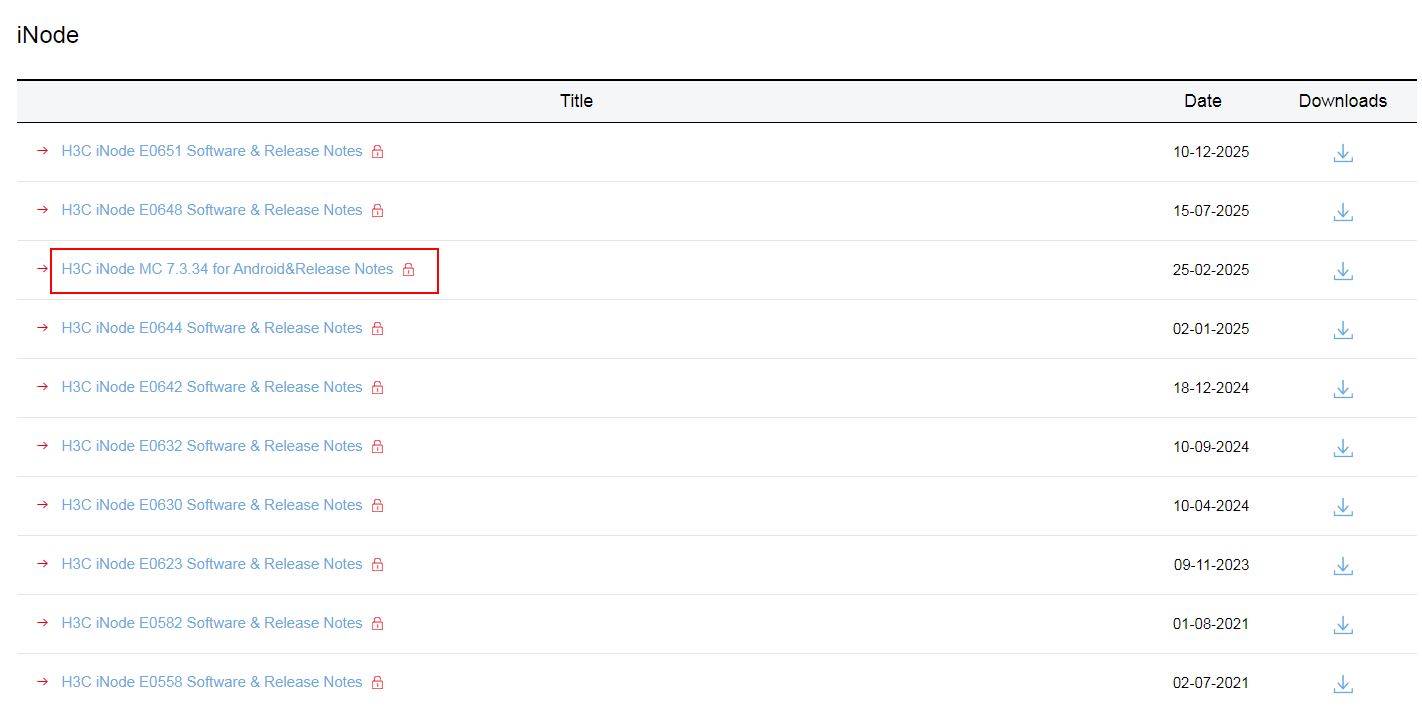
# Select the most recent the iNode MC software package.
Figure-46 Most recent iNode MC software package
# On the login page, enter the username and password, for example,
yx800 and01230123 , and then clickLog In . You can enter your username and password as needed.Figure-47 Login page

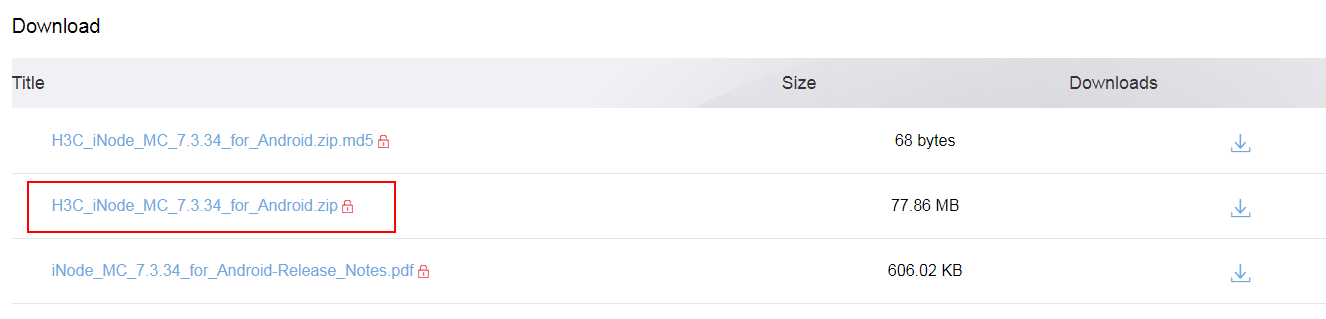
# Access the
Download page and download the installation package.Figure-48 Downloading the installation package
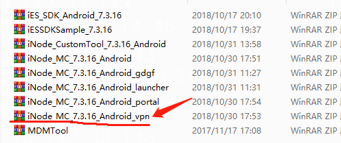
# Locate the download directory, extract the installation package, and open the extracted folder.
# Extract the
iNode_MC_ XXX _Android_vpn compressed file from the folder to obtain the.apk installation package.Figure-49 Extracting the compressed file
# Upload the iNode.apk installation package to your Android phone by using QQ file transfer assistant or any other method.
Figure-50 Uploading the installation package

Log in to the iNode client using username and password authentication.
# After receiving the installation package on your phone, click
Agree to install the client.
# Authorize the iNode client.
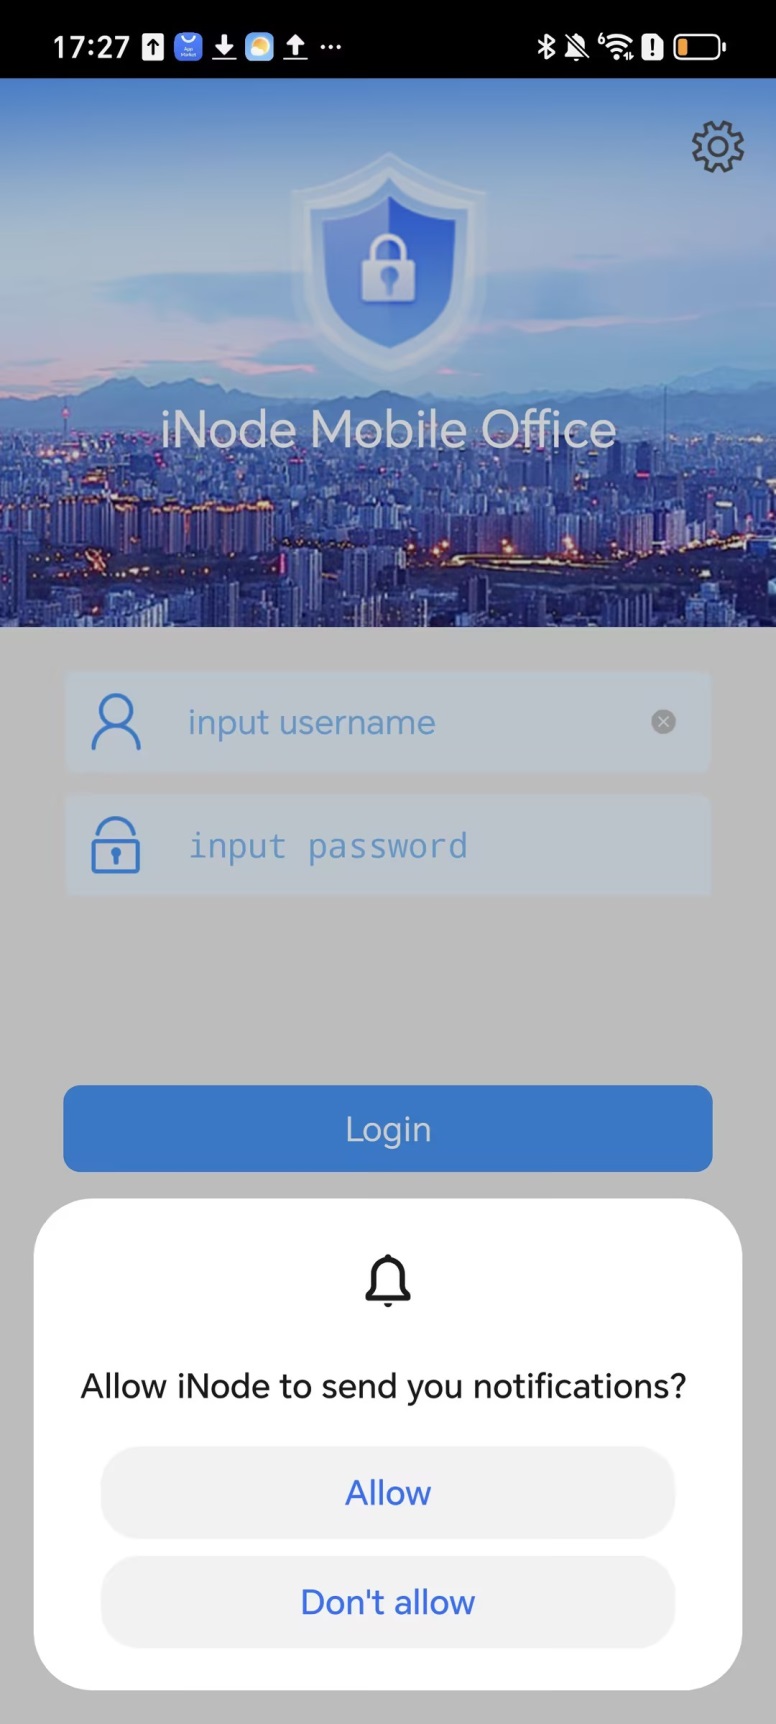
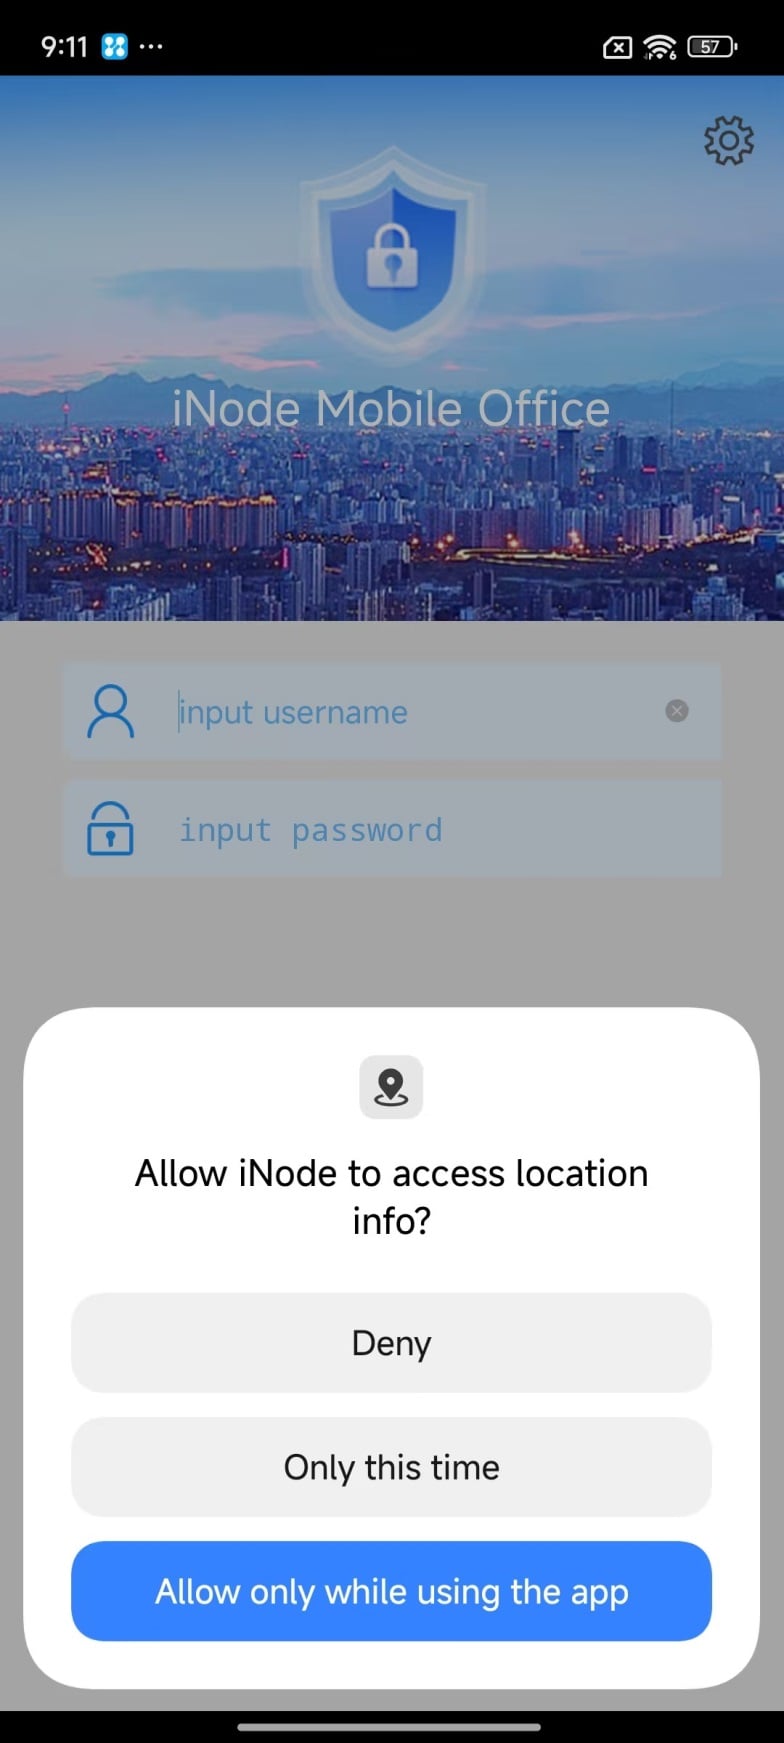
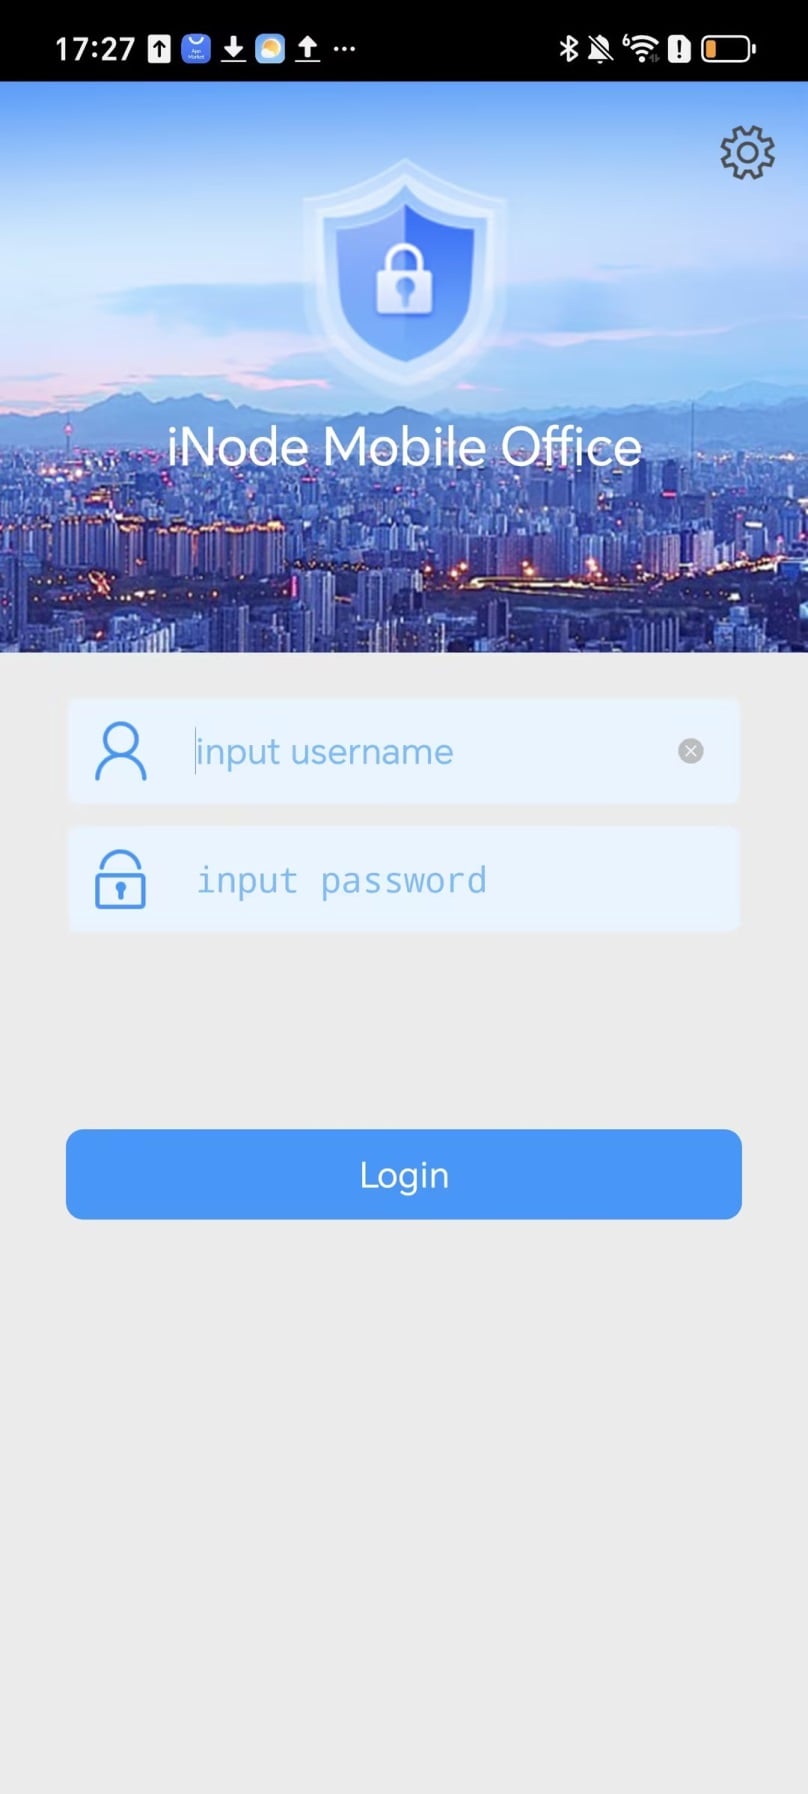
# After the installation finishes, open the iNode client. Click the
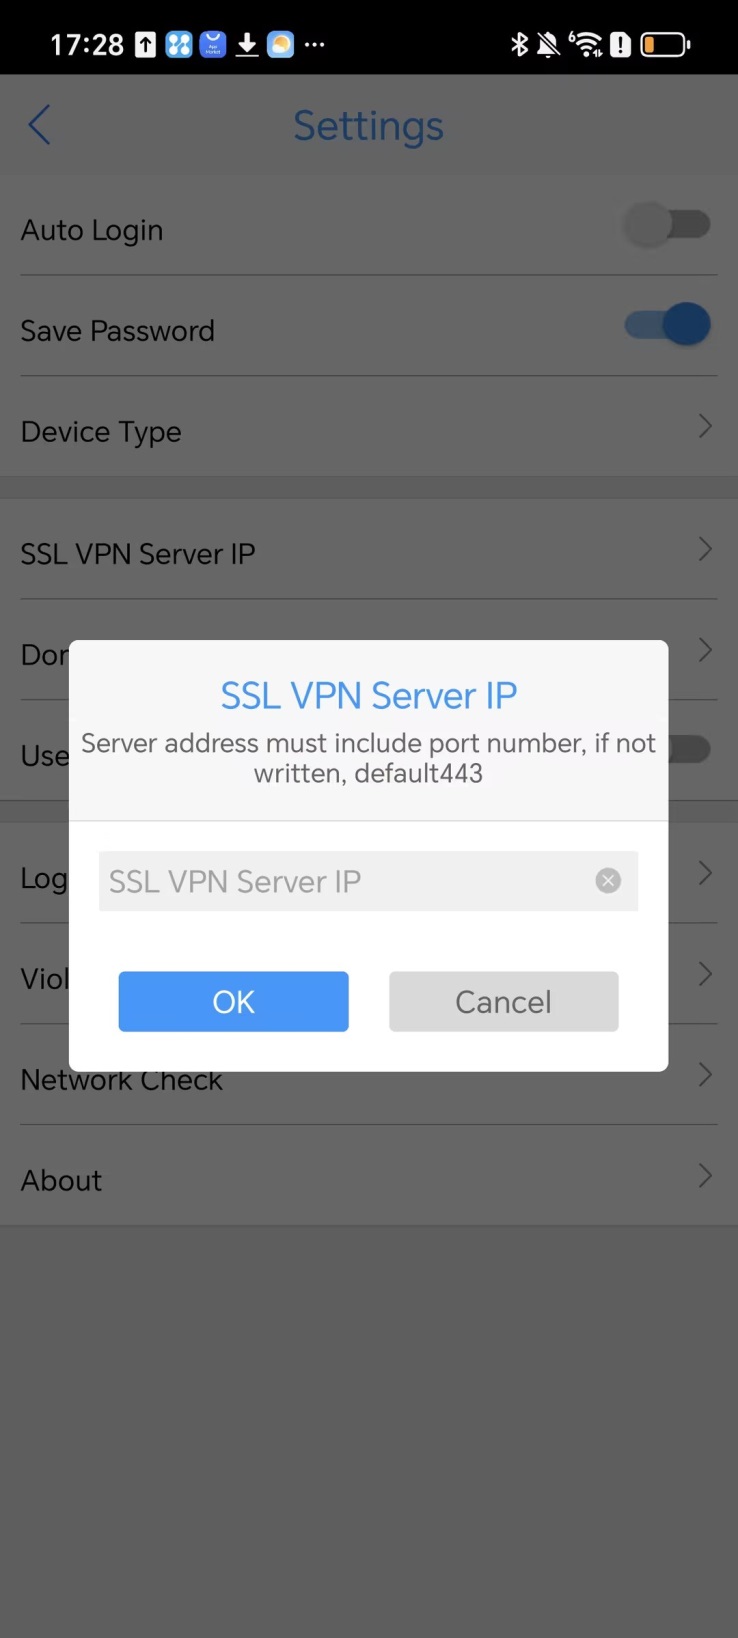
Settings icon in the top right corner, and then clickSSL VPN Server IP .Figure-51 iNode client


# In the dialog box that opens, enter the SSL VPN server address, in the format of
X . X . X . X : X , for example, 10.10.10.10:8443, where 8443 is the SSL VPN service port. ClickOK . Then, click the back icon in the upper left corner and enter your account and password for login authentication.Figure-52 iNode client

Log in to the iNode client using username/password authentication and certificate authentication for two-factor authentication.
# To use two-factor authentication including username/password authentication and certificate authentication, you must save the certificate file to a path on your mobile device first. For example, save the certificate file to the internal storage directory,
/Documents/ . The certificate file supports only thepfx andp12 formats.# After receiving the installation package on your phone, click
Agree to install the client.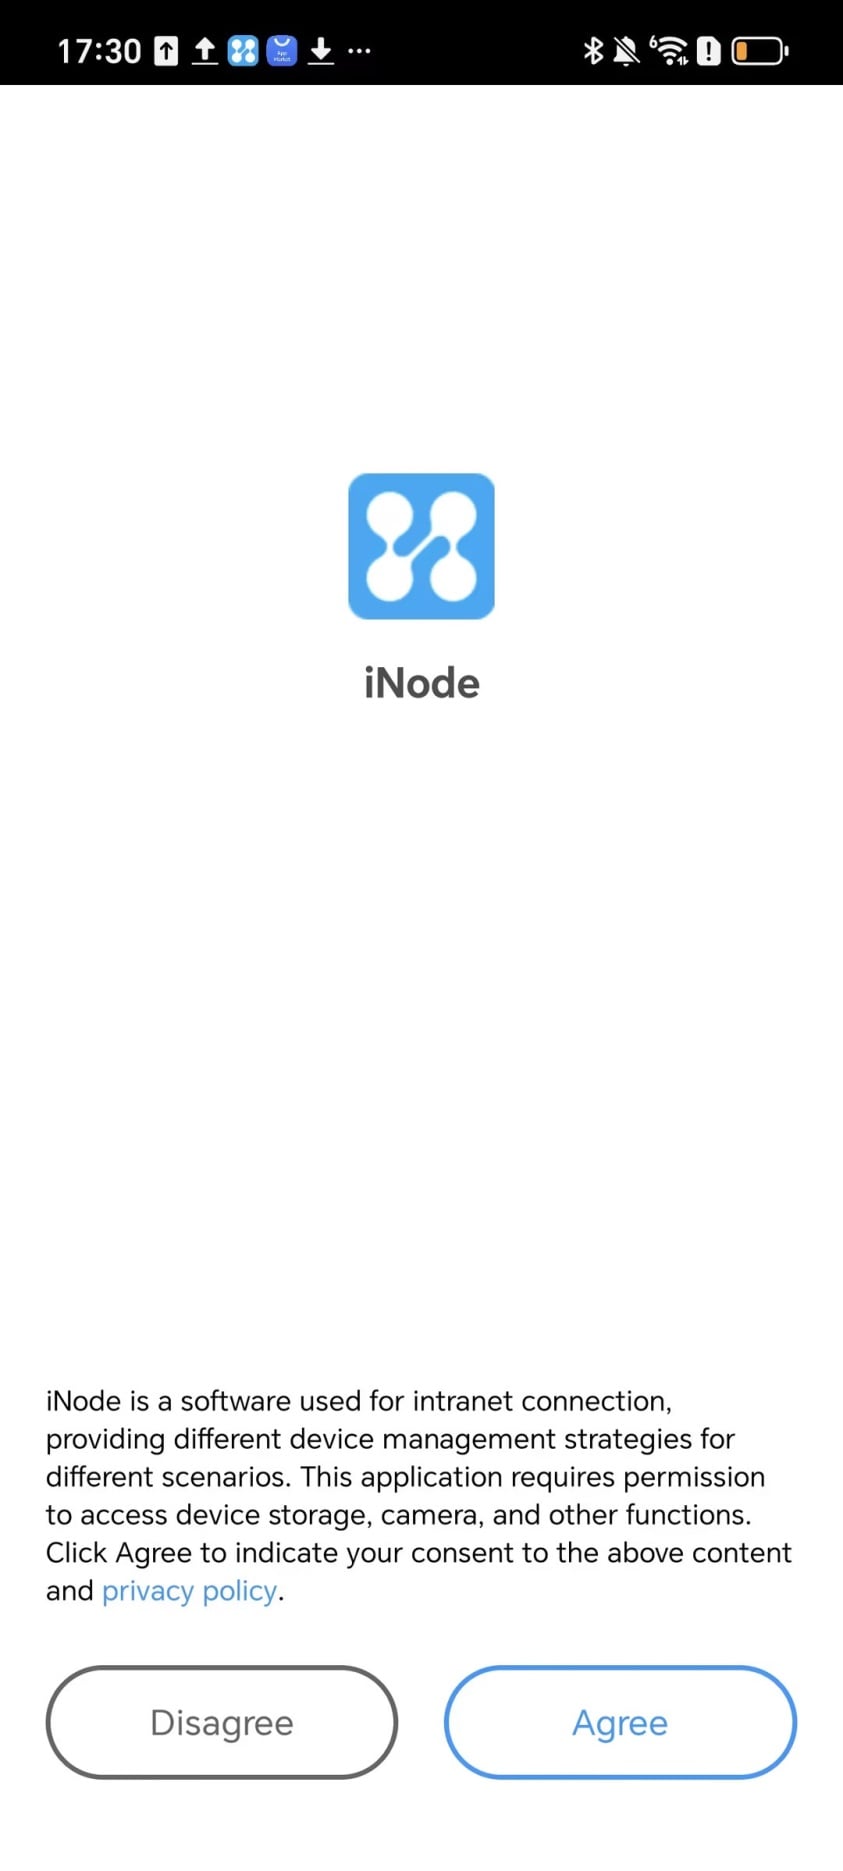
# Authorize the iNode client.


# After the installation finishes, open the iNode client. Click the
Settings icon in the top right corner to configure the SSL VPN gateway address and import the user certificate.Figure-53 iNode client
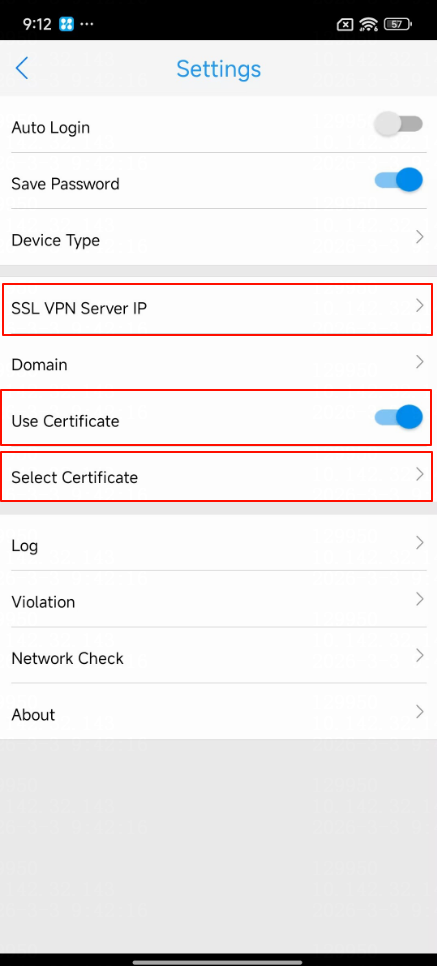
# Click
SSL VPN Server IP . In the dialog box that opens, enter the SSL VPN server address, in the format ofX . X . X . X : X , for example, 10.10.10.10:8443, where 8443 is the SSL VPN service port.# Enable
Use Certificate , clickSelect Certificate , and select the certificate file that is saved on the mobile phone in advance.# After you select the certificate file, enter the certificate password as prompted.
# Click
OK .
# After completing the above settings, click the back icon in the upper left corner, and then enter your account and password for login authentication.
Example: Installing and using the iNode client on iOS mobile phones
As a best practice, search for iNode in App Store on an Apple iPhone and download iNode of the most recent version for use. This example installs iNode in version 7.3.33.
Procedure
Download the iNode client.
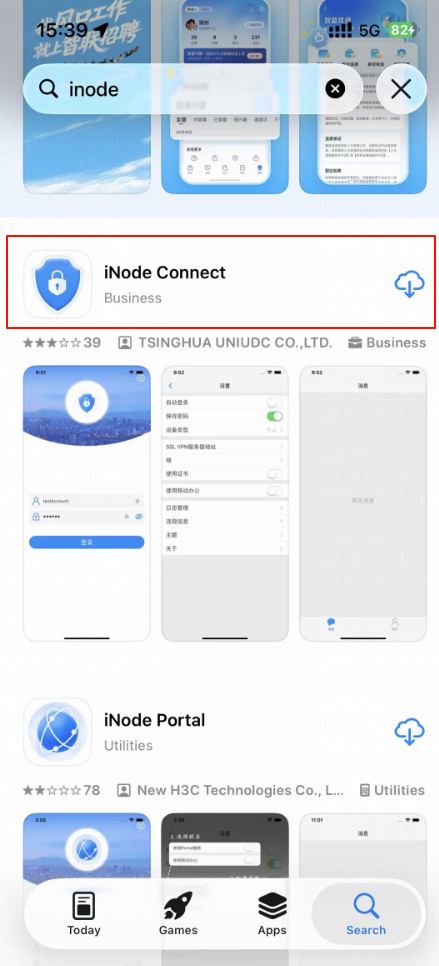
# Open App Store and search for iNode. iNode Portal is applicable to Portal authentication scenarios. iNode Connect is applicable to SSL VPN authentication scenarios. Click iNode Connect to install it.
Figure-54 Searching for iNode
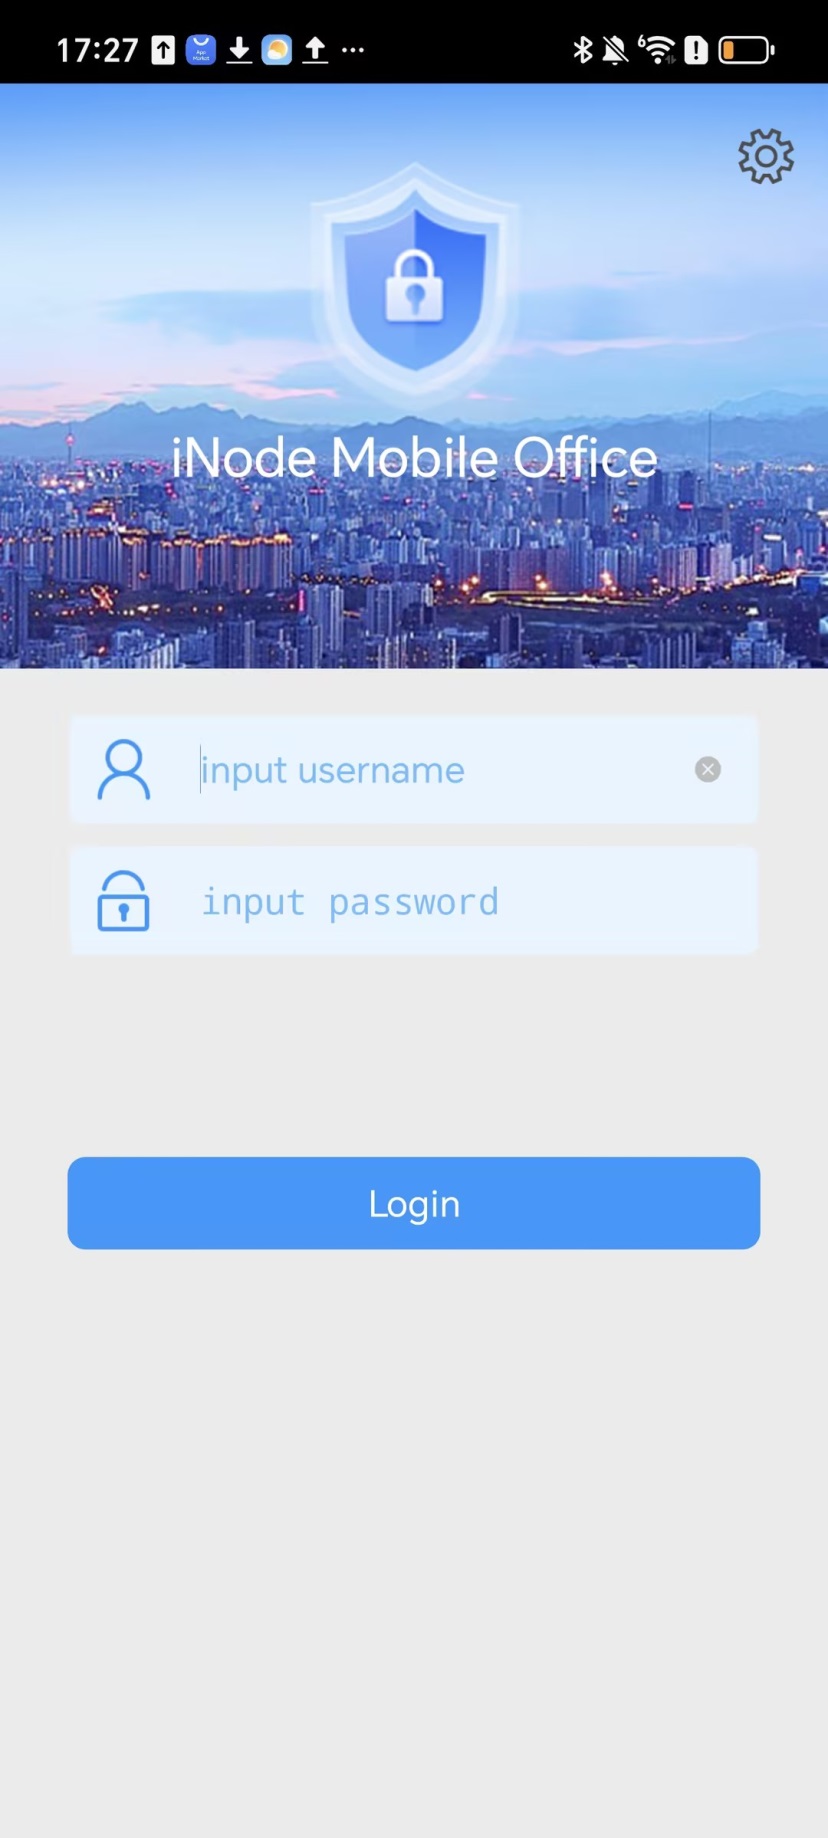
# After the installation, the
iNode Connect icon appears. Double-click this icon to start up the client.Figure-55 iNode client
Log in to the iNode client using username and password authentication.
# Click the
Settings icon in the upper right corner.Figure-56 Login page of the iNode client

# Click
SSL VPN Server IP to configure the SSL VPN gateway address.Figure-57 Entering the Settings page

# In the dialog box that opens, enter the SSL VPN server address, in the format of
X . X . X . X : X , for example, 10.10.10.10:8443, where 8443 is the SSL VPN service port. ClickOK .Figure-58 Setting the SSL VPN gateway address
# Click the back icon in the upper left corner, enter your account and password, and then click
Login .Figure-59 Authentication for login

Figure-60 Waiting for authentication

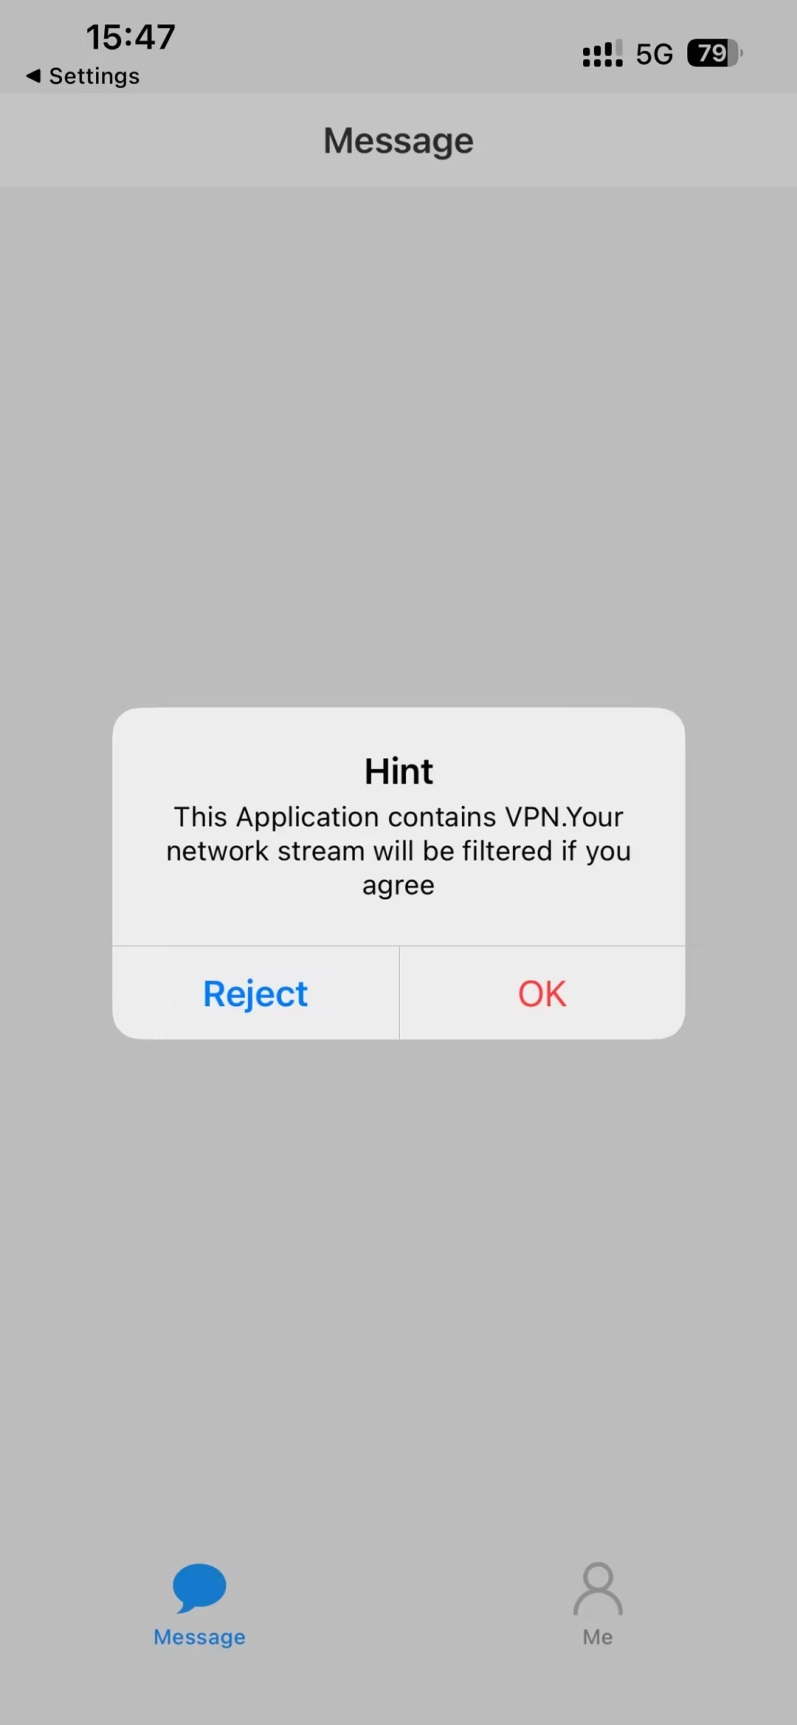
# In the dialog box that opens, click
OK . The login succeeds.Figure-61 Authentication tip
Log in to the iNode client using username/password authentication and certificate authentication for two-factor authentication.
# To use two-factor authentication including username/password authentication and certificate authentication, save the certificate file to the mobile phone in advance. The certificate file supports only the
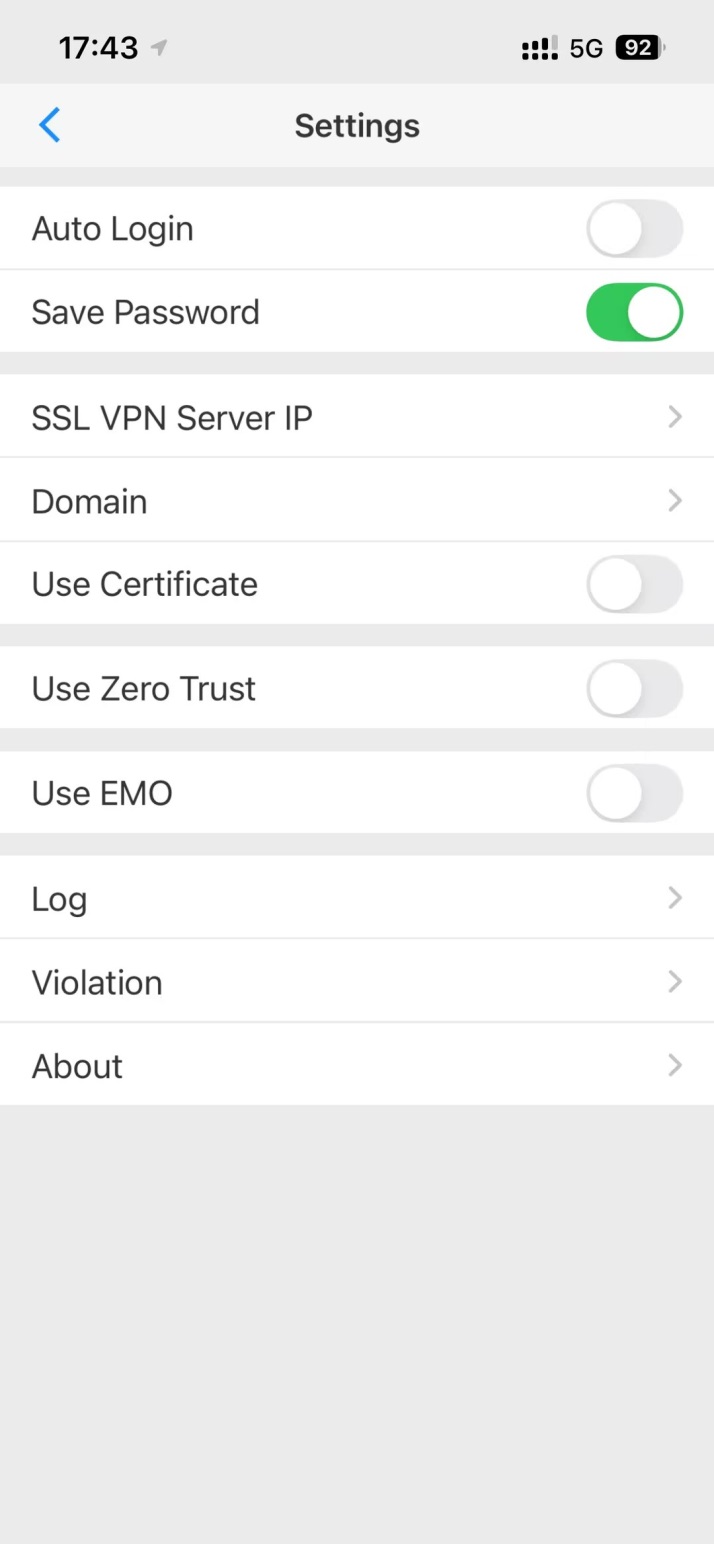
pfx andp12 formats.# Click the
Settings icon in the upper right corner.Figure-62 Login page of the iNode client

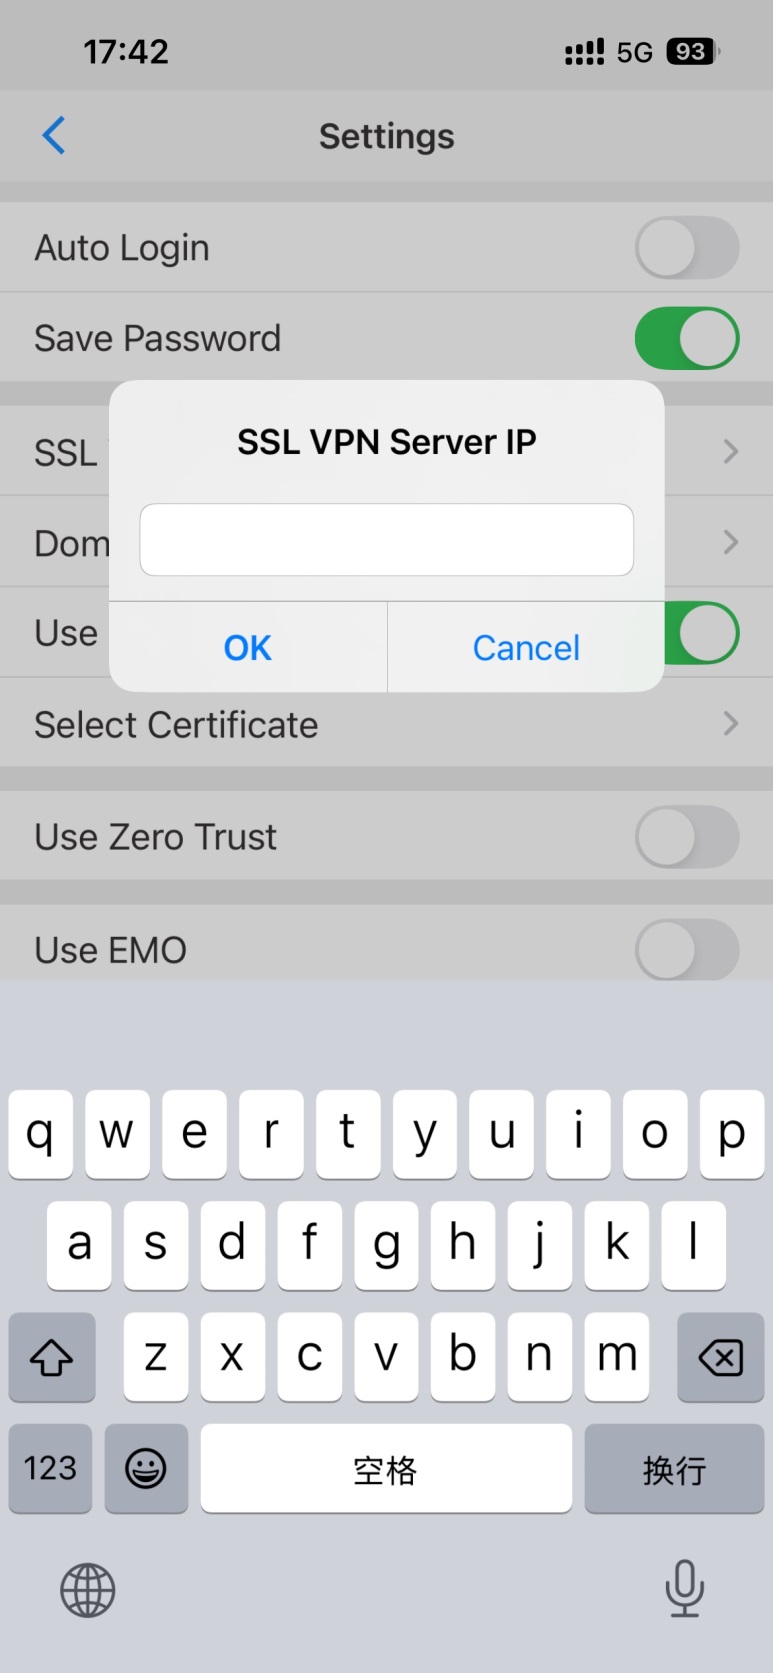
# Click
SSL VPN Server IP to configure the SSL VPN gateway address.Figure-63 Entering the Settings page
# In the dialog box that opens, enter the SSL VPN server address, in the format of
X . X . X . X : X , for example, 10.10.10.10:8443, where 8443 is the SSL VPN service port. ClickOK .Figure-64 Setting the SSL VPN gateway address

# Enable
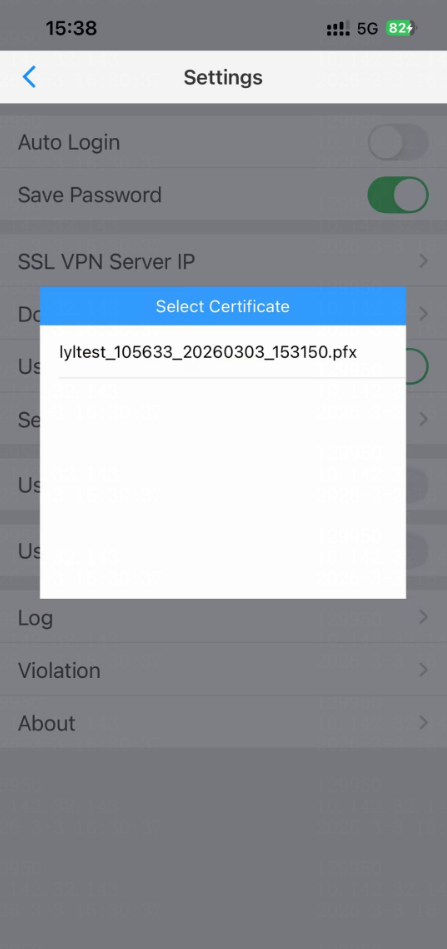
Use Certificate , clickSelect Certificate , and select the certificate file that is saved on the mobile phone in advance.Figure-65 Enabling Use Certificate
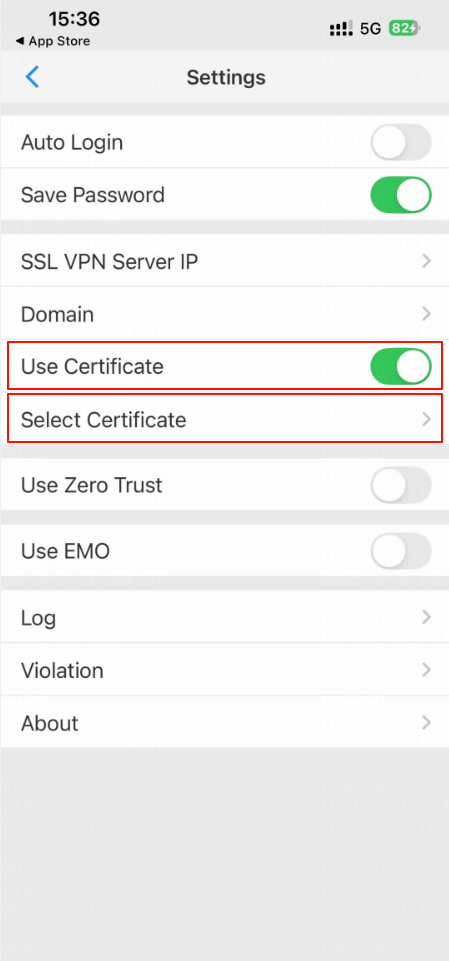
Figure-66 Selecting the certificate file
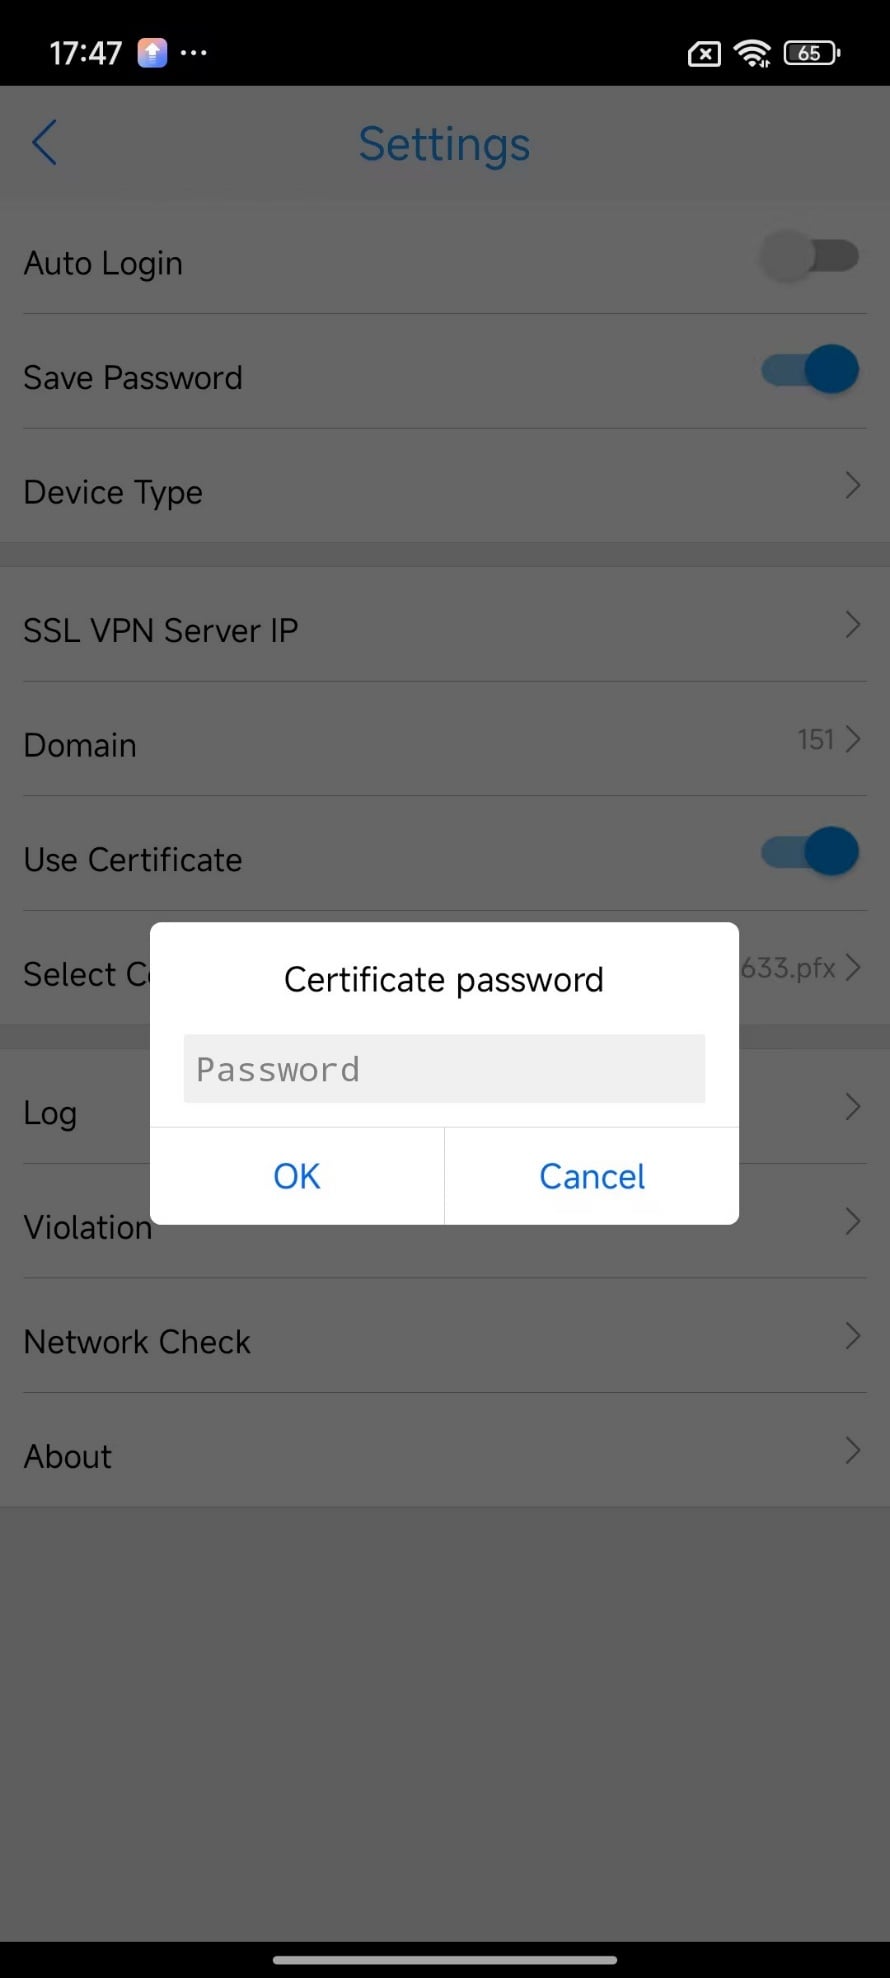
# After you select the certificate file, enter the certificate password as prompted and click
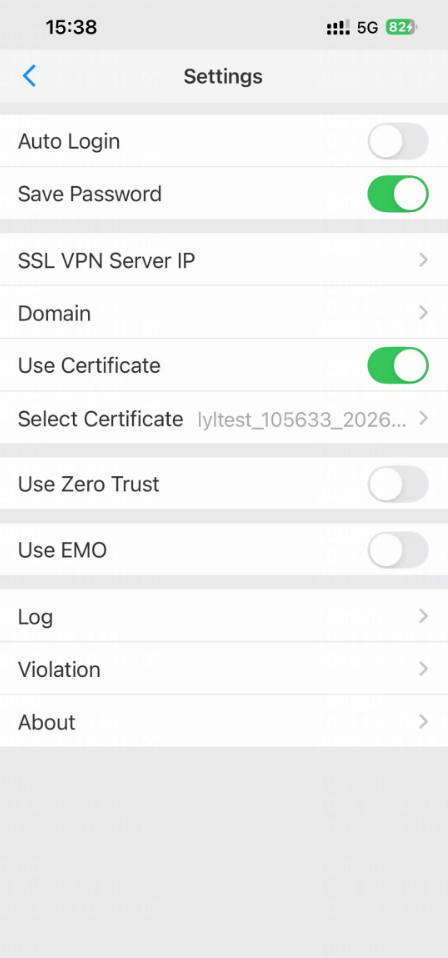
OK to import the certificate file.Figure-67 Entering the certificate password
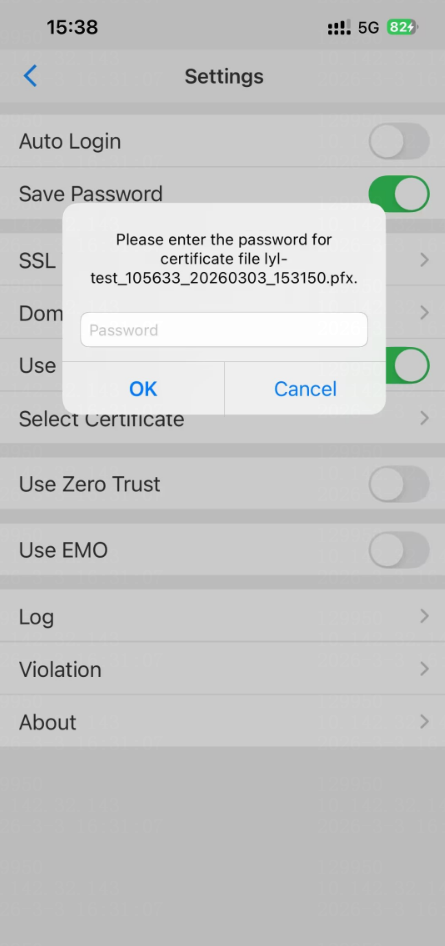
Figure-68 Certificate import completed
# Click the back icon in the upper left corner, enter your account and password, and then click
Login .Figure-69 Authentication for login

Figure-70 Waiting for authentication

# In the dialog box that opens, click
OK . The login succeeds.Figure-71 Authentication tip
