Configure TargetClient
Mount the PE image to the destination VM.
Figure-1 Mounting the PE image to the destination VM
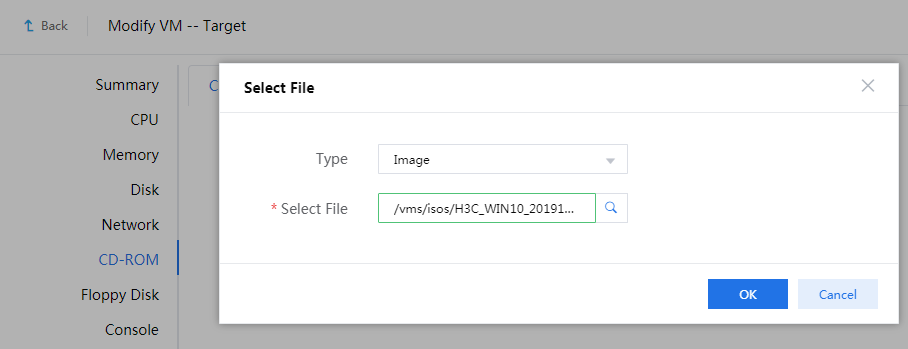
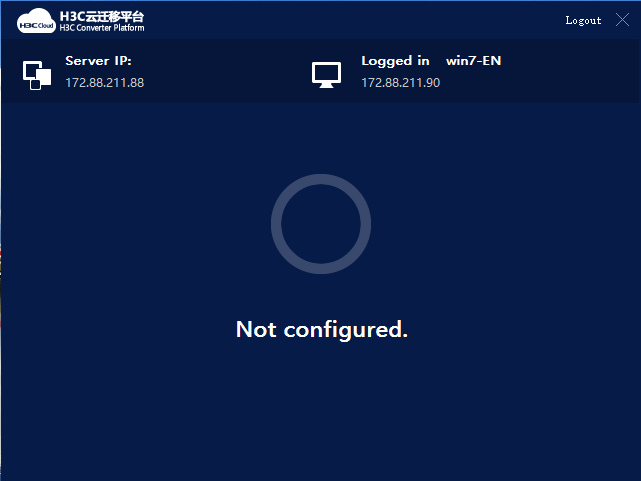
Start the destination VM. The VM boots from the PE image and runs TargetClient to access the H3C Converter Platform.
Figure-2 H3C Converter Platform
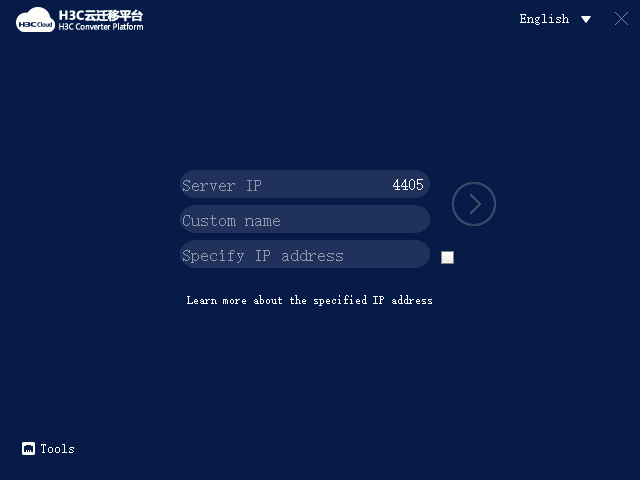
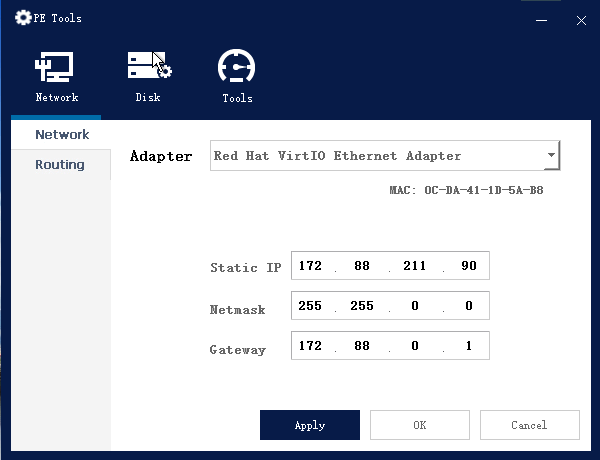
Click Tools and configure network settings for the VM to communicate with CVM.
|
|
The network settings configured in this step get lost after the VM restarts. After the migration, you can reconfigure network settings for the VM as needed. |
Figure-3 Configuring network settings
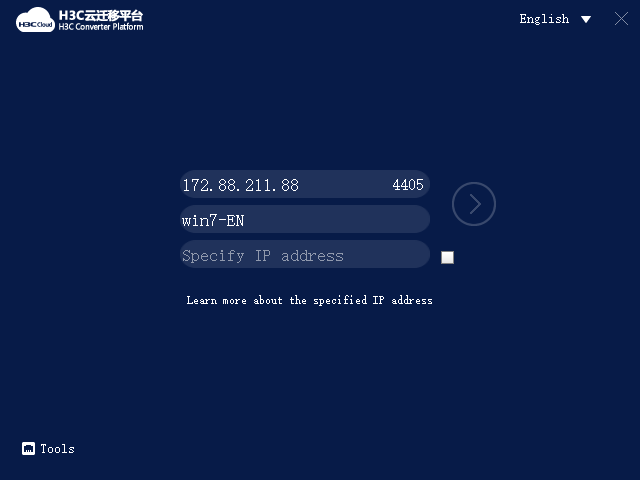
Enter the IP address of CVM, specify a host name for the VM, and then click the chevron.
The local IP address field is optional. By default, the default IP address used by the destination VM to access the migration platform is used. If CVM uses a public IP address, or if two hosts provide stateful failover, you must specify a local IP address. If you do not do so, the source device cannot connect to the destination VM.
Figure-4 Configuring TargetClient parameters
The page that opens indicates that TargetClient and the destination VM have been connected to CVM.
Figure-5 TargetClient connection
Access the Services > Heterogeneous Migration > Destination VM page to verify that the destination VM has been added to the destination VM page, and the VM status is online.
|
|
Only online destination VMs support migration tasks. If the migration operation fails for an online destination VM, verify that no network address conflict exists. |
Figure-6 Destination VM list
