Use HammerDB to test standalone-deployed MySQL
Start HammerDB
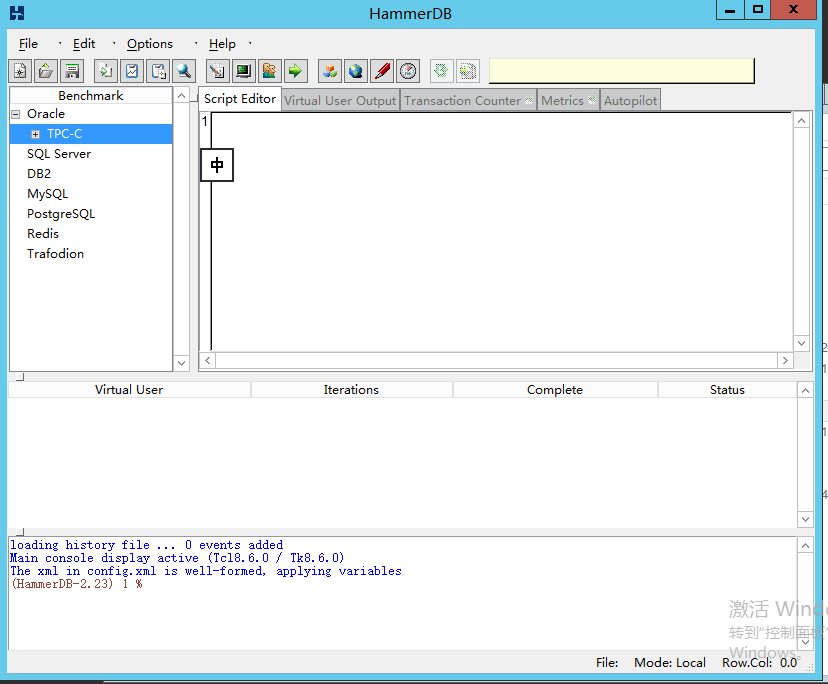
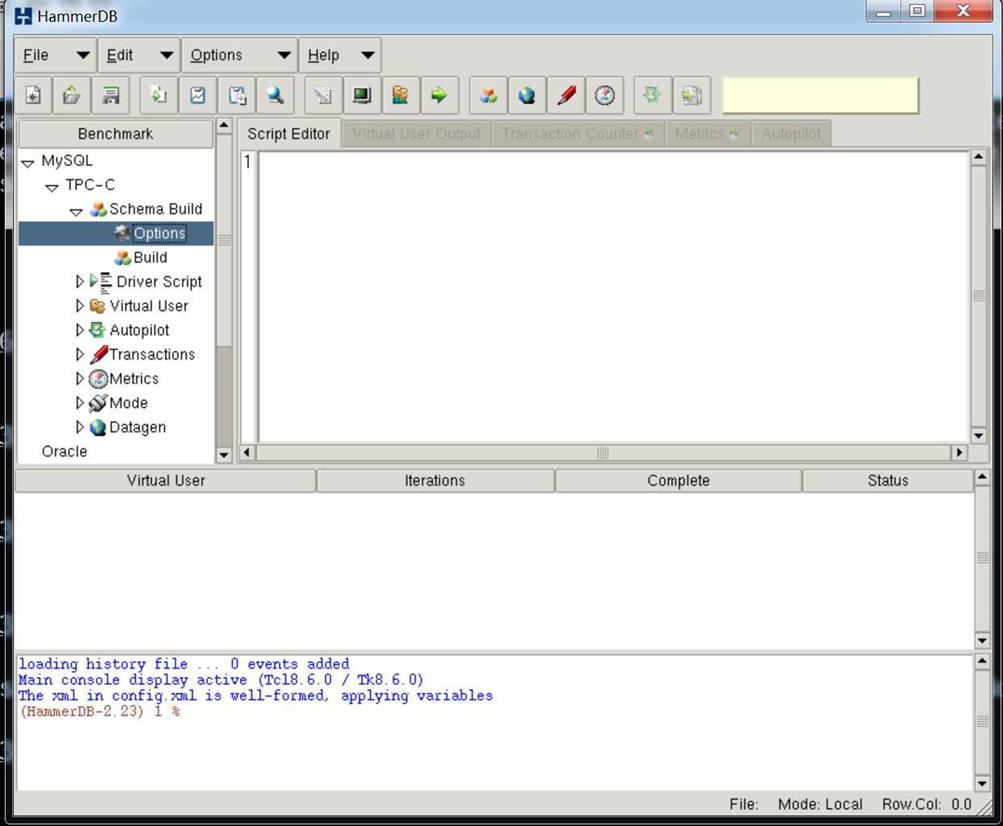
Double-click the hammerdb file in the HammerDB installation directory.
Figure-1 HammerDB
Create the target database and account
[root@localhost ~]# mysql -uroot -p
Enter password:
mysql> create database tpcc;
Query OK, 1 row affected (0.02 sec)
mysql> grant all on tpcc.* to 'tpcc'@'%' identified by 'tpcc';
Query OK, 0 rows affected (0.06 sec)
mysql> flush privileges;
Query OK, 0 rows affected (0.02 sec)
Generate test data
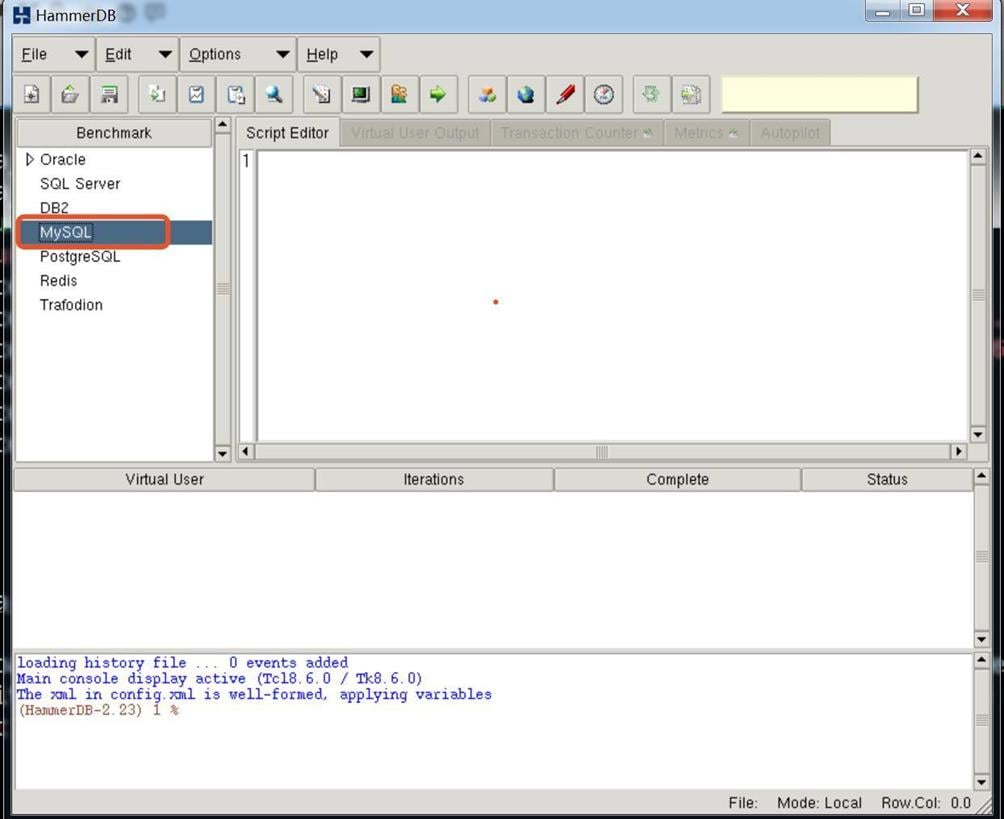
Double-click the MySQL node.
Figure-2 MySQL node
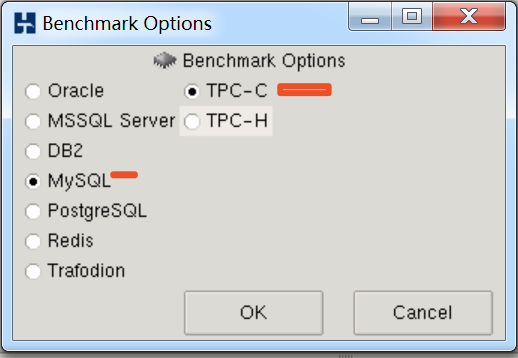
Select MySQL and TPC-C.
Figure-3 Selecting benchmark options
Select TPC-C > Schema Build, and then double-click Options.
Figure-4 Options
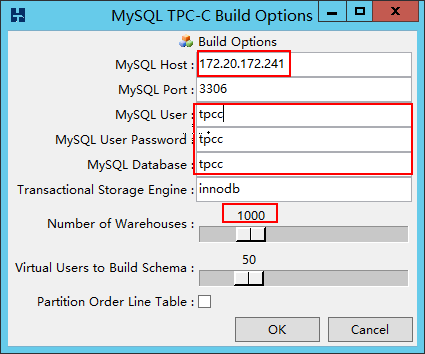
Configure the build options as shown in Figure-5.
|
|
|
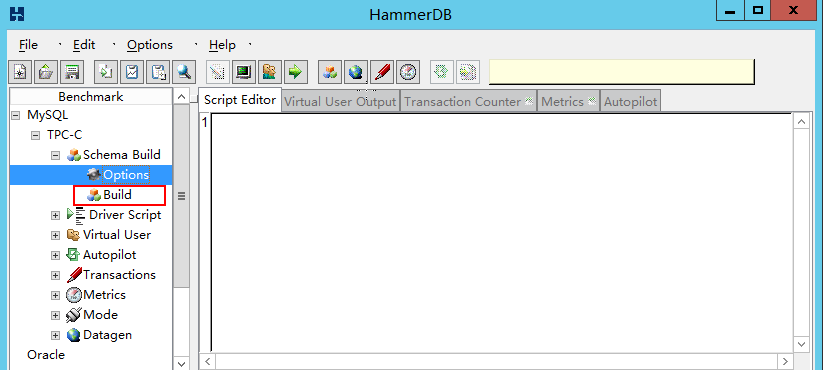
Double-click the Build node.
Figure-6 Building a database
View the output.
|
|
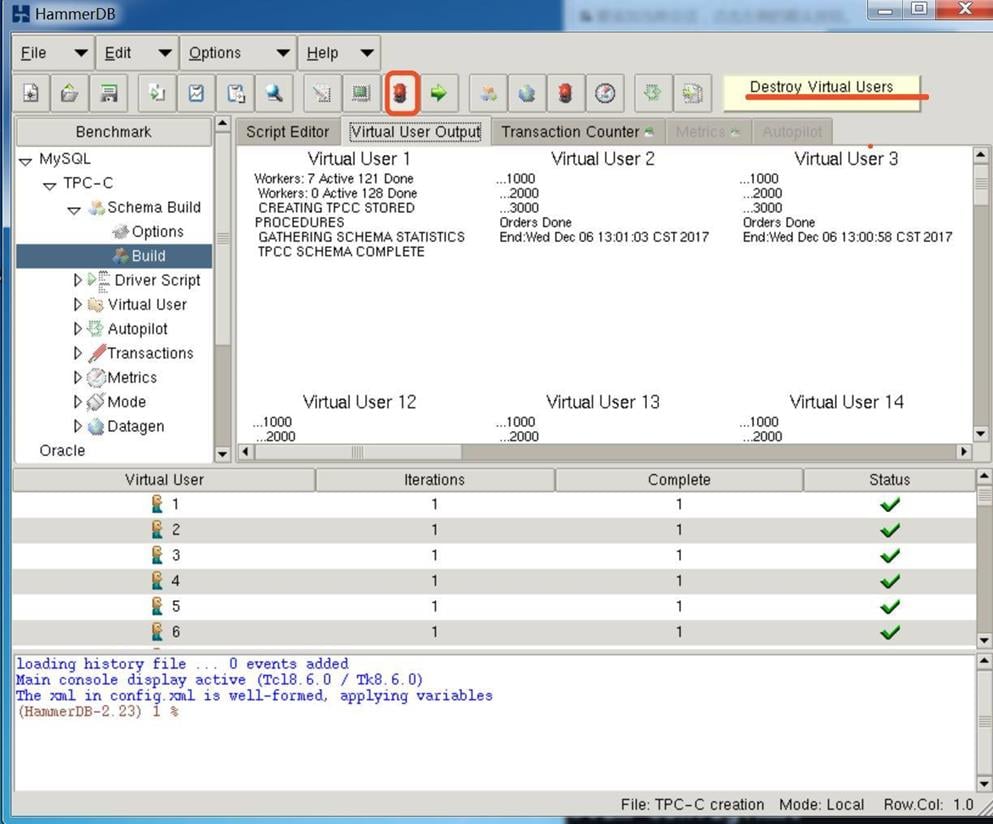
Make sure the status of each virtual user is not a red cross. A red cross indicates errors. When workers are finished, the monitoring thread will create indexes and storage procedure and collect statistics. The TPCC SCHEMA COMPLETE message will displayed for virtual user 1, and operations will be completed for the other virtual users. If not, check the error details in the area at the bottom and resolve problems. |
Figure-7 Virtual user output

Figure-8 TPCC SCHEMA COMPLETE
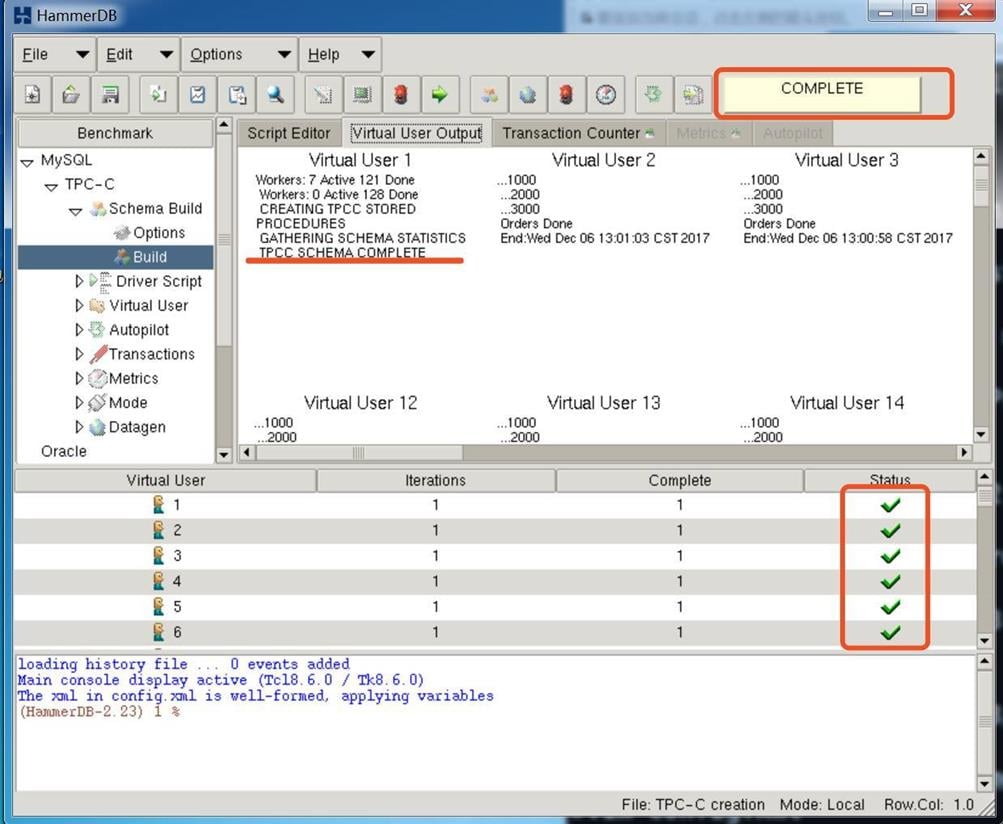
It takes about three to four hours to create 1000 warehouses.
Configure the HammerDB test script
Click Destroy Virtual Users.
Figure-9 Destroying virtual users
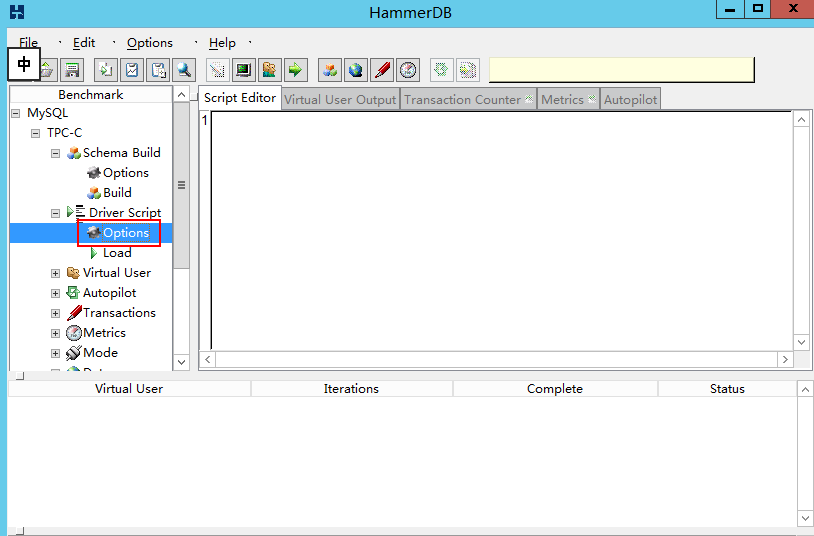
Double-click the Driver Script node.
Figure-10 Driver Script node
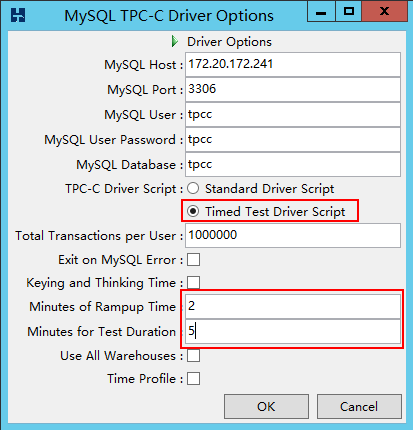
Select Timed Test Driver Script, and set the rampup time to 2 minutes and test duration to 5 minutes.
Figure-11 Configuring the timed test driver script
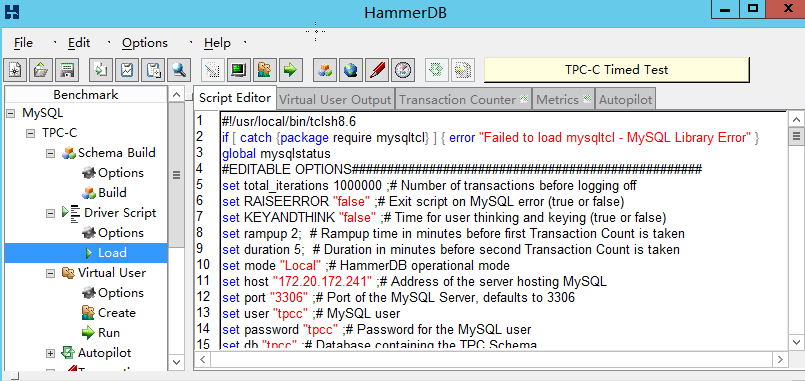
Double-click the Load node under the Driver Script node.
Figure-12 Loading the script
Run the HammerDB test
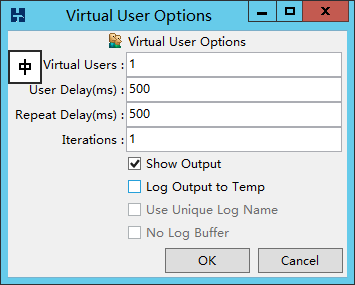
Double-click the Options node under the Virtual User node and enter the number of virtual users.
|
|
You need to create a master user who collects statistics and returned states of virtual users. The master user is not included in the virtual users to create. For example, if you want to create 16 virtual users (16 concurrent connections), create 17 virtual users. |
Figure-13 Creating virtual users
Performance data is the best if the number of virtual users is the number of CPU cores plus 1. For example, if the CPU has 16 cores, create 17 virtual users.
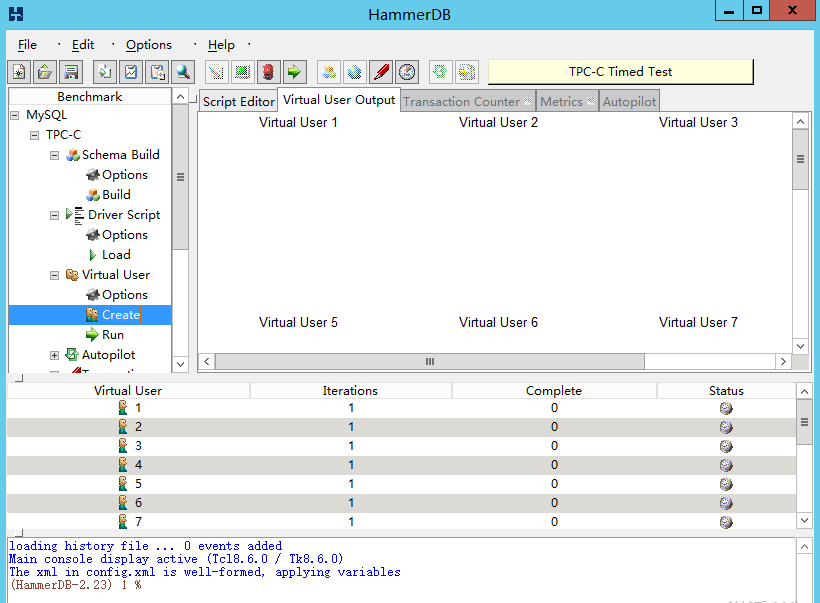
Double-click the Create node under the Virtual User node.
The database is not connected now.
Figure-14 Creating virtual users
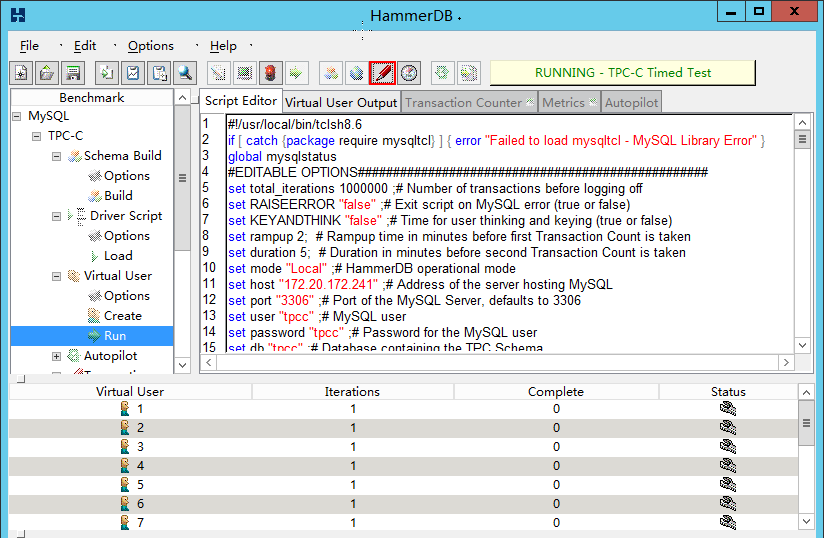
Double-click the Run node under the Virtual User node. Click the
 icon to view the TPM value.
Figure-15 Running the test
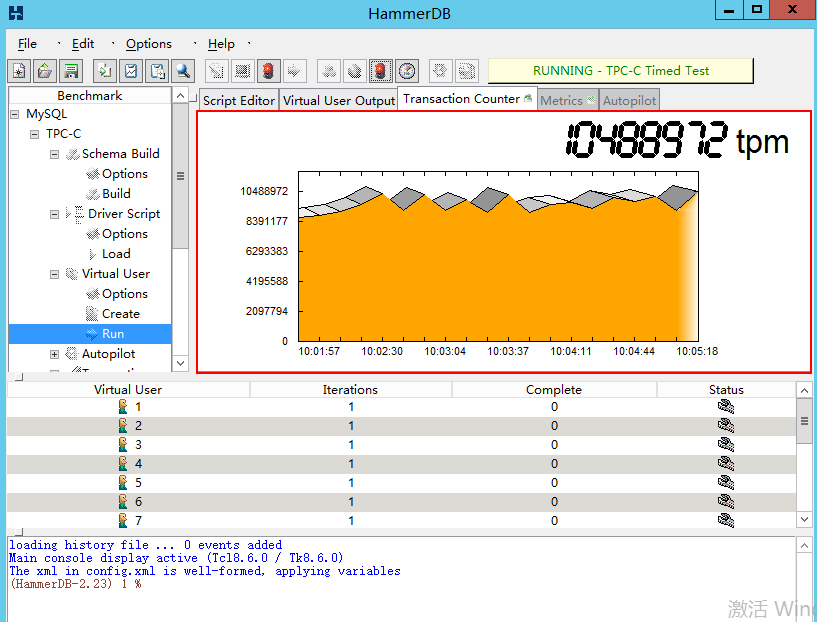
View the line chart for performance jitters.
Figure-16 Line chart
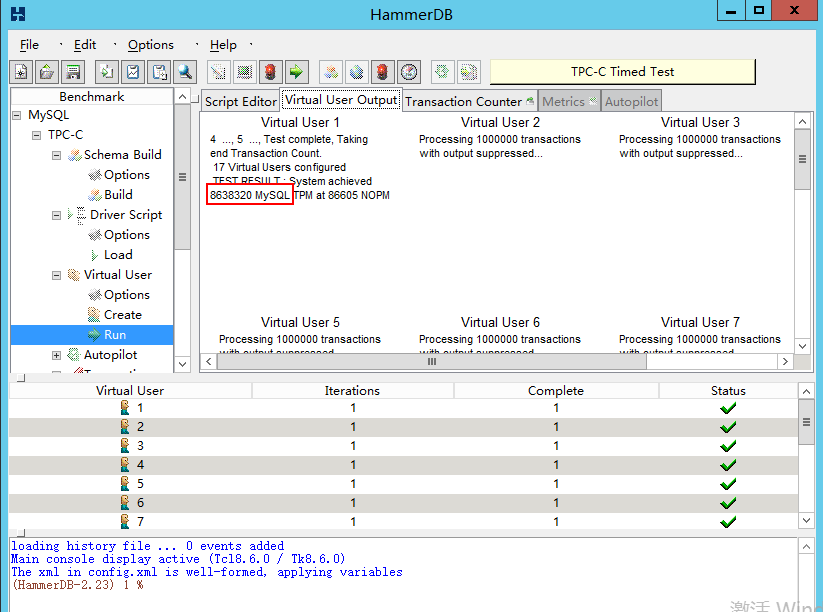
View the virtual user output for the test result.
Figure-17 Test result