Configure DPDK settings for a VM
On the top navigation bar, click VMs.
From the left navigation pane, select a VM, and then click Edit.
Click the CPU tab, and then change the operating mode of the VM to passthrough.
Figure-1 Changing the operating mode of the VM to passthrough

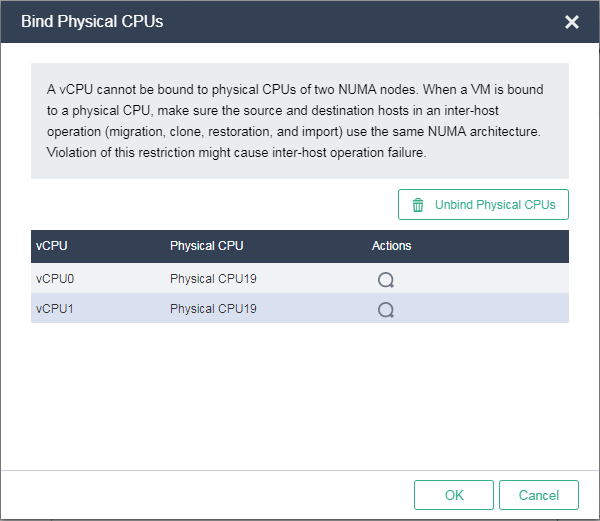
Click the Bind Physical CPUs icon
 to the right of the CPU Cores field, select one or multiple physical CPUs, and then click OK. The physical CPUs bound to one VM must belong to the same NUMA node.
Figure-2 Binding the vCPU to physical CPUs
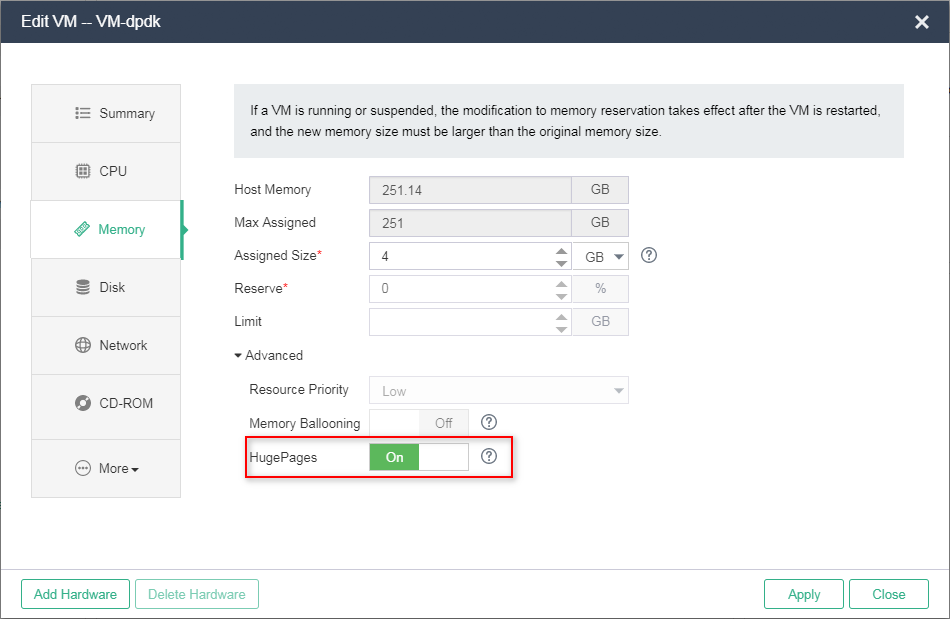
Click the Memory tab to turn on HugePages. You can turn on this option only when the VM is shutdown. In addition, this feature is mutually exclusive with memory reservation, memory limit, resource priority, and memory ballooning.
Figure-3 Enabling HugePages
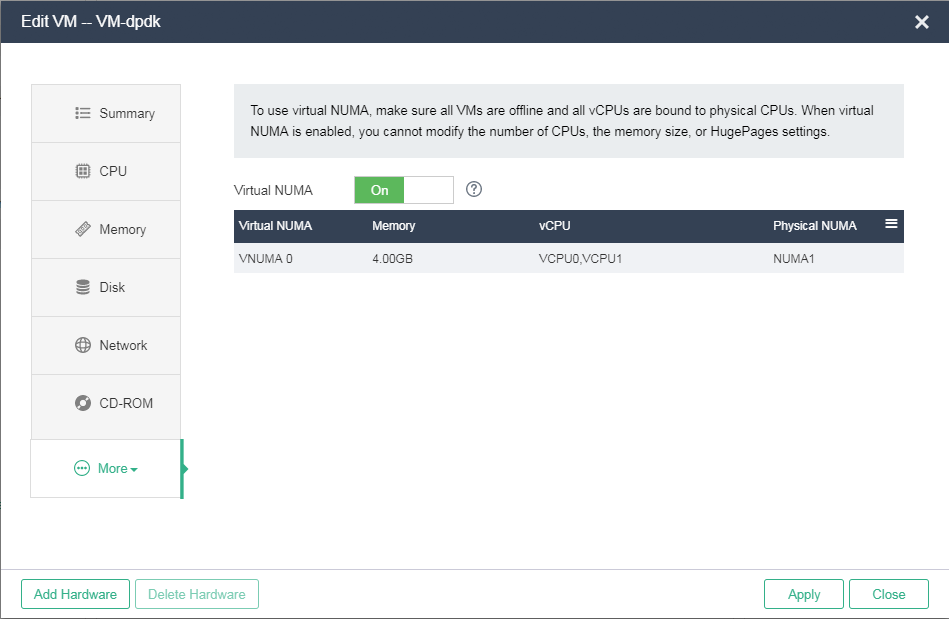
Click More, and then click Virtual NUMA to enable virtual NUMA.
Figure-4 Enabling virtual NUMA
Click Add Hardware, select Network from the Hardware Type list, and then click Next.
Figure-5 Adding a DPDK NIC (1)
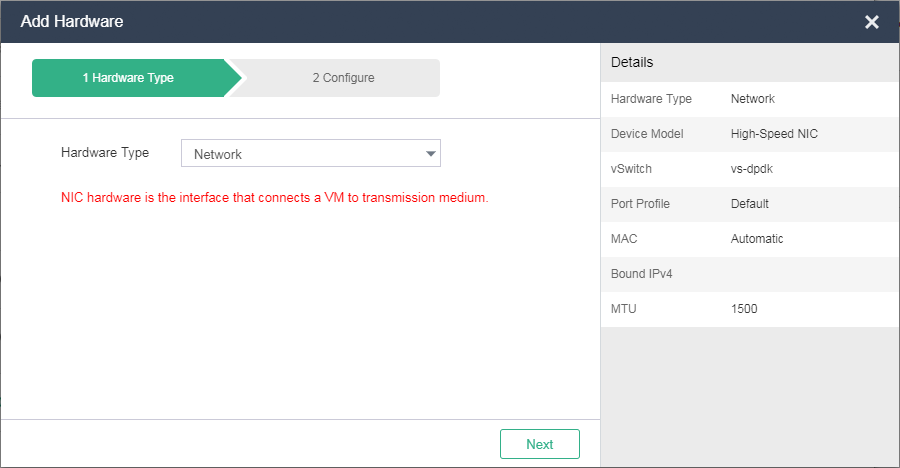
Select High-Speed NIC from the Device Model list, select a vSwitch that has DPDK enabled, configure other settings as needed, and then click Finish.
Figure-6 Adding a DPDK NIC (2)
